For the purposes of this demo, we are making the database publicly accessible to connect to the database remotely and restore the database backup. However, for production deployments that require full security, it is recommended to avoid opening public access to the database. Please refer to the security best practices of AWS RDS.
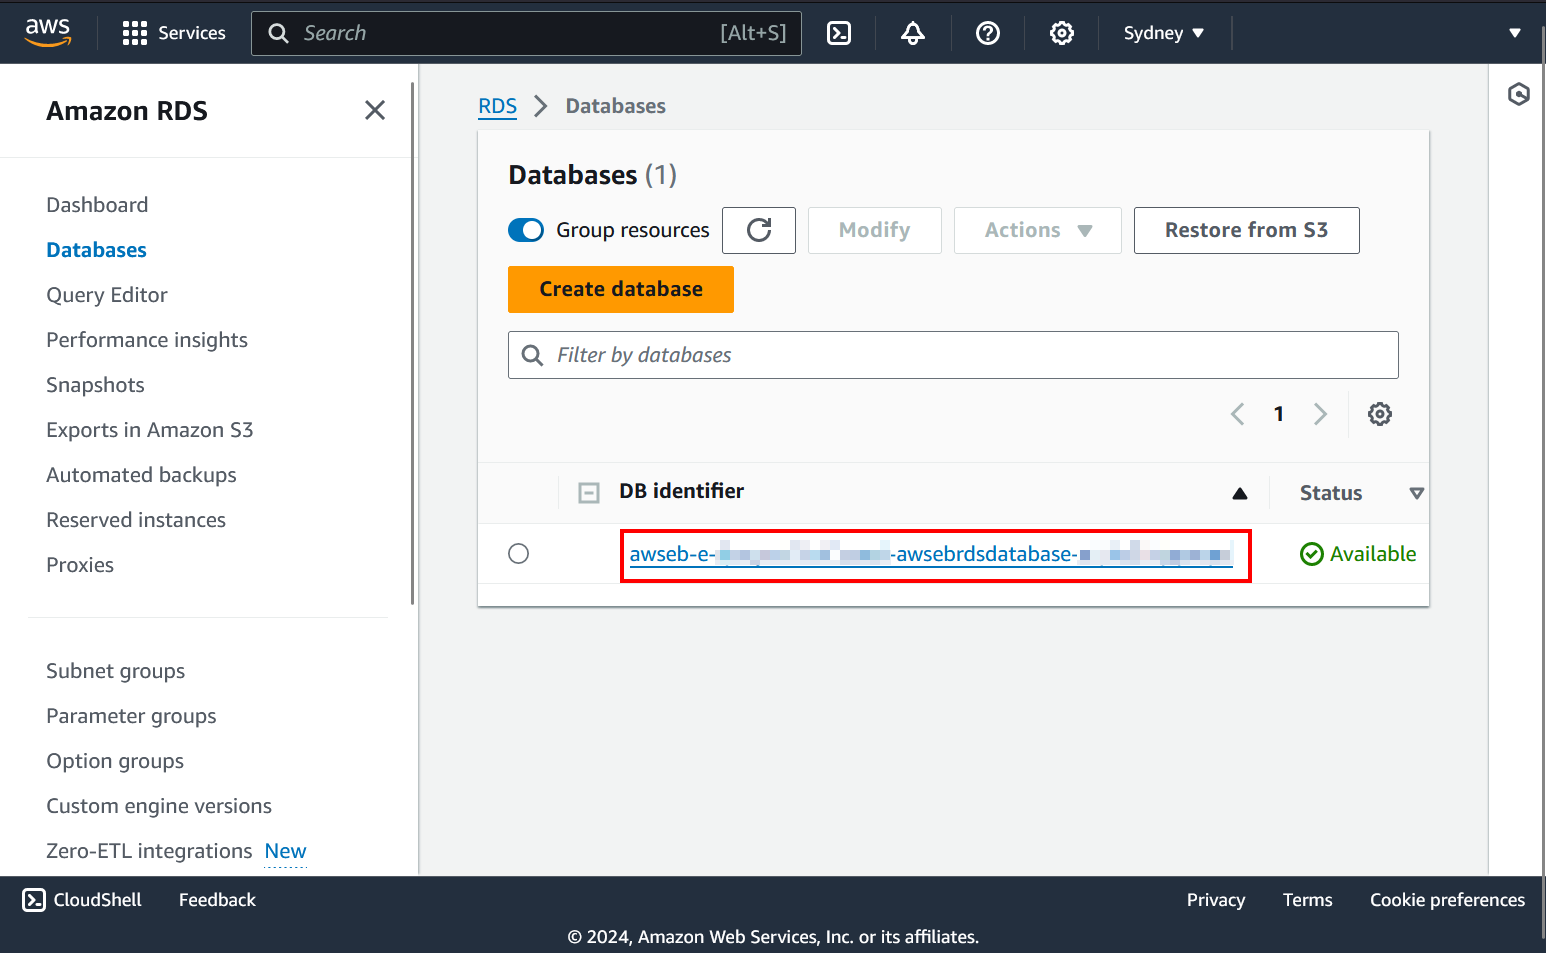
Go to Amazon RDS and open the database you created with the application.
Click the Modify button to open the configuration page.
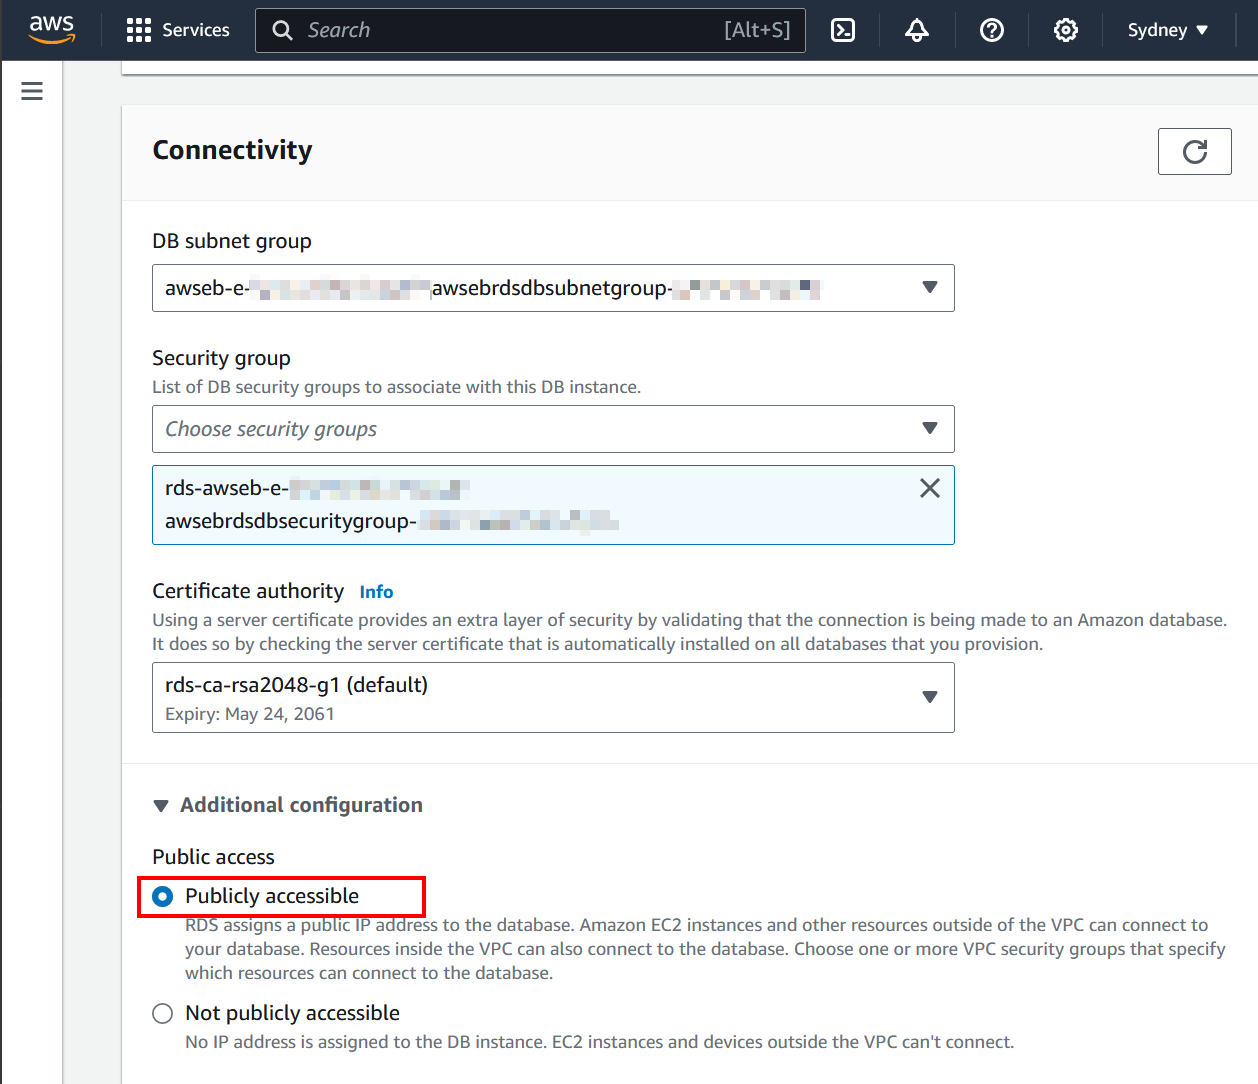
On the connectivity section of the page, expand the Additional configuration flyout and set the Publicly accessible option.
Go to the bottom of the page and click the Continue button. Review the changes and change the Schedule modifications option to Apply immediately and click Modify DB instance. It will take a couple of minutes for the changes to apply.
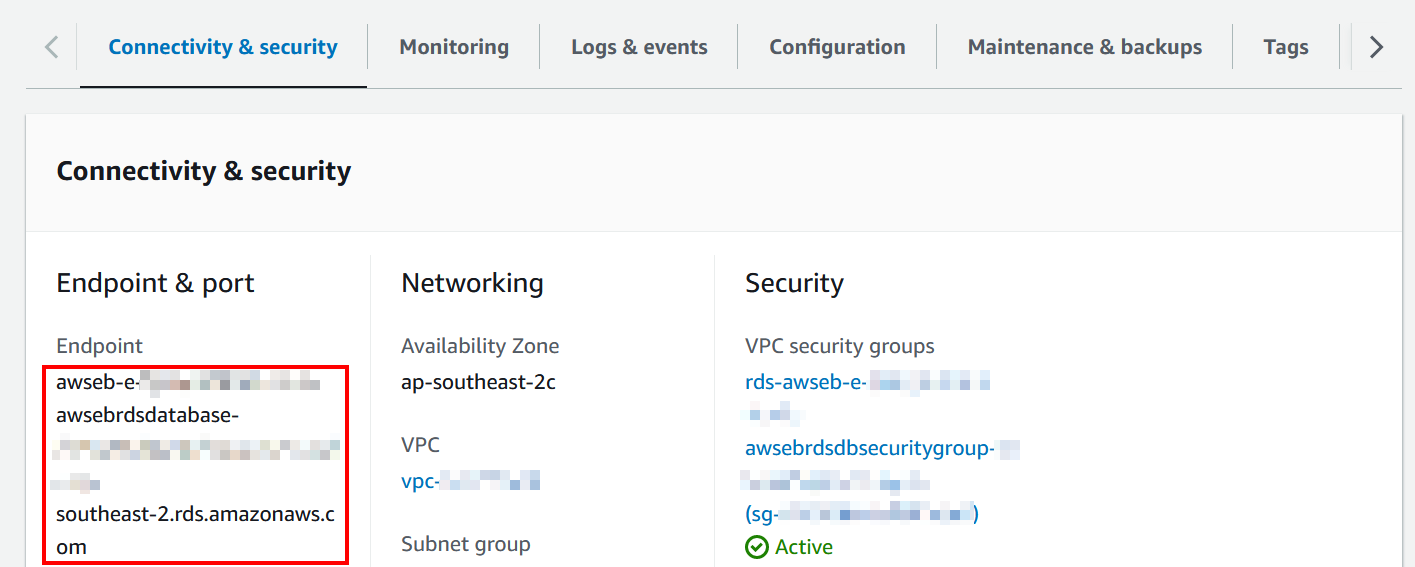
Open the database instance once more, and on the Connectivity & security section, scroll down to the Security section and open the VPC security group.
A list with 1 security group will be displayed. Open this entry.
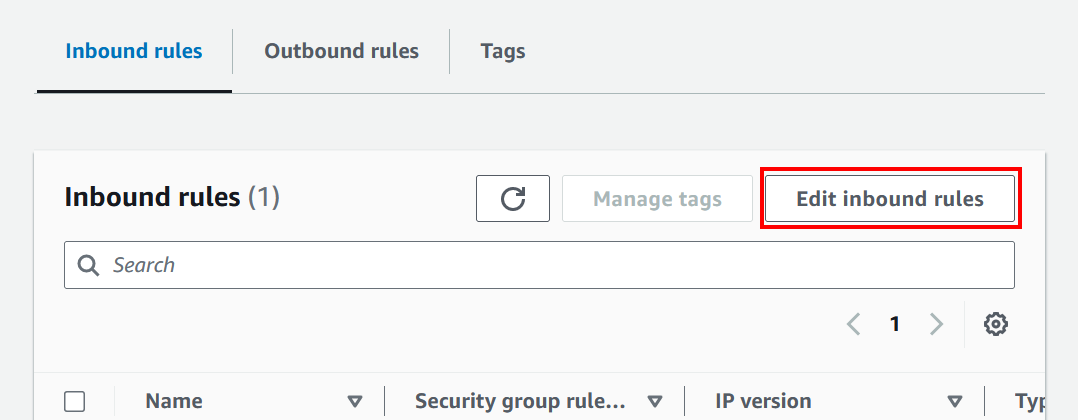
At the bottom, in the Inbound rules section, click Edit inbound rules.
Using the Add rule button, add 2 more rules configured as follows:
These rules will allow any client from any IP to connect to the DB (provided they have the credentials). We’re only doing this for connect from our DB client to execute the procedure that restores from the backup and will be deleting them as soon as we do this.
Finally, click the Save rules button at the bottom.
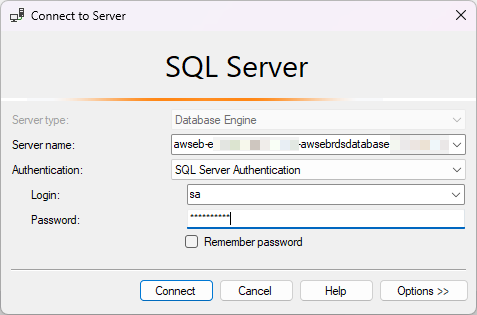
Return to the RDS DB instance, and use the Endpoint domain name to try to connect from your DB management software (This example will use SQL Management Studio).
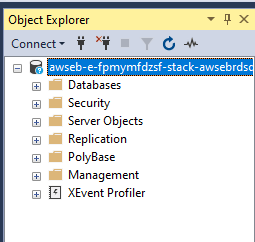
The connection should be successful.


