This section takes Ubuntu 22.04 as an example. For more information, refer to the following SAP docs: Installing SQL Anywhere (UNIX/Linux), Connecting to a SQL Anywhere Database Using ODBC in a Linux or Unix Environment.
To configure ODBC for SQL Anywhere (using SQL Anywhere 17 and Ubuntu 22.04 as examples):
Step 1: Install SQL Anywhere 17.
Download the SQL Anywhere 17 Linux install package from the SAP website, for example, the developer package is sqla17developerlinux.tar.gz.
Extract the package.
tar -xzf sqla17developerlinux.tar.gz
Install the package.
./sqlany17/setup
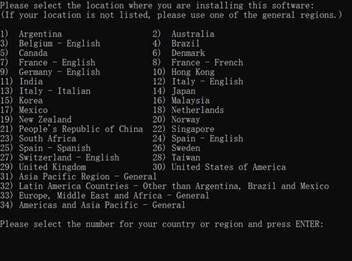
Follow the on-screen instructions to install the package.
The files are by default installed to /opt/sqlanywhere17.
Step 2: Install unixODBC.
apt-get install unixodbc
Step 3: Configure ODBC.
Edit the odbcinst.ini file to configure the driver:
sudo nano /etc/odbcinst.ini
Add the following lines in the odbcinst.ini file to configure the "SQL Anywhere 17" driver.
[SQL Anywhere 17]
Description=SAP SQL Anywhere 17 ODBC Driver
Driver=/opt/sqlanywhere17/lib64/libdbodbc17_r.so
Setup=/opt/sqlanywhere17/lib64/libdbodbc17_r.so
Execute sa_config.sh to set environment variables.
The sa_config.sh file defines the environment variables required to run the administration tools.
source /opt/sqlanywhere17/bin64/sa_config.sh
Create an odbc.ini file.
nano /etc/odbc.ini
Add the following lines in the odbc.ini file to configure a data source named ASADemoDSN. Change MyServerName, MyDatabaseName, MyHost, and MyPort according to your database.
[ASADemoDSN]
Driver=SQL Anywhere 17
ServerName=MyServerName
DatabaseName=MyDatabaseName
CommLinks=tcpip(host=MyHost;port=MyPort)
Configure ODBCINI environment variable.
export ODBCINI=/etc/odbc.ini
Step 4: Test your ODBC DSN.
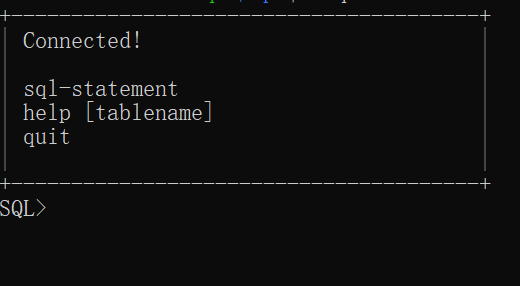
isql -v ASADemoDSN {user} {password} If connection is successful, you will see this message.


