By creating an application we also create a database environment so it’s the first step to take.
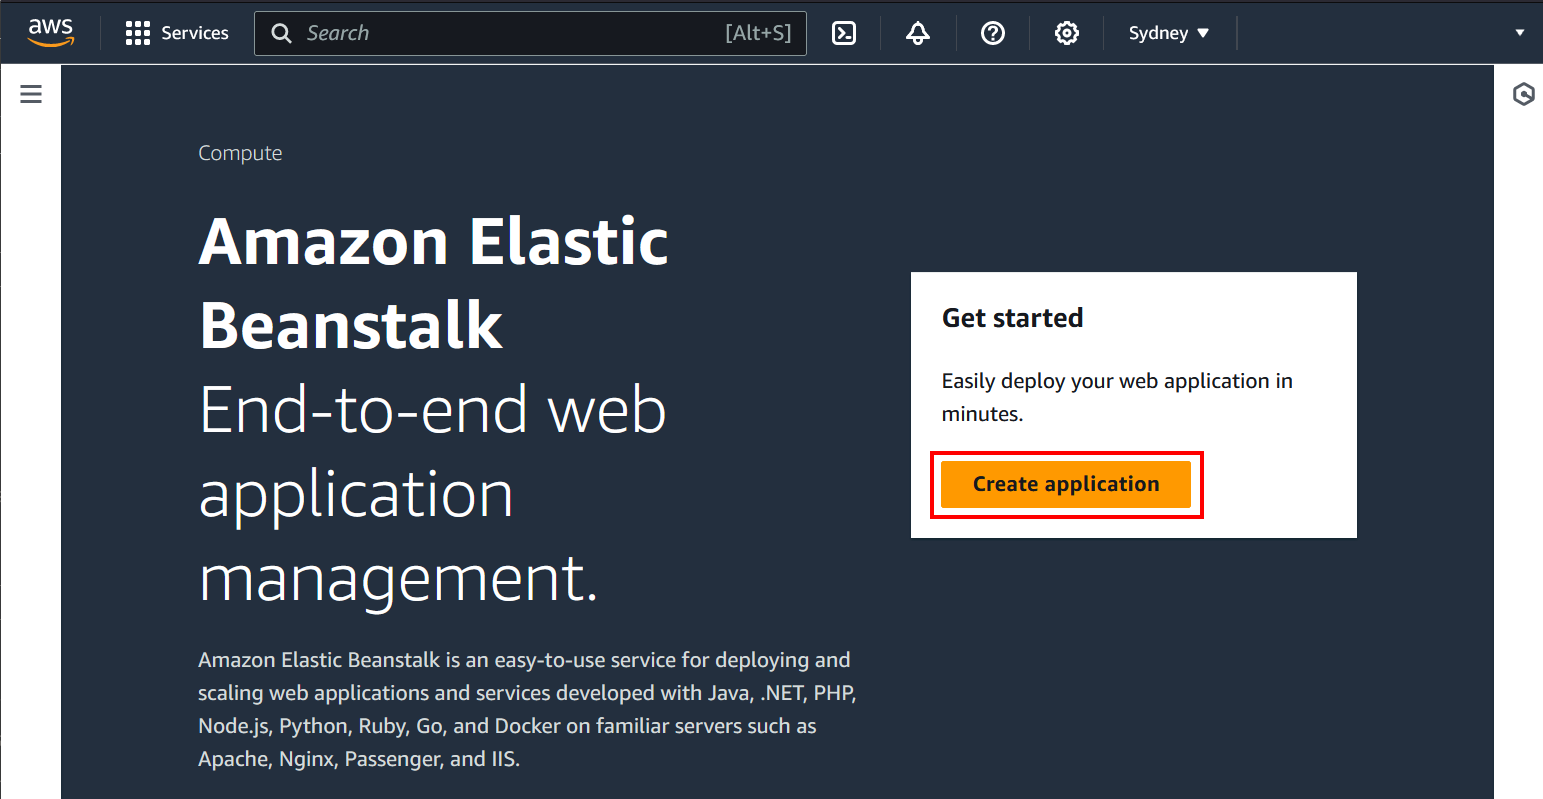
Go to the AWS Elastic Beanstalk console and create a new application.
Configure the new application with the following parameters. You might need to click Next to see the rest of the options. Options not mentioned are left to their default values.
| Parameter | Value |
|---|---|
| Environment tier | Web server environment |
| Application name | salesdemo_cloud |
| Environment name | Salesdemocloud-env |
| Platform type | Managed platform |
| Platform | .NET Core on Linux |
| Platform branch | .NET 6 running on 64bit Amazon Linux
2023 |
| Application code | Sample application |
| Service role | Create and use new service
role |
| EC2 instance profile | Choose an instance profile in your account |
| VPC | Select a VPC in your account |
| Instance subnets | Select all the subnets on which you want to expose the application on |
| Database subnets | Select all the subnets on which you want the database to be exposed on |
| Enable database | On |
| Database engine | sqlserver-ex |
| Instance class | db.t3.micro |
| Username | Enter the username for the database connection |
| Password | Enter the password for the database connection |
| Database deletion policy | Delete |
| Health reporting system | Basic |
| Managed updates activated | Off |
After filling out the previous values and reviewing the configuration on the Review page, click Submit.
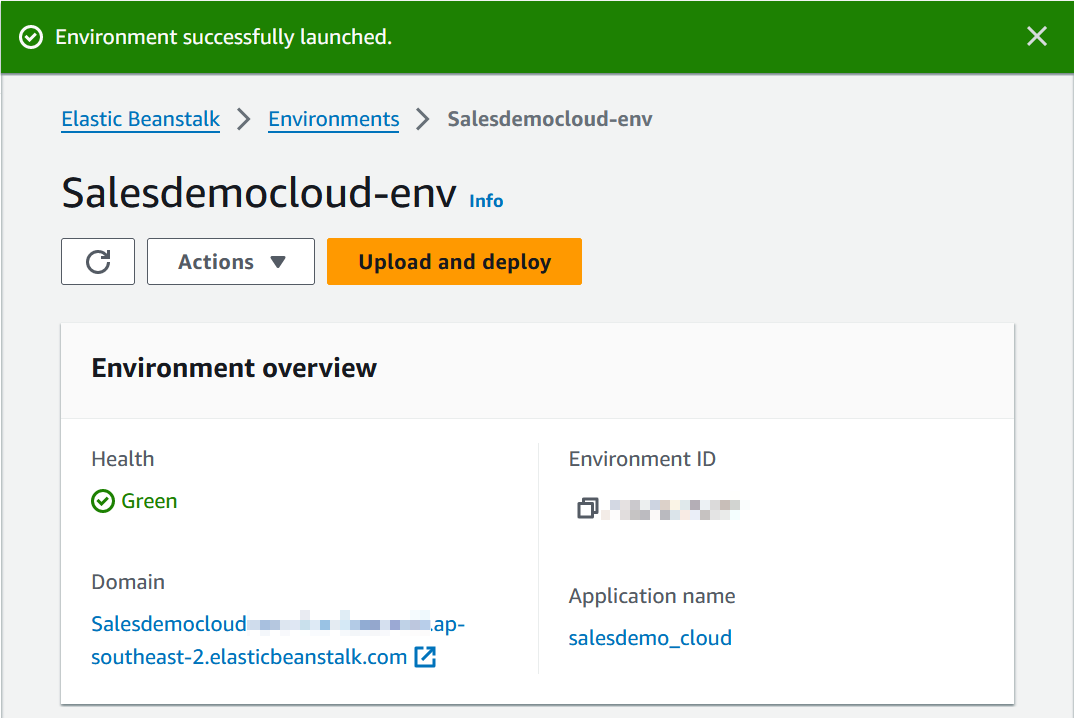
Wait a few minutes for the environment and application to deploy. When it finished you should see the following message and the environment will have the following status:
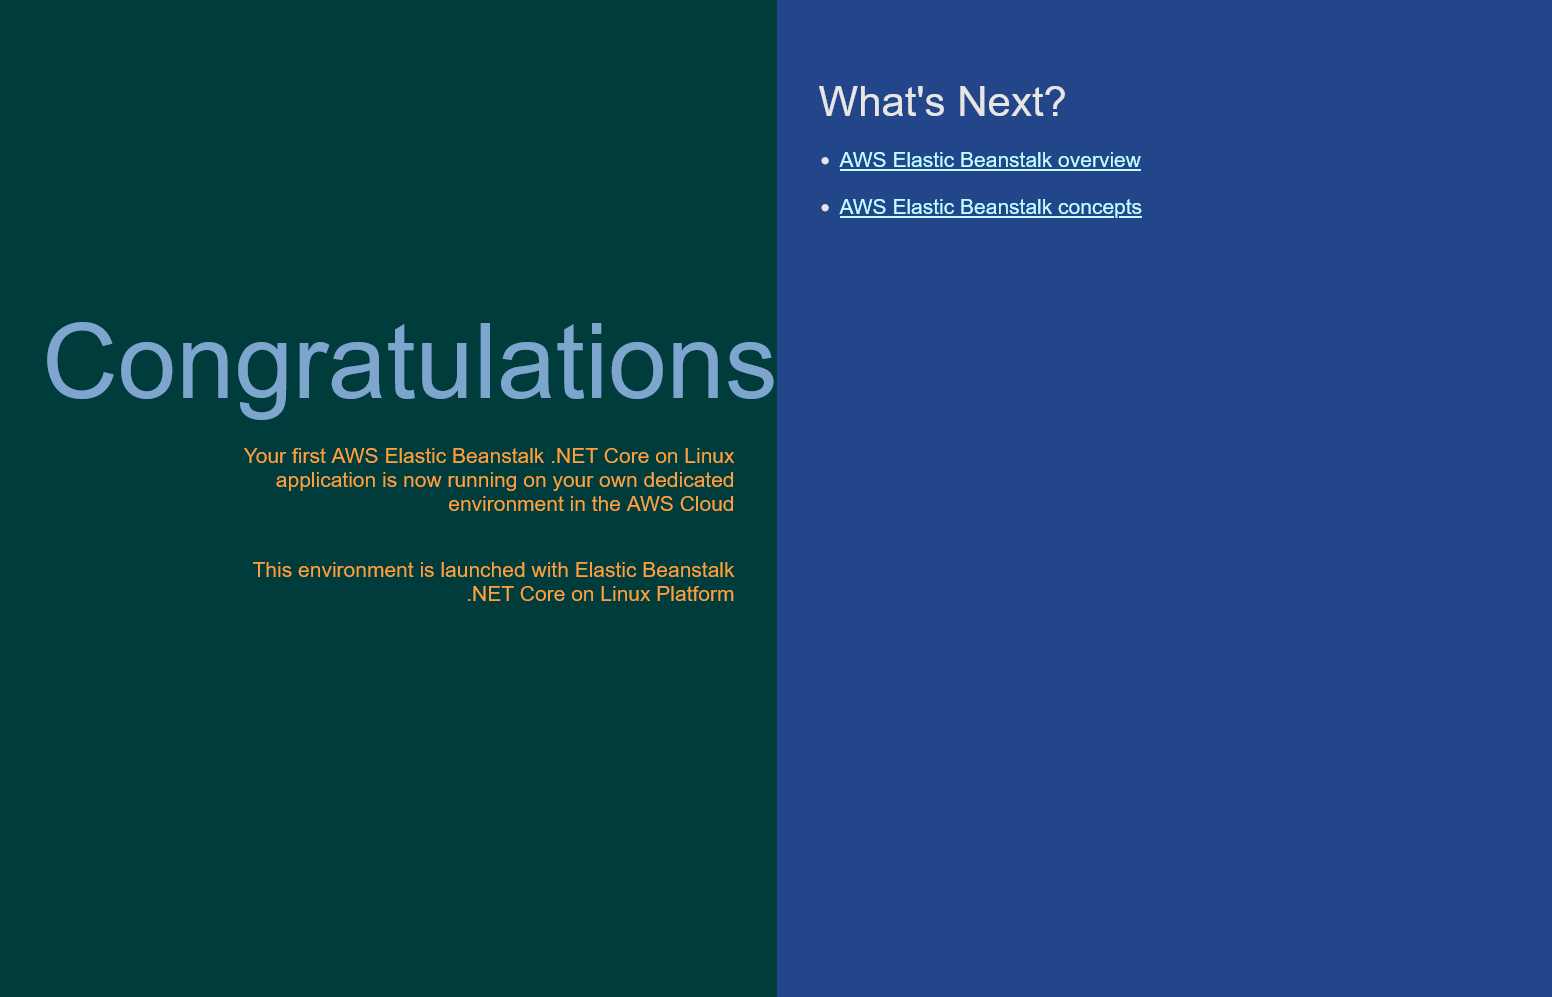
If you follow the link in the Domain section you will see the sample application:


