Go to the S3 Console and create a new Bucket named
salesdemo-static. Disable the Block all
public access option.
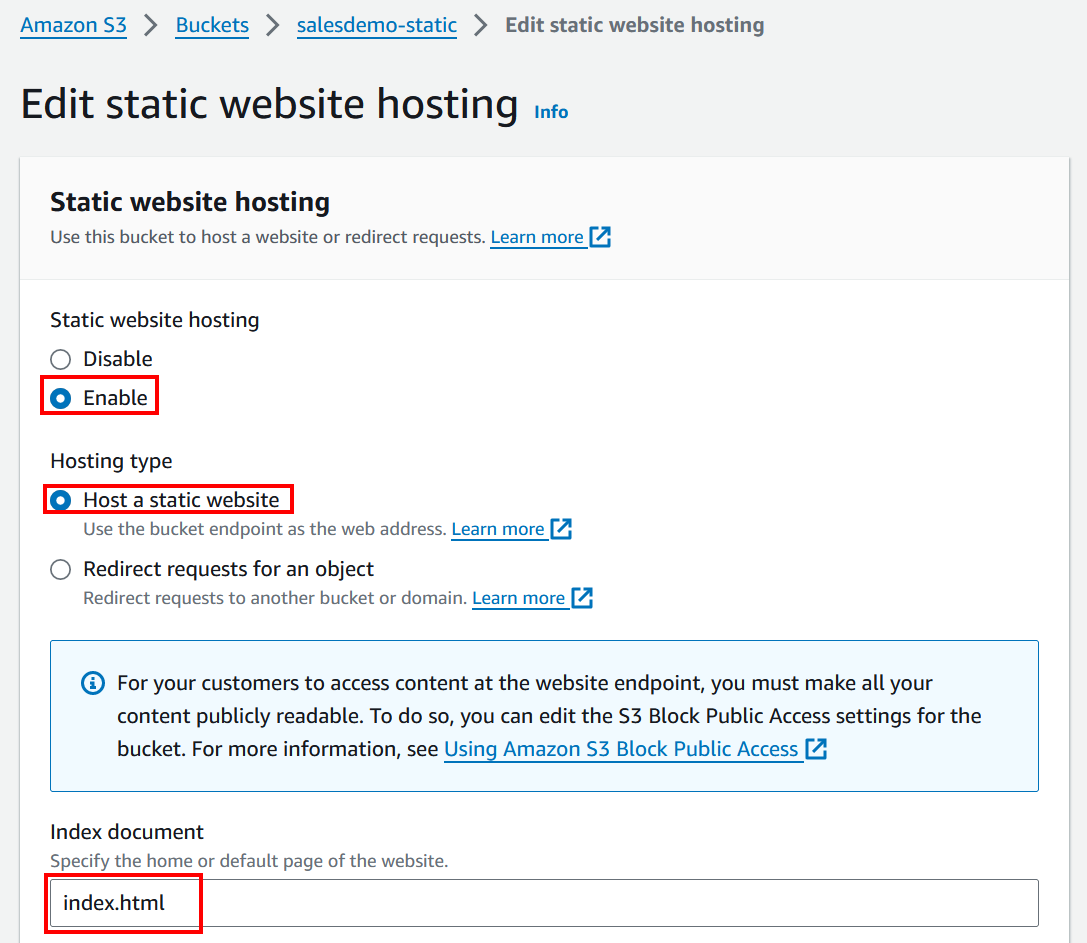
Open the bucket and on the Properties tab, click Edit on the Static website hosting section at the bottom.
Enable the Static website hosting option,
set the Hosting type to Host a static
website, set index.html as the
Index document and then click Save
changes at the bottom.
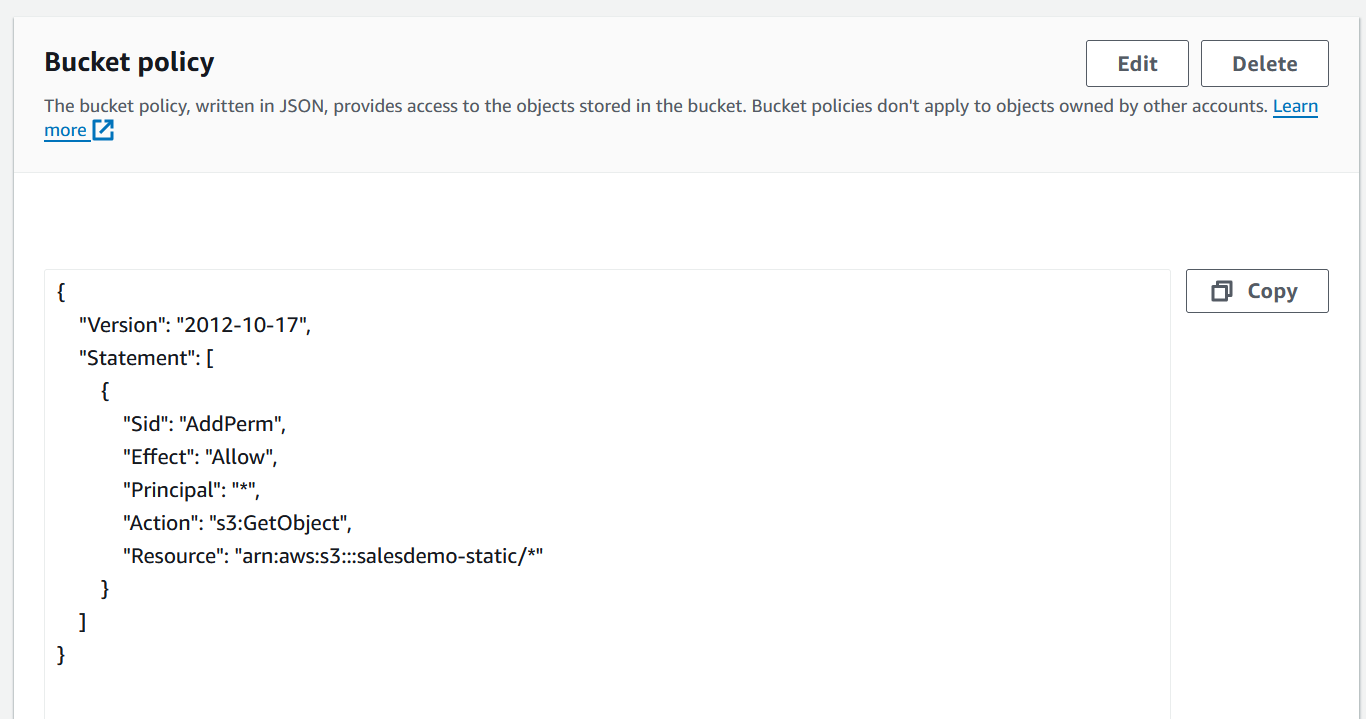
Return to the bucket, and go to the Permissions tab. At the bottom, on Bucket policy, click the Edit button.
Enter the following text in as the Statement (remember to replace the bucket name in the Resource property):
{
    "Version":"2012-10-17",
    "Statement":[
         {
           "Sid":"AddPerm",
           "Effect":"Allow",
           "Principal": "*",
           "Action":["s3:GetObject"],
           "Resource":["arn:aws:s3:::<your bucket name here>/*"]
         }
    ]
}
Click Save changes. You should have the following:
All these changes will make sure the Cloud App is accessible by the public.


