In this guide, we will install IIS and deploy and run the client app files and PowerServer Web APIs on IIS.
The following will take Windows 11 as an example. The instructions are similar in Windows 10.
To install IIS,
Step 1: In Windows 11, navigate to Control Panel > Programs > Programs and Features > Turn Windows features on or off.
Step 2: Expand the Internet Information Services node and make sure the following features are selected.
-
IIS Management Console
-
.NET Extensibility 4.8
-
Application Initialization
-
ASP.NET 4.8
-
ISAPI Extensions
-
ISAPI Filters
-
Default Document
-
Static Content
Step 3: Click OK to install the selected features.
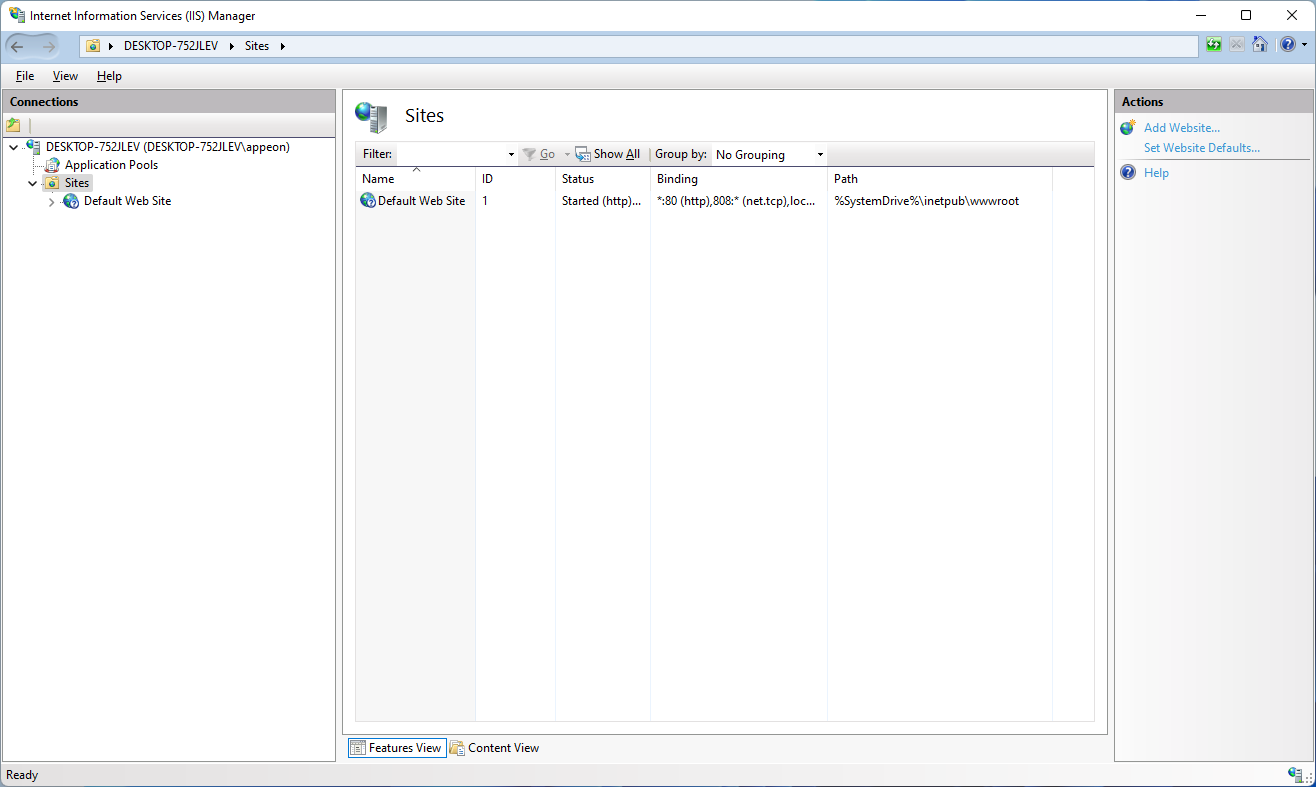
After IIS is installed, a Default Web Site is automatically created.
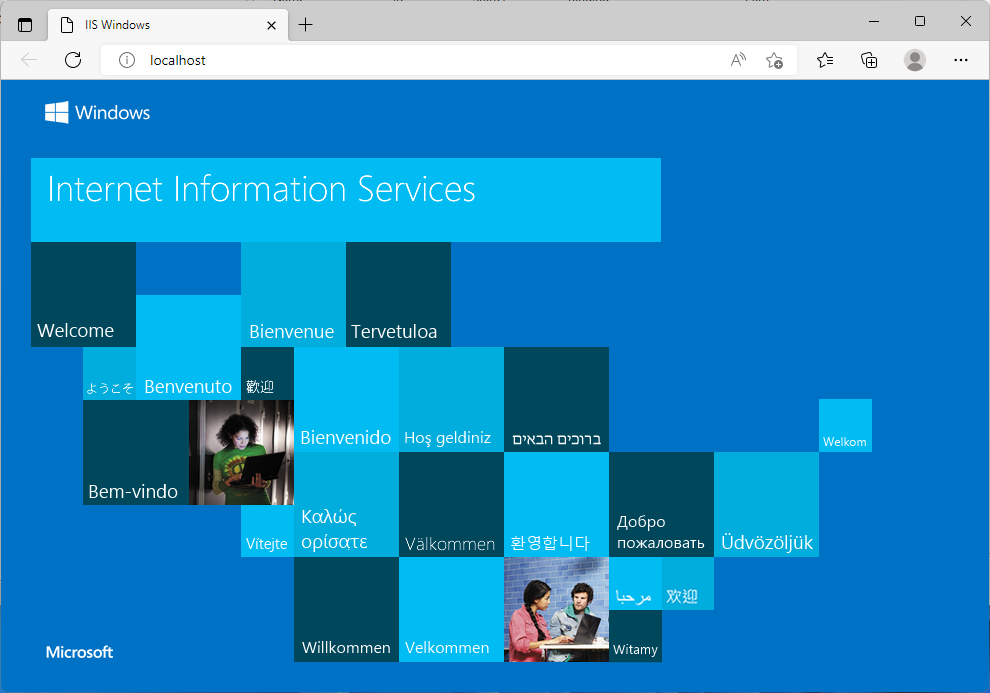
Step 4: Open a Web browser and input "http://localhost/" in the address bar.
The IIS welcome screen displays, which indicates the Default Web Site is working properly.


