After copying the client app to the IIS website, you can verify that the client app is pointing to the appropriate Web APIs and the cloud app launcher can be successfully installed.
Verify that the client app is pointing to the appropriate Web APIs.
-
On the IIS server machine, navigate to the following sub-folder of the client app: C:\inetpub\wwwroot\clientapp\salesdemo_cloud\1.01.
If you have created multiple deployment versions for the application, you will have multiple sub-folders, such as 1.01, 1.02, etc., make sure you navigate to the folder of the current deployment version.
-
Execute this command in the command prompt:
dotnet CustomizeDeploy.dll -url
Note
You'd better run the command prompt using an administrator by right-clicking it and then selecting "Run as administrator".
Note
The CustomizeDeploy.dll tool requires the ASP.NET Core Runtime 3.1 or later to run, therefore, you may be prompted to install ASP.NET Core Runtime if it is not installed.
-
Make sure the returned URL is where you will publish the Web APIs later.
If the URL is not what you want, reset it using the command. For example, set the URL to https://172.100.100.100:8888 using the following command:
dotnet CustomizeDeploy.dll -url=https://172.100.100.100:8888
Verify that the cloud app launcher can be successfully installed.
-
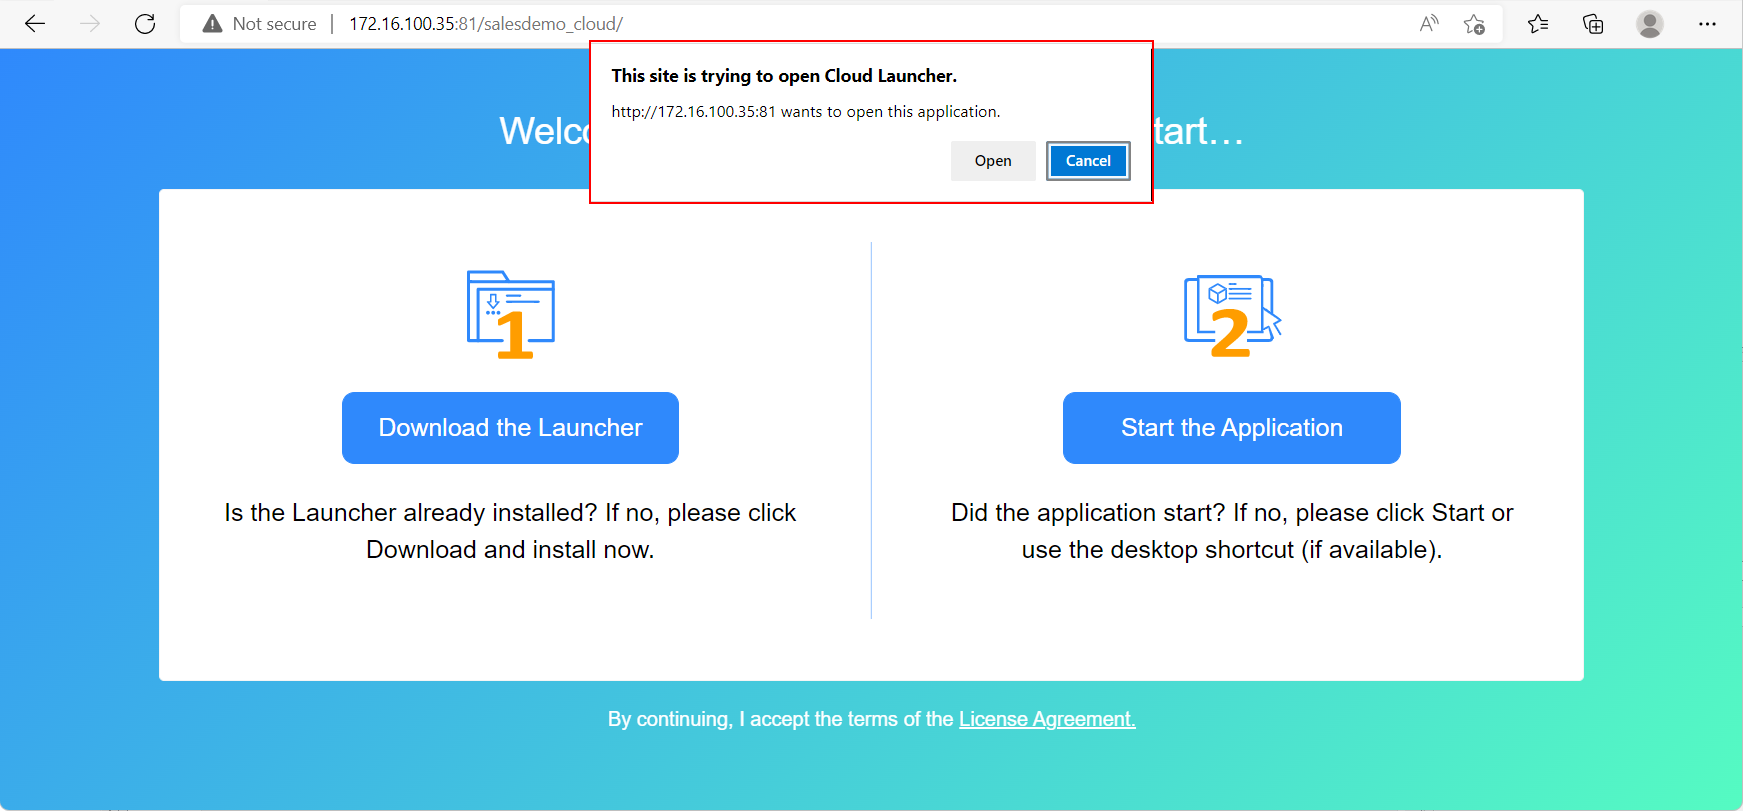
On the client machine, access the application URL in the Web browser: http://172.16.100.35:81/salesdemo_cloud/.
-
Follow the prompt message to open Cloud Launcher or download/install the cloud app launcher.
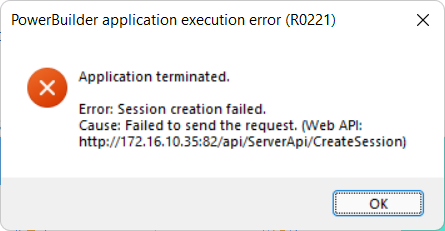
After the cloud app launcher is installed, the application will run and you will see the "Session creation failed" error. This is normal behavior because the Web APIs has not been published to the IIS website yet.


