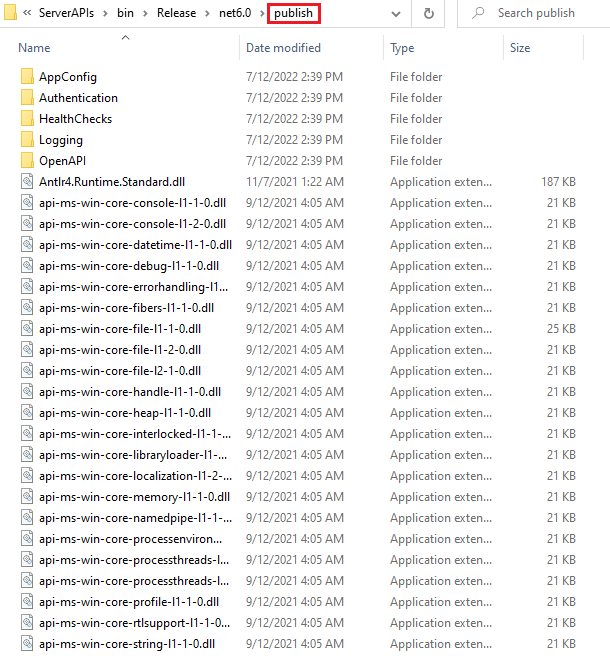
We will publish the Web APIs to a folder and then move the folder's content to the website folder on the IIS server.
Let's publish the Web APIs to a folder first.
Step 1: Open the PowerServer C# solution in SnapDevelop. Log in to SnapDevelop if required.
At startup, the solution will install/update the dependencies. Wait until the Dependencies folder completes the install/update. (Make sure the machine can connect to the NuGet site: https://www.nuget.org in order to successfully install PowerServer NuGet packages).
Step 2: In the Solution Explorer, right click on the ServerAPIs project node, and select Publish.
Step 3: In the window that appears, select Folder, and click Next.
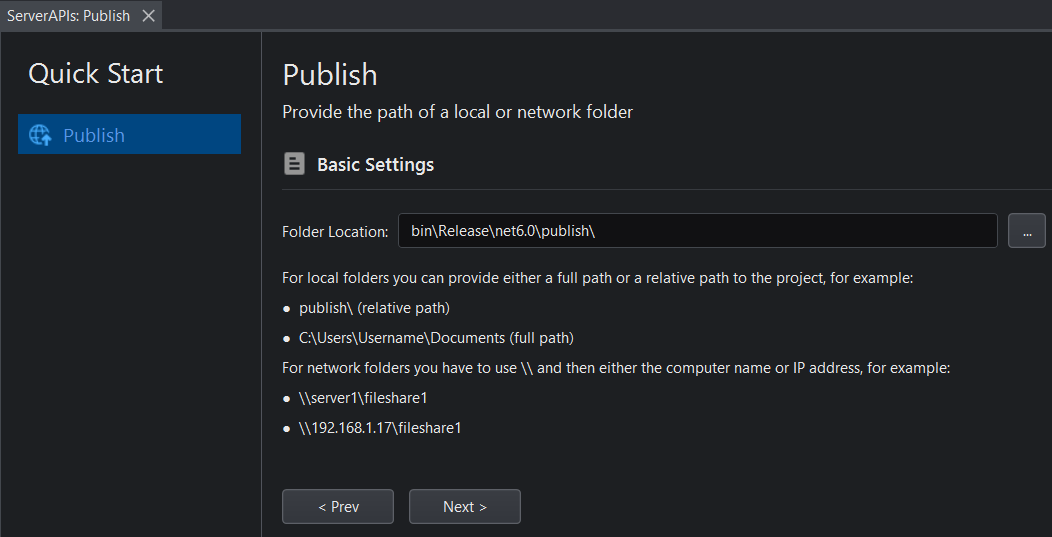
Step 4: Use the default location or specify a different location where the files will be published, and click Next.
Step 5: Click the Edit publish profile icon after the Release setting.
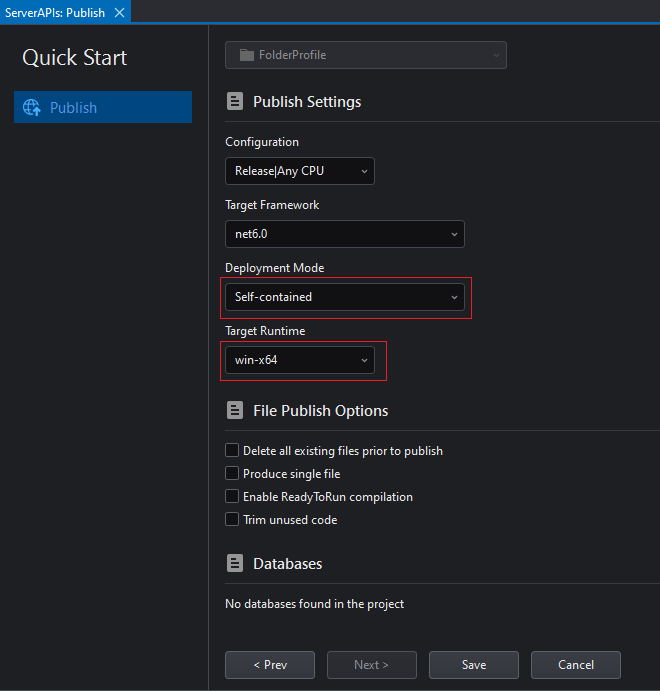
Step 6: Select the Self-Contained deployment mode and the appropriate target runtime, and then click Save.
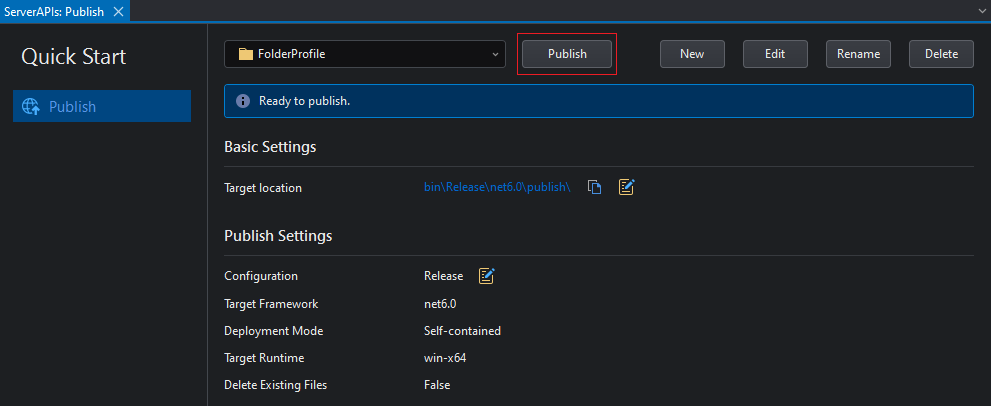
Step 7: Click Publish.
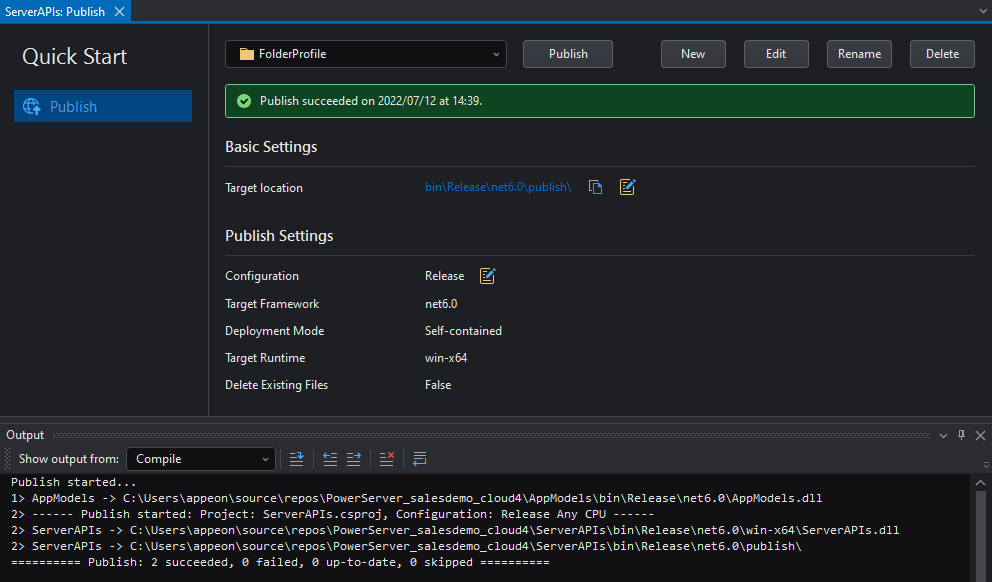
You can view the publish progress and result in the Output window.
Step 8: Make sure publishing was successful as shown in the figure below.
Step 9: Click the target location in the publish wizard to open the folder that contains the published files.
You will see a bunch of files generated under the "publish" folder.


