Step 1: Make sure your computer can connect to the NuGet site (https://www.nuget.org).
NuGet packages must be downloaded first in order to run the PowerServer Web APIs.
Step 2: Click the Run PowerServer
Project button ( ) in the toolbar.
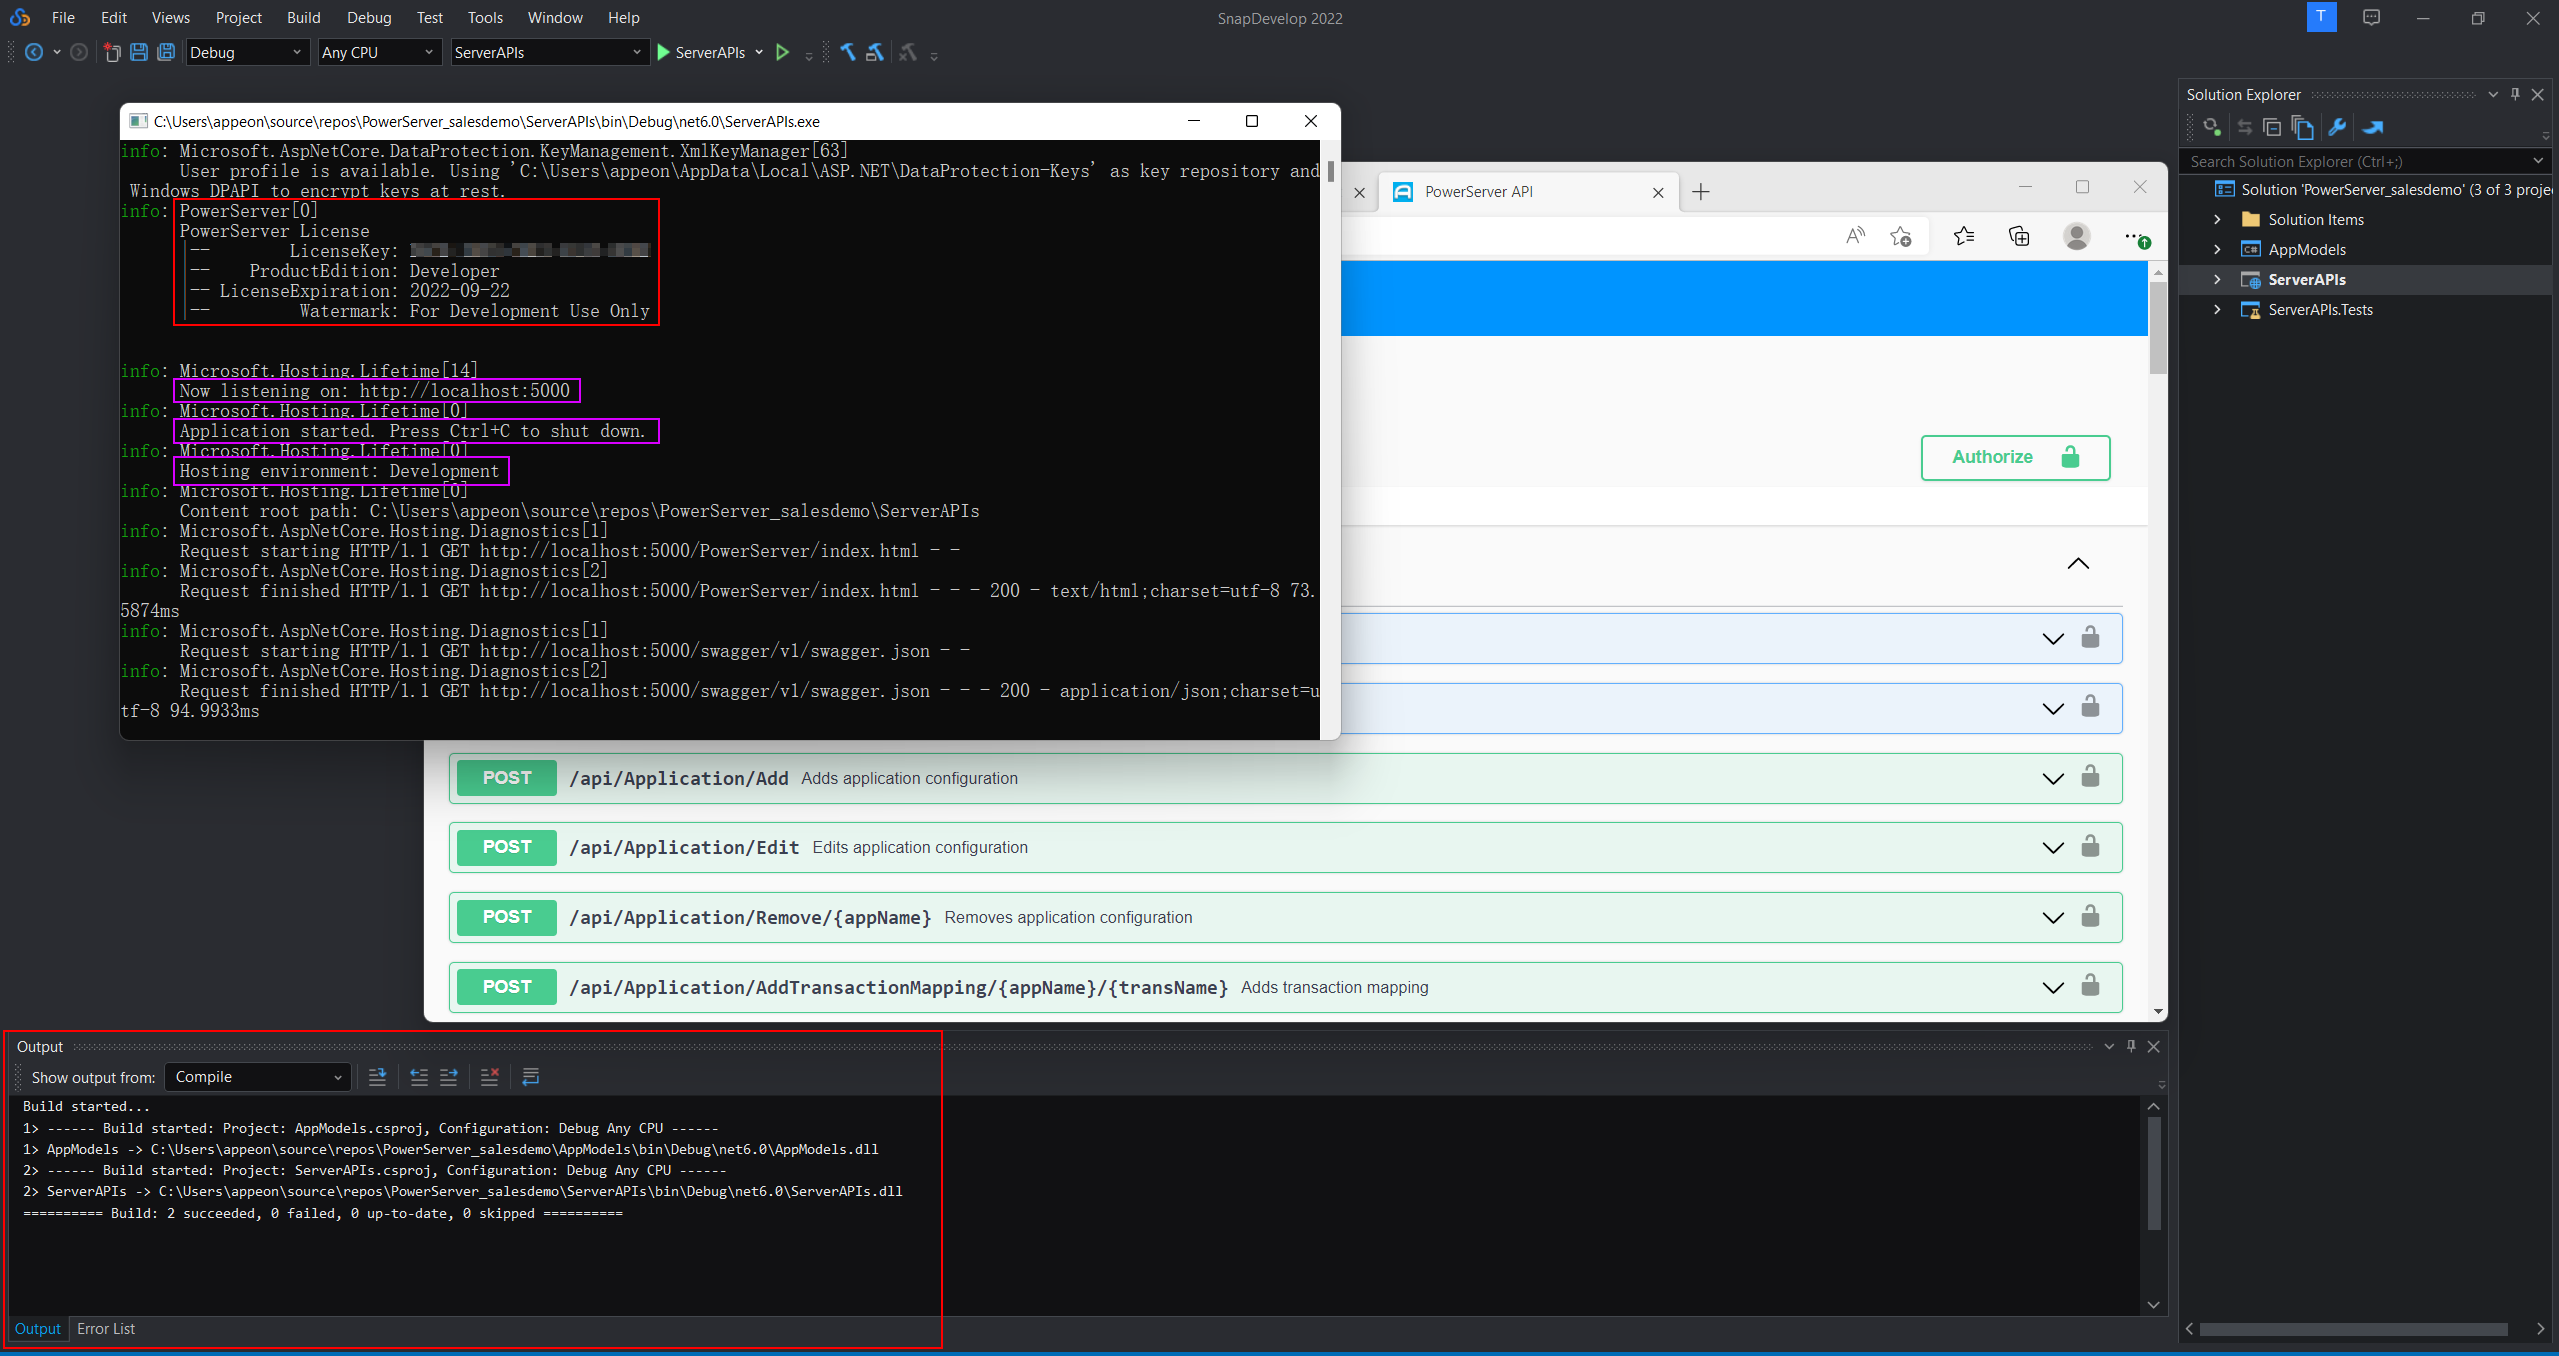
This will first run the PowerServer Web APIs on the local machine, including downloading the NuGet packages, building the PowerServer Web APIs, and running the PowerServer Web APIs on its built-in Kestrel server, all automatically.
Make sure the API console window displays "Now listening on: http://[ip]:[port]". This should exactly match with the URL specified in Verifying the .NET Server page.
Make sure the API console window displays "Application started...". This indicates PowerServer Web APIs starts successfully.
After PowerServer Web APIs is started, the client app will start to run in the Web browser automatically. The app URL to be run is http://localhost:80/salesdemo_cloud_new by default.
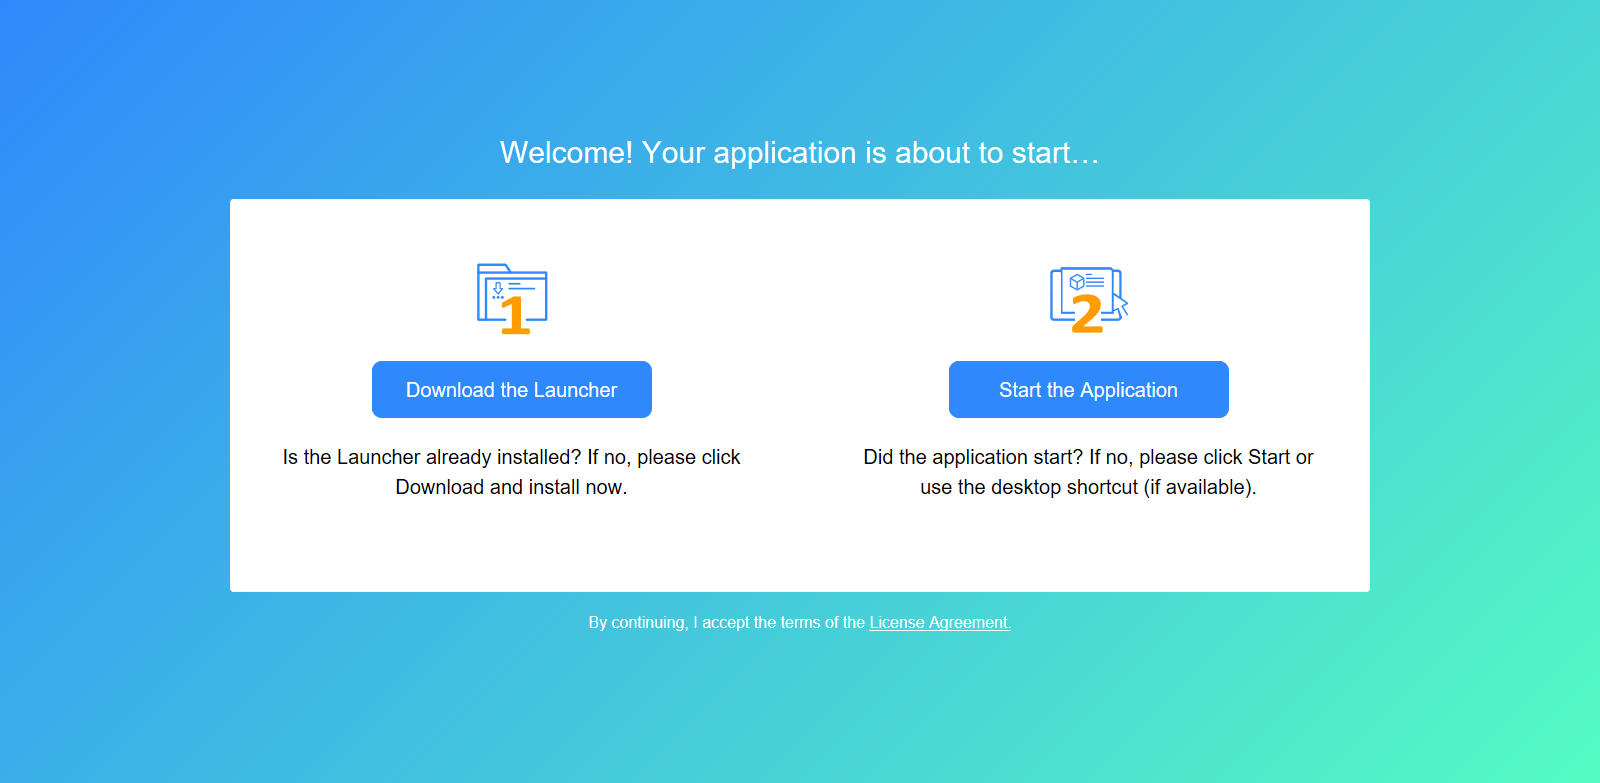
In the app entry page that appears, click Download the Launcher to download and install the launcher.
After the launcher is installed, the application should automatically start, if not, click Start the Application in the entry page to start the application.
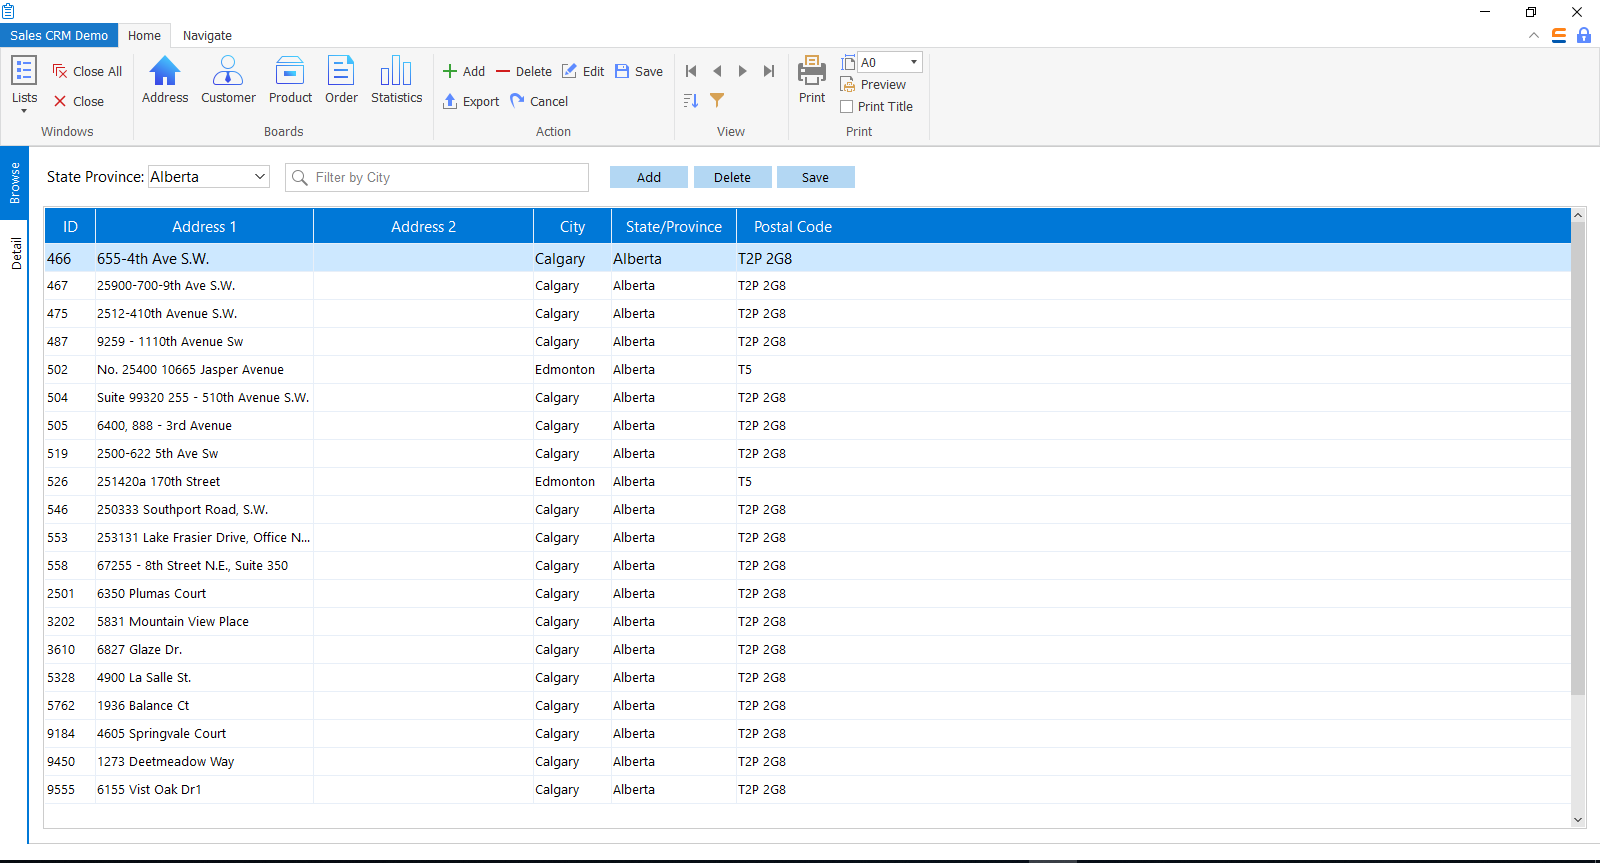
When the application main window displays, click the Address button in the application toolbar. Data should be successfully displayed.
You can view the logs in the API console window to check if the Web API requests and responses are successful.
Once the application installs and runs successfully, you should be able to find the app shortcut on the desktop as well as on the Windows start menu on your client PC.
For more information about running the Web APIs, refer to Run the Web APIs.
For more information about running the application, refer to Run the installable cloud application.
For any issue or error occurred, refer to Troubleshooting Guide > Running installable cloud apps.


