We will publish the Web APIs to a folder and then move the folder's content to the IIS web site's physical path.
Let's publish the Web APIs to a folder first.
Step 1: Open the PowerServer C# solution in SnapDevelop. Log in to SnapDevelop if required.
At startup, the solution will install/update the dependencies. Wait until the Dependencies folder completes the install/update. (Make sure the machine can connect to the NuGet site: https://www.nuget.org so PowerServer NuGet packages can be successfully downloaded and installed).
Step 2: In the Solution Explorer, right click on the ServerAPIs project node, and select Publish.
Step 3: In the window that appears, select Folder, and click Next.
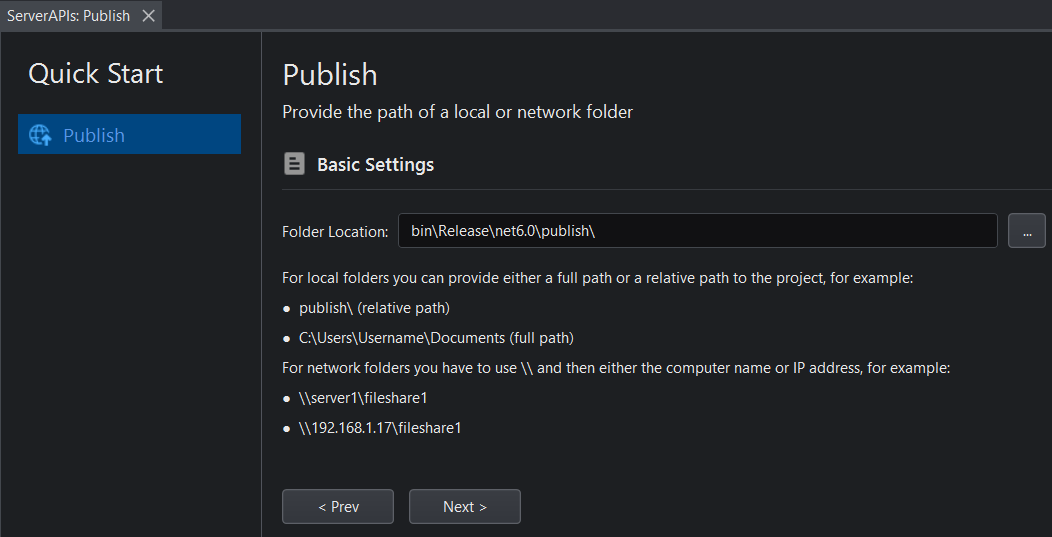
Step 4: Use the default location or specify a different location where the files will be published, and click Next.
Step 5: Click the Edit publish profile icon after the Release setting.
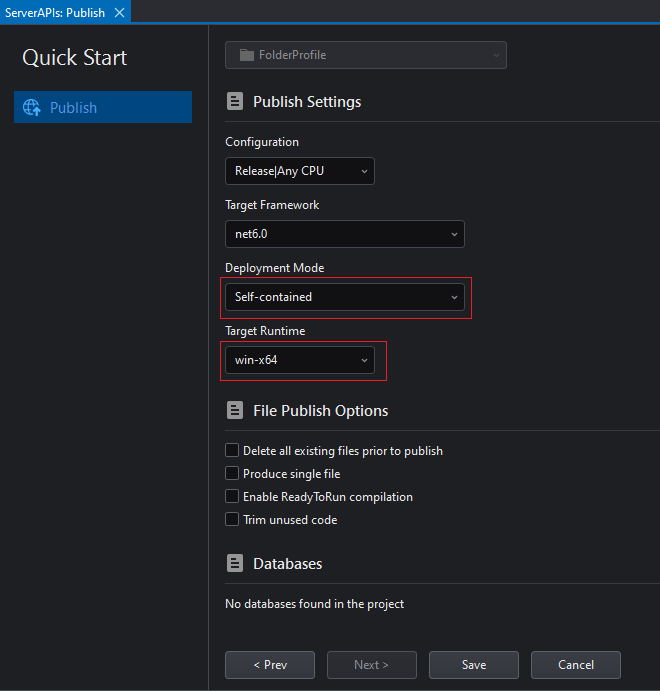
Step 6: Select the Self-Contained deployment mode and the appropriate target runtime, and then click Save.
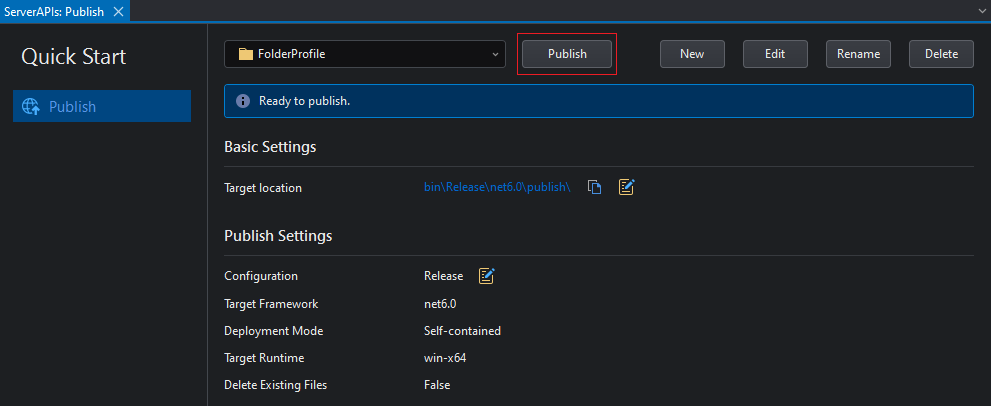
Step 7: Click Publish.
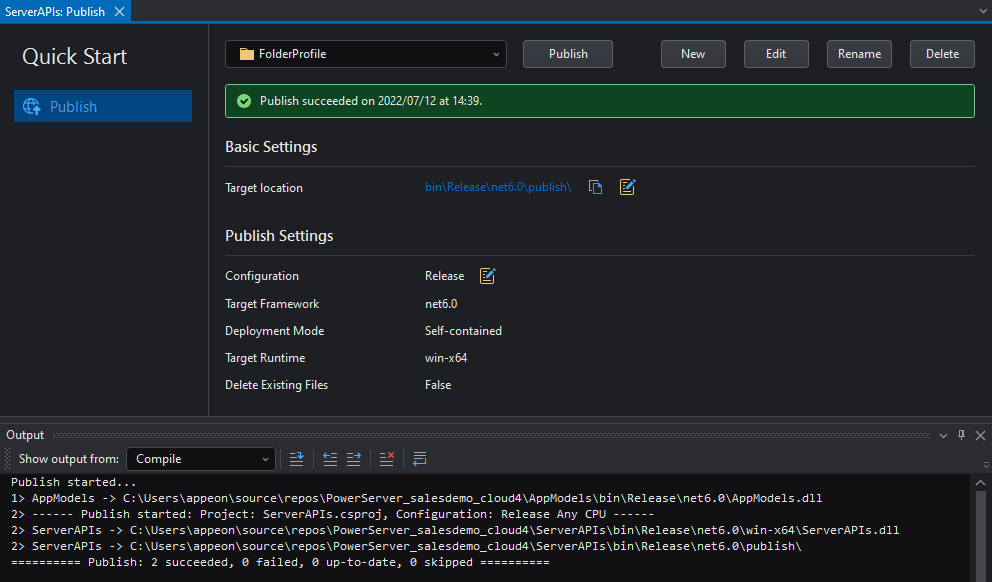
You can view the publish progress and result in the Output window.
Step 8: Make sure publishing was successful as shown in the figure below.
Step 9: Click the target location in the publish wizard to open the folder that contains the published files.
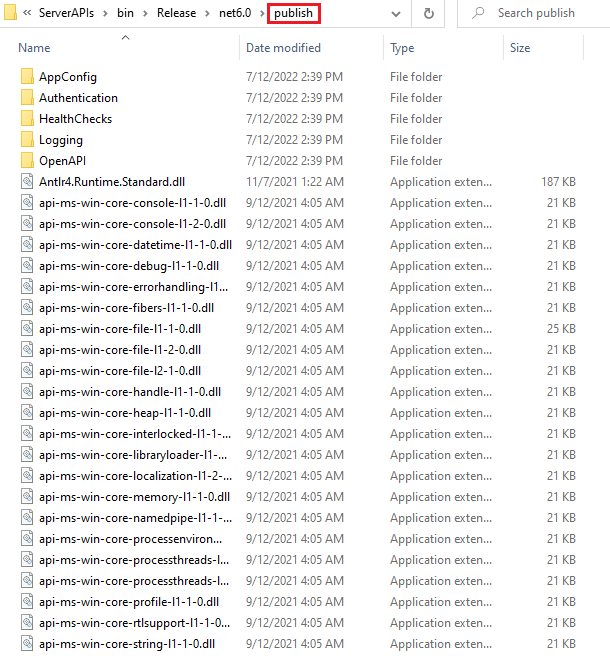
You will see a bunch of files generated under the "publish" folder.
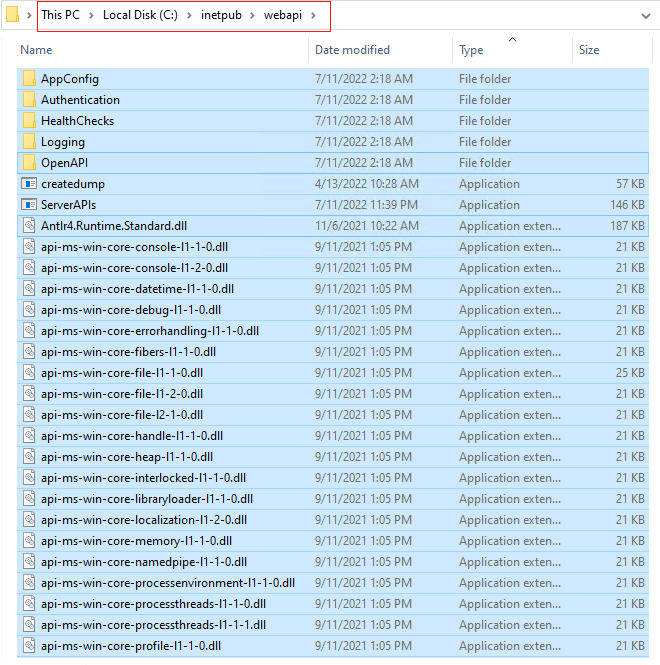
Copy all files from the "publish" folder to the physical path of the IIS web site.
In this guide, copy files to the C:\inetpub\webapi folder (or any folder you specify as the web site's physical path), as shown below.
After you copied the published Web APIs to the IIS web site, the IIS process manager will automatically launch the Web APIs.
Although you don't need to start the Web APIs manually, it is recommended that you verify the Web APIs can start and work correctly.
To verify that the Web APIs can automatically start:
-
Verify that the Web APIs can be started (you can access the Web APIs through "localhost" or through IP address or domain name: http://localhost:[port], or http://[ip]:[port], or http://[domain]:[port]).
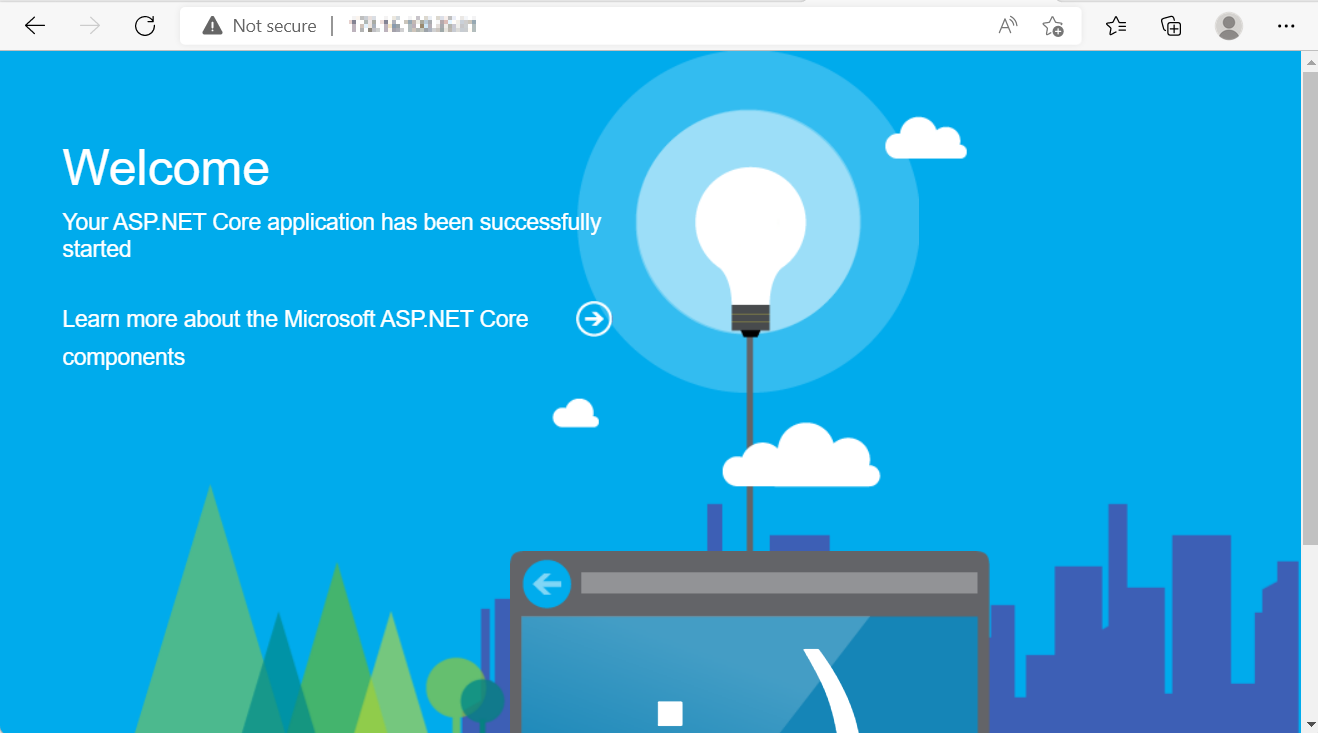
Make sure the welcome page is displayed (as shown below), indicating the Web APIs can be started and accessed successfully.
-
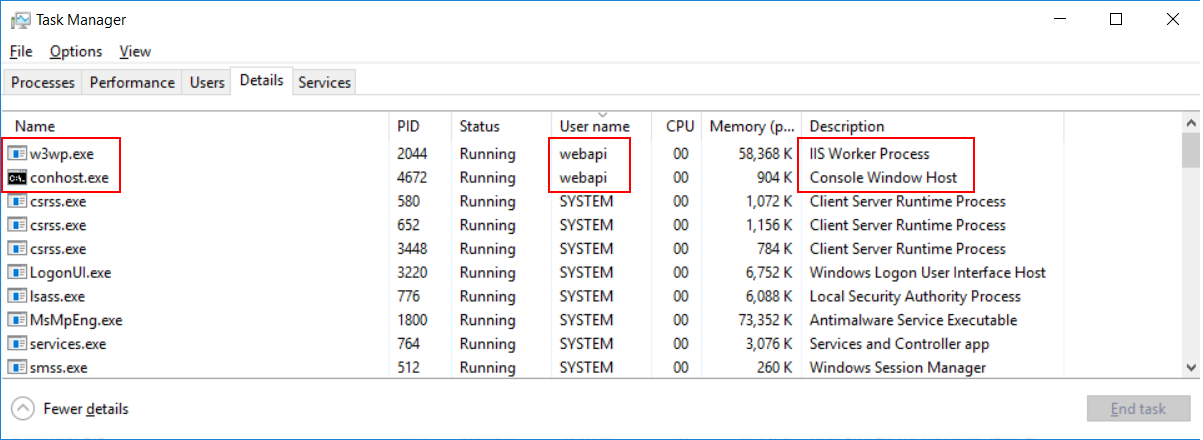
Open the Task Manager. You will notice that the following two processes have been automatically started.
-
End these two processes and then access the Web APIs again. The two processes will automatically start again.
To verify that the Web APIs is working normally:
-
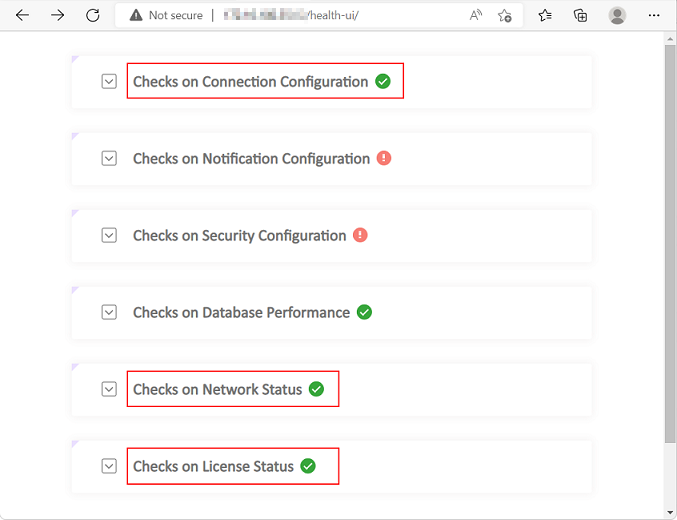
Access this URL in the Web browser: http://localhost:[port]/health-ui/.
-
Make sure a green check icon (
 ) is displayed for "Checks on Connection
Configuration", "Checks on Network Status", and "Checks on
License Status".
If you see an exclamation mark icon (
 ), you should expand to view details. For
example, you may see the following information if there is a
database connection problem. Follow the suggestions part to try
to resolve the problem.


