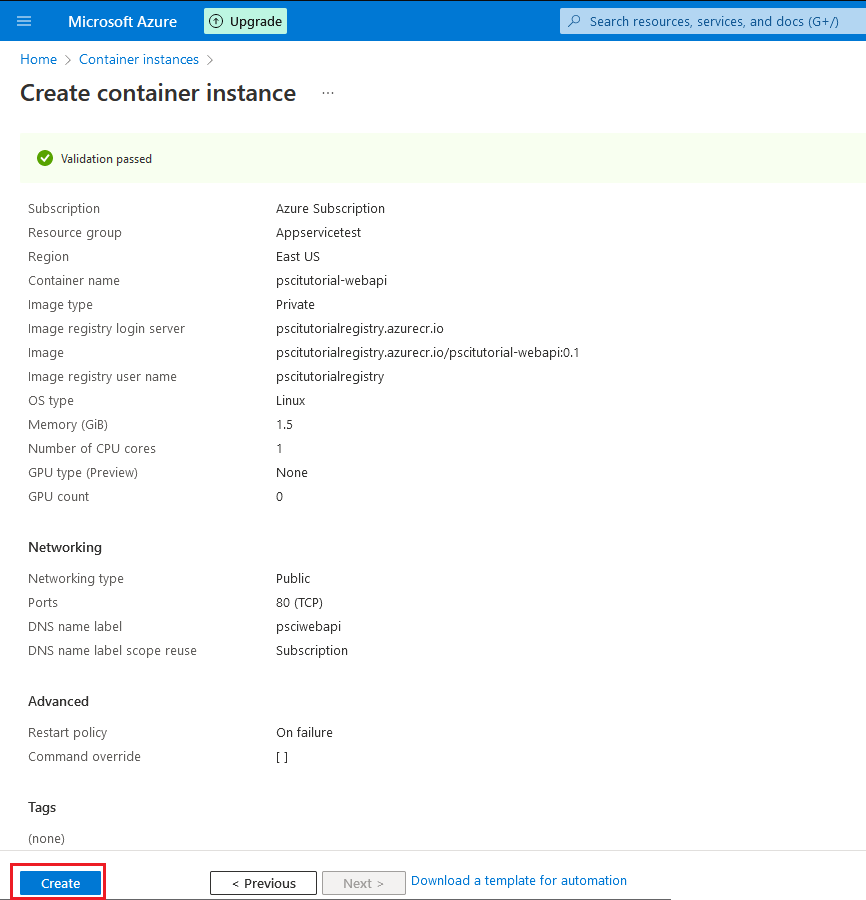
In the Azure portal, create a new Container
Instance resource and fill in the main values in the
Basics tab. In the Image
source option, select Azure Container
Registry, and then select the repository and image you just
uploaded. In Networking, set the
Networking type option to Public, the DNS
name label to psciwebapi and the
DNS name label scope reuse to Subscription.
Note: setting the container’s network to public is discouraged and it’s recommended to use some sort of load balancer instead. Load balancers will, additionally, allow you to do SSL/TLS termination. However this is outside the scope of this tutorial. To read more about load balancing in Azure please visit this link.
Review the settings and click Create:
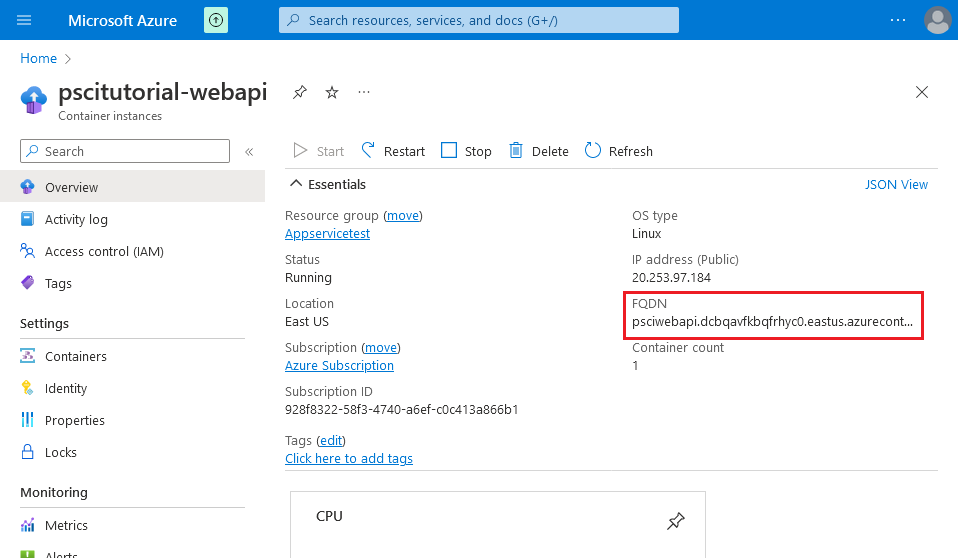
Once the resource finishes deploying, go to the resource page and go to the URL specified in the FQDN field of the Overview page:
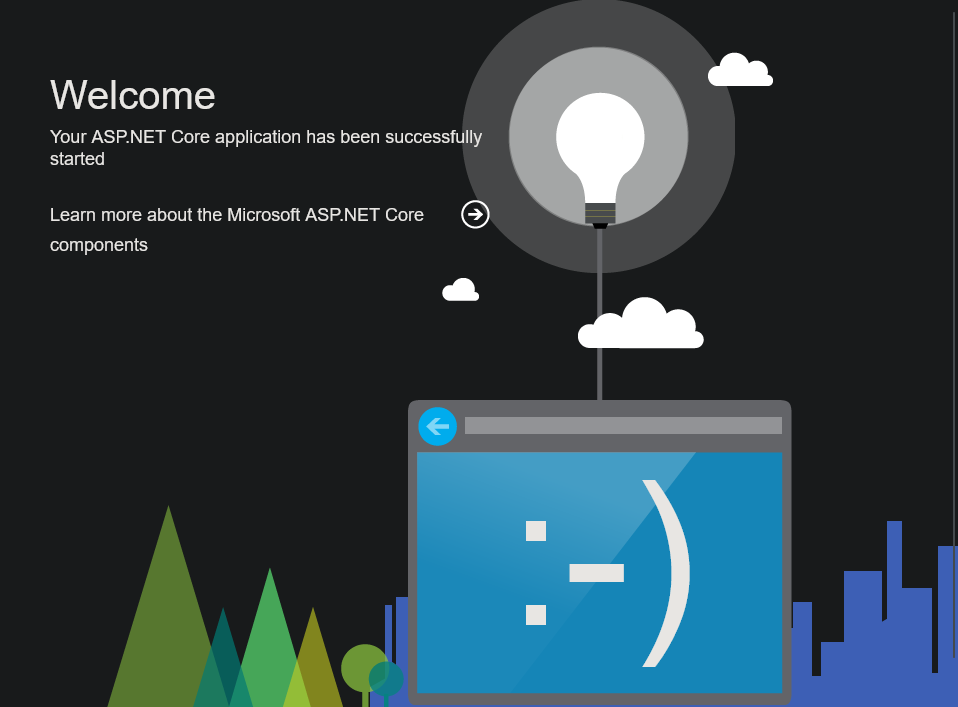
You should be able to see the following. Take note of this URL.


