Let's now install IIS on this machine.
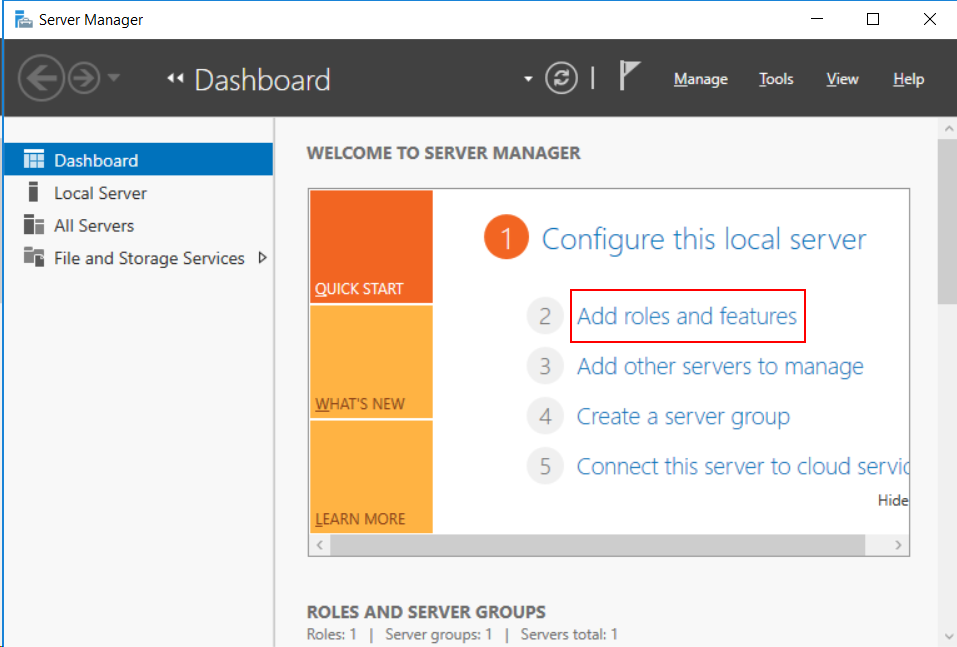
Step 1: In Windows Server 2019, open Server Manager, and then select Add roles and features.
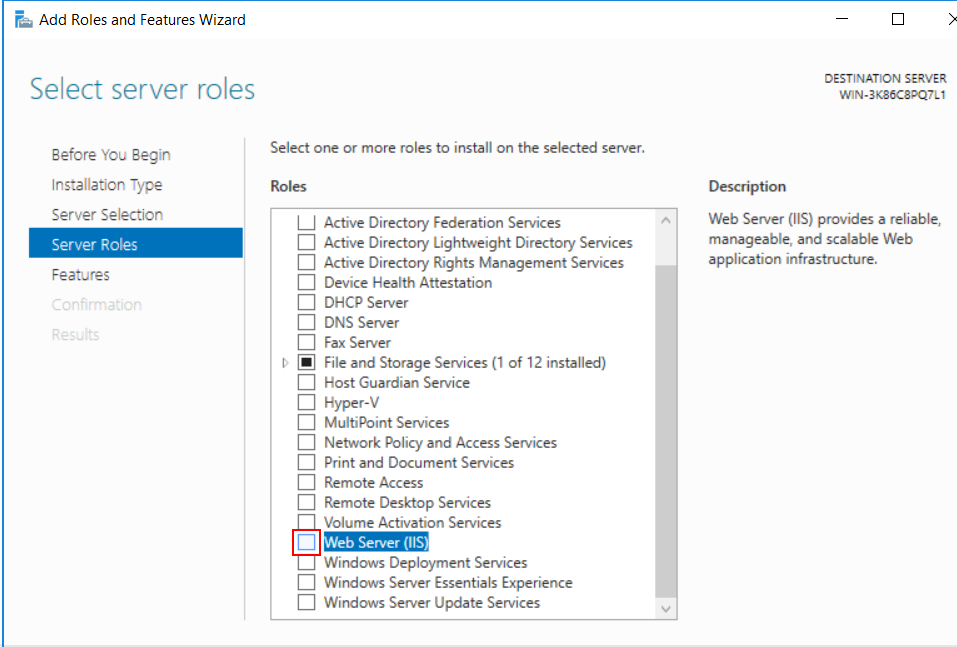
Step 2: In the Add Roles and Features Wizard, click Next several times until the Server Roles section displays; then select the check box of Web Server (IIS).
Step 3: Click Add Features when asked whether to add features required for Web server.
Step 4: Make sure the Web Server (IIS) check box is selected, and click Next.
Step 5: Click Next several times until the Role Services section displays. Make sure the following role services are selected.
Step 6: Click Next and then click Install.
After IIS is installed, a Default Web Site (using port 80) is automatically created.
Step 7: Open a Web browser and run the following URL to access the Default Web Site.
http://172.16.100.35:80/
The server IP used in this guide is 172.16.100.35. You should replace it with the IP address of your own server.
If the IIS welcome screen displays, IIS and the default website are working properly.


