You will need to create two container images: one contains the Web server and the client app, and the other contains the PowerServer Web APIs.
This is to create a Docker container image that contains the Web server and the client app.
This tutorial will show you how to create a container image using the Dockerfile.
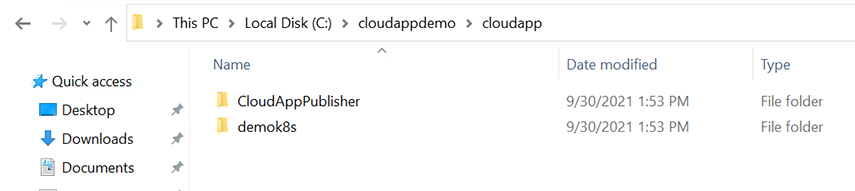
Step 1: Extract the zipped file of the client app to the local directory, for example, C:\cloudappdemo\cloudapp.
(In the following screenshot, demok8s is the
application name. Make a note of the application name, as it will be
used in the application URL to access the application later.)
Step 2: Create a Dockerfile and input the following commands.
Example 1: the following commands get an Apache HTTP server image from the public repository and then add the client app to the web root of the Apache HTTP server.
FROM httpd:latest
COPY --chown=daemon:daemon "cloudapp/" "/usr/local/apache2/htdocs/"
Example 2: the following commands get an Nginx Web server image from the public repository and then add the client app to the web root of the Nginx Web server.
FROM nginx:latest
COPY --chown=nginx:nginx "cloudapp/" "/usr/share/nginx/html/"
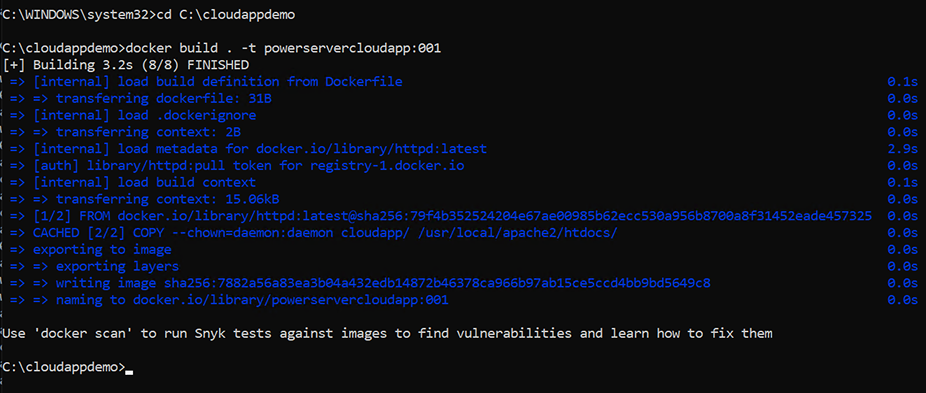
Step 3: Place the Dockerfile to the local directory, for example, C:\cloudappdemo.
Step 4: Use the docker build command to create the image and tag it as powerservercloudapp:001.
The dot (.) in the middle of the command sets the location of the Dockerfile (in this case, the current directory).
cd C:\cloudappdemo
docker build . -t powerservercloudapp:001
Step 5: After the image is created, use the docker images command to see the images.

This is to create a Docker container image that contains the PowerServer Web APIs.
This tutorial will show you how to build and publish the PowerServer Web APIs as a Docker container image in the SnapDevelop IDE.
Step 1: Open the PowerServer C# solution in SnapDevelop.
Click the Open C# Solution in SnapDevelop button in the toolbar to launch the PowerServer C# solution in SnapDevelop. Or go to the location where the PowerServer C# solution is generated; and double click PowerServer_[appname].sln to launch the solution in SnapDevelop.
Step 2: Add docker support to the ServerAPIs project.
-
In the Solution Explorer, right click on the ServerAPIs project node, and select Add > Docker Support.
-
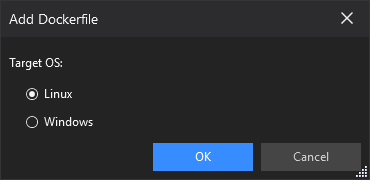
In the Add Dockerfile dialog, select the target OS: Linux or Windows, and click OK. The target OS indicates the platform where Docker Engine and Docker Container are running.
A file named Dockerfile is automatically created according to the selected OS and added under the ServerAPIs project. This file contains all the commands required for building a docker image appropriate for the selected OS.
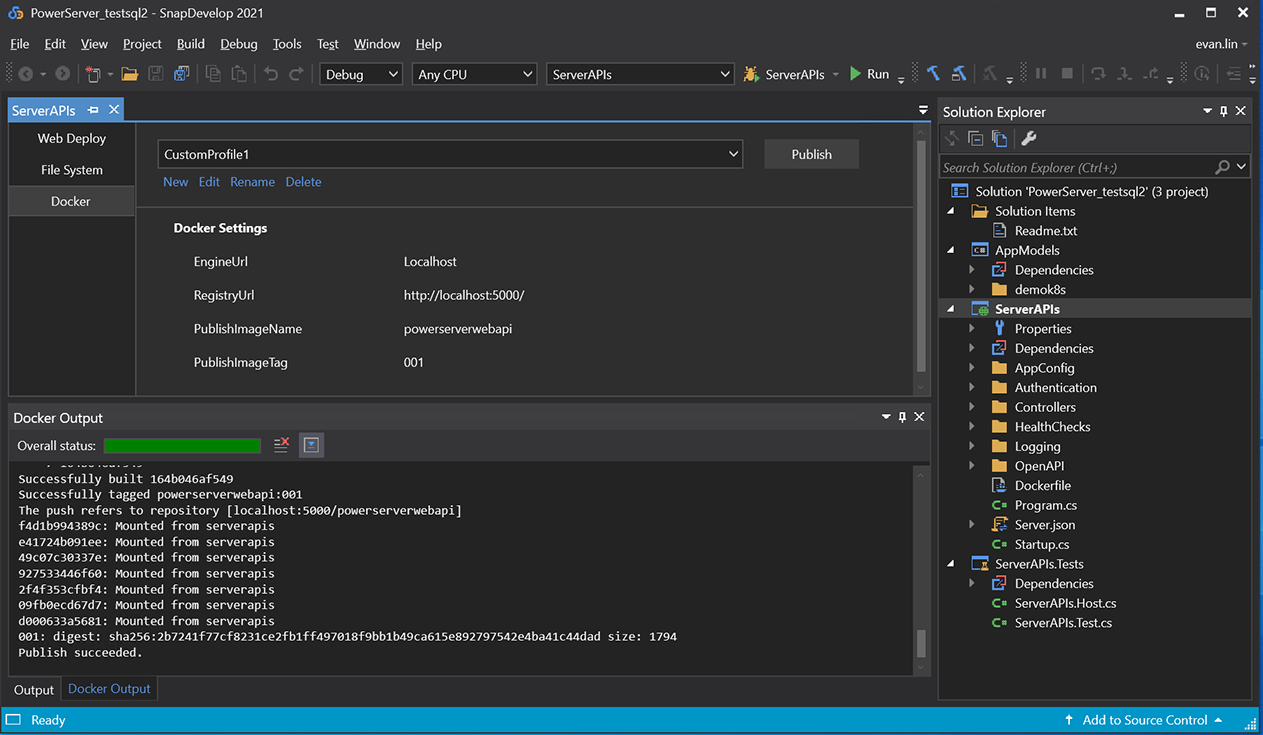
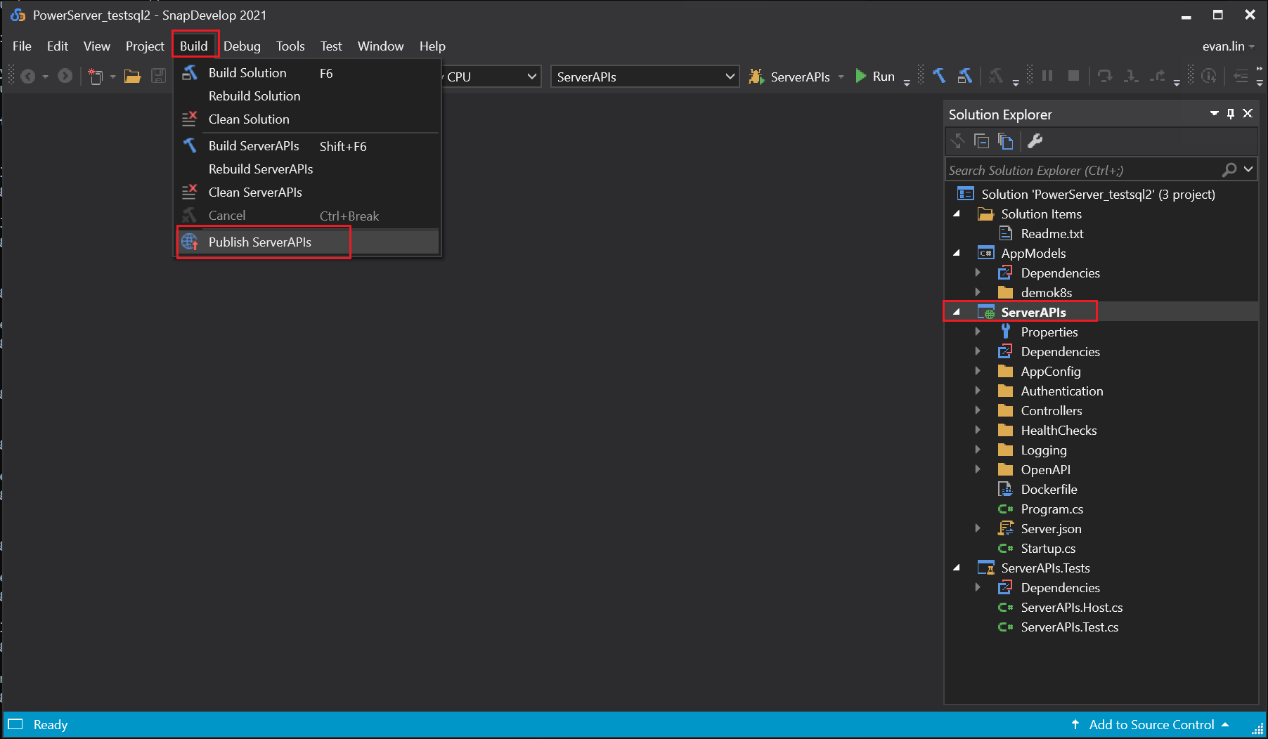
Step 3: In the Solution Explorer, select the ServerAPIs project, and then select menu Build > Publish ServerAPIs.
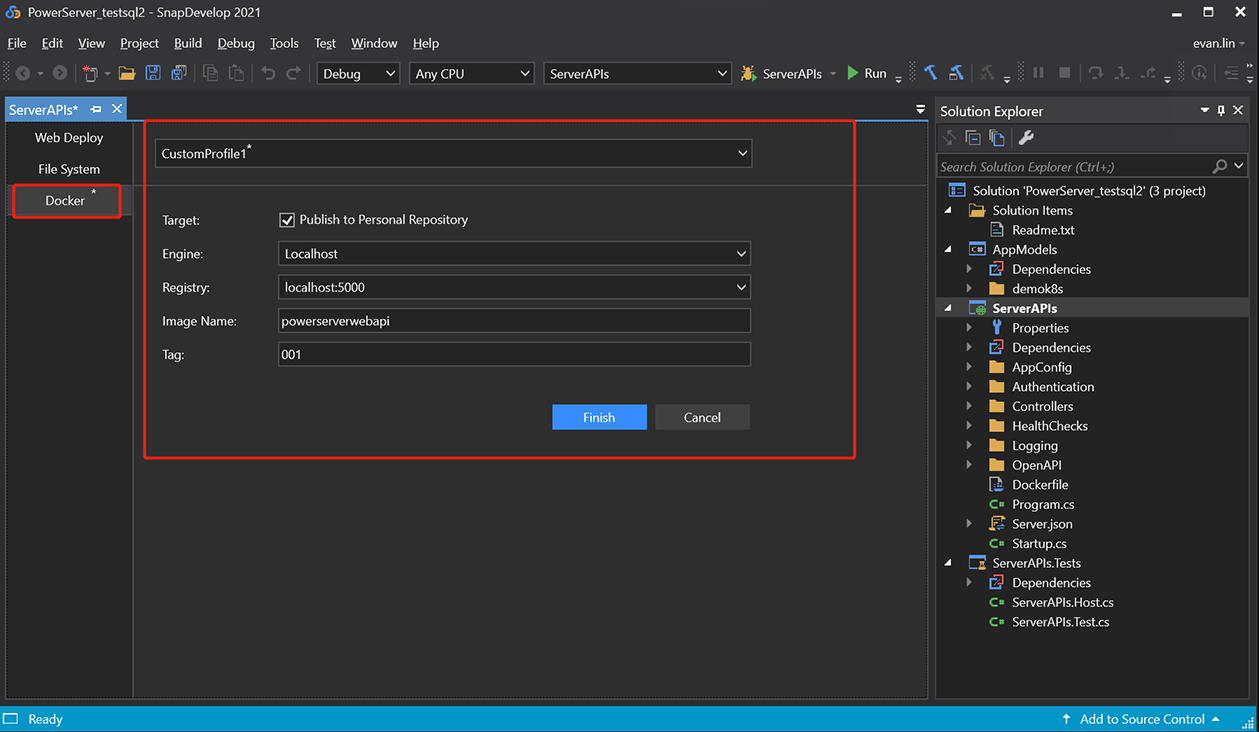
Step 4: In the window that appears, select Docker, and then click Start to configure for publish.
-
Keep Publish to Personal Repository checked if you are connecting to your own repository. If the repository is owned by an organization, clear the checkbox, and enter the organization name.
-
In the Engine field, select localhost.
-
In the Registry field, specify to store the container image in the local repository.
-
In the Image Name field, enter a name for the container image you want to create.
-
In the Tag field, enter a tag, for example, enter 001 to indicate the image version.
-
Click Finish to start building the project as an image and publishing the image to the specified Docker Engine and docker registry.
Step 5: Check the Docker Output window and make sure the publish is successful.