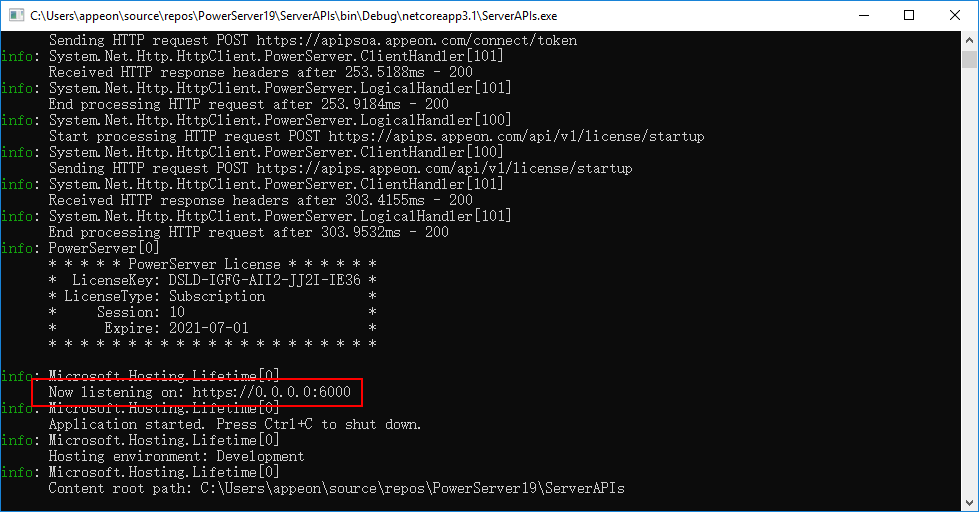
Now let's run the PowerServer Web APIs and verify that the requests are forwarded successfully from the reverse proxy server to the PowerServer Web APIs.
In this tutorial, we will start the PowerServer Web APIs as a console application in the local development environment, in order to easily view the detailed log information.
1) First of all, change the PowerServer log level to "Debug" or "Trace" in the PowerServer solution > UserExtensions project > Logging folder > Logging.Development.json file. This will produce detailed logs about the server requests.
There is another file Logging.json in the same folder. This file is used in the production environment. If you will publish and run Web APIs in IIS, docker etc., you will need to configure the log level in this file.
2) Start the PowerServer Web APIs as a console application in the local development environment, using either of the following methods:
-
Open the PowerServer C# solution in the SnapDevelop IDE and then click the Run button, or
-
Execute the "dotnet run --project PowerServer19\ServerAPIs\ServerAPIs.csproj" command
Make sure the PowerServer Web APIs is running on the correct IP address and port number. For example, https://172.16.100.35:6000/ in this guide. You may modify the port number in the launchSettings.json file of the ServerAPIs project of the PowerServer C# solution when running in the development environment.
Run the application (https://172.16.100.35:80/salesdemo_cloud in this guide). You should be able to see from the console that the requests are going through successfully and the requests are originally made to the Apache proxy server (https://172.16.100.35/8080 in this guide).
Once you have verified that the reverse proxy server works properly, you can publish and start the PowerServer Web APIs in a production environment, as described in Starting Kestrel in production environment.


