In this guide, we will install IIS and deploy and run the client app files and PowerServer Web APIs on IIS.
To install IIS,
Step 1: In Windows 11, navigate to Control Panel > Programs > Programs and Features > Turn Windows features on or off.
Step 2: Expand the Internet Information Services node and make sure the following features are selected.
-
IIS Management Console
-
.NET Extensibility 4.8
-
Application Initialization
-
ASP.NET 4.8
-
ISAPI Extensions
-
ISAPI Filters
-
Default Document
-
Static Content
Step 3: Click OK to install the selected features.
After IIS is installed, a Default Web Site is automatically created.
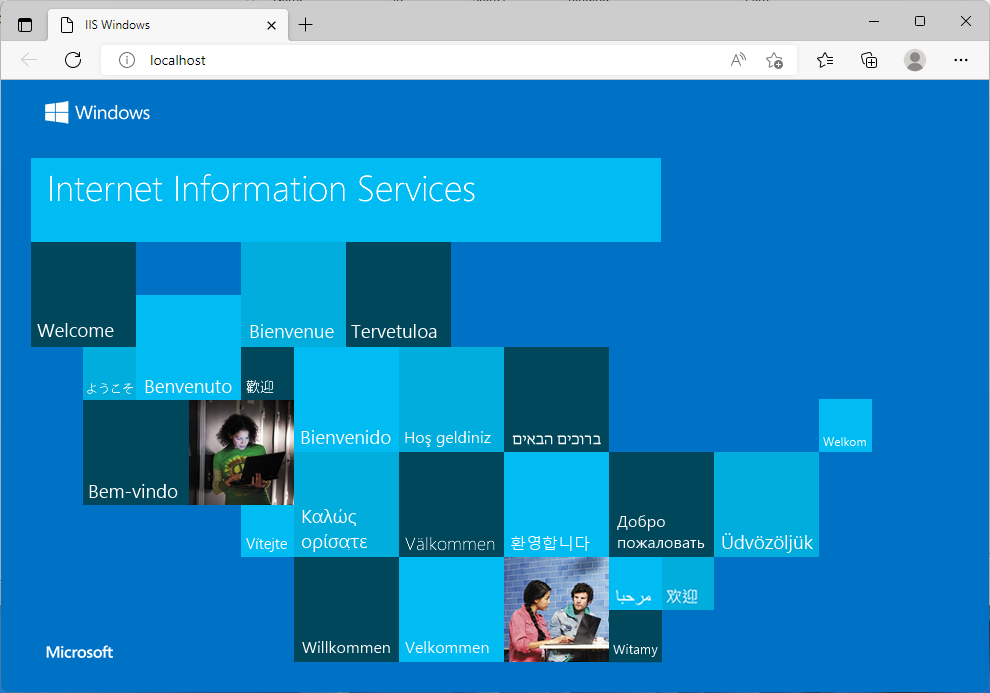
Step 4: Open a Web browser and input "http://localhost/" in the address bar.
The IIS welcome screen displays, which indicates the Default Web Site is working properly.


