To package a server deployment project and the related settings, take the following steps:
Step 1: Start the servers, as the package wizard will pack settings of PowerServer and AEM.
Step 2: Click the Package
( ) button on the PowerServer Toolkit to open the
PowerServer Application Package tool.
) button on the PowerServer Toolkit to open the
PowerServer Application Package tool.
Step 3: Select the Server Deployment Project package type.
To package the mobile application to a stand-alone mobile app, select Standalone Mobile Project and follow detailed instructions in Packaging a stand-alone mobile project.
To customize Appeon Workspace and then package Appeon Workspace to a standalone application, select Customized Appeon Workspace and follow detailed instructions in Customizing and packaging Appeon Workspace.
Step 4: Select the package profile. The profile is displayed according to the selected package type.
If no package profile is available, you should create one first by following instructions in Creating a package profile.
Step 5: Click Package to start packaging the application files.

Step 6: The PowerServer Application Package Wizard appears. Wait while the wizard is packing files and settings.
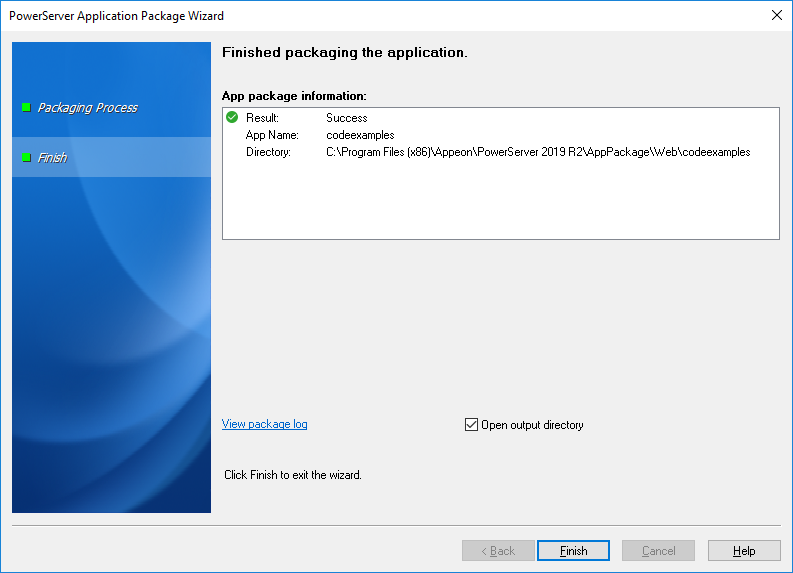
Step 7: Once the operation is complete, click Finish to exit the package wizard.
To view the log information generated during the packaging process, click View Package Log. The log file will be displayed.
To view the generated package, keep the Open output directory box selected and then click Finish.
After the application is successfully packaged, all the necessary application files will be packaged into an executable deployment project under the specified location. You can copy the deployment project to other computers and deploy the application to any PowerServer and Web Servers by following instructions in the section called “Installing and uninstalling an application to the server”.
