Step 1: Launch the Appeon for PowerBuilder 2016 Setup program and select to install Appeon Server for WebSphere (see Starting the installation).
Step 2: Click the OK button in the Confirm Upgrade message box.
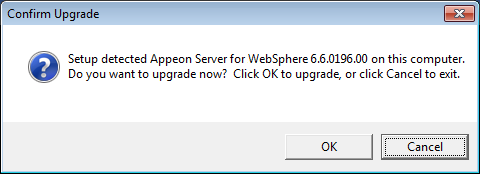
When the OK button is clicked, a message box opens indicating that the upgrade is preparing files.

The upgrade process uninstalls the old version of Appeon Server, backs up configurations and begins the installation of Appeon Server based on the backup information. This will take several minutes.
Step 3: Click the Finish button when the upgrade is complete.
Step 1: Launch the Appeon for PowerBuilder 2016 Setup program and select to install Appeon Developer (see Starting the installation).
Step 2: Click the Yes button in the Confirm Upgrade message box.
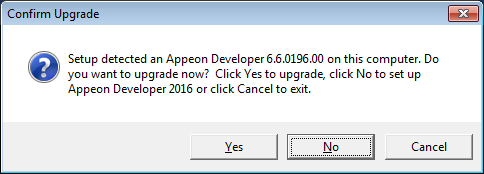
Once you click the Yes button, a message box opens indicating that Setup is preparing files.
The upgrade process uninstalls the old version of Appeon Developer, backs up configurations then begins the installation of Appeon Developer based on the backup information. This will take several minutes.
Step 3: Click the Finish button when the upgrade is complete.
Step 1: Launch the Appeon for PowerBuilder 2016 Setup program and select to install Appeon Server Web Component (see Starting the installation).
Step 2: Click the Yes button in the Confirm Upgrade message box.
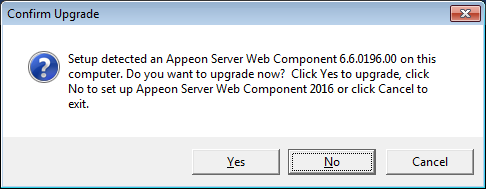
Once you click the Yes button, a message box opens indicating that Setup is preparing files.

The upgrade process uninstalls the old version of Appeon Server Web Component then begins the installation of Appeon Server Web Component. This will take several minutes.
Step 3: Click the Finish button when the upgrade is complete.
