In the previous lessons, the Appeon tutorial PowerBuilder application has undergone careful analysis for unsupported features. Now you will launch the Appeon Deployment Wizard to convert the tutorial application onto the Web automatically.
To deploy the tutorial application onto the Web automatically:
Step 1: Make sure Appeon Server is started. For details, refer to the section called “Starting Appeon Server and Web server”.
Step 2: Within the PowerBuilder IDE, click the Deploy button ( ) in the Appeon Developer toolbar. The Appeon
Deployment Wizard starts.
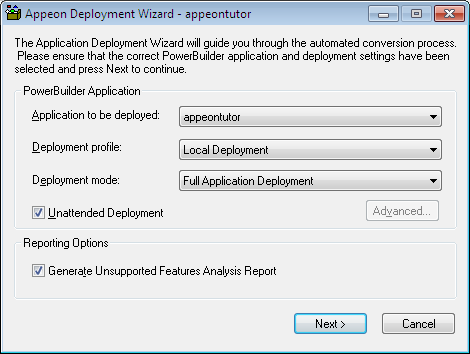
The start page of the Wizard displays the following information:
-
Application to be deployed - The current application (appeontutor) is selected by default from the list of applications that are defined in Appeon Developer application profiles.
-
Deployment profile - Make sure the deployment profile, Local Deployment, is selected.
-
Deployment mode - Since it is the first time the tutorial application will be deployed, the Full Application Deployment mode will be selected by default. For subsequent deployments, the Incremental Application Deployment will be selected by default.
-
Unattended Deployment - Check this option so that the entire deployment process is automatic.
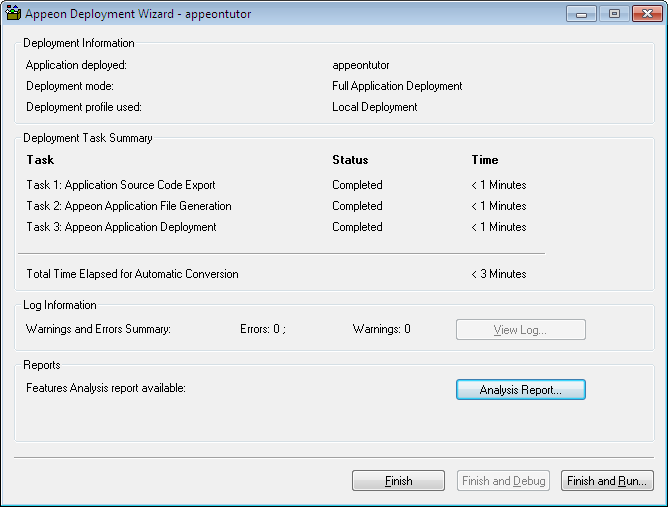
Step 3: Click Next to start the automatic Web deployment process. The Appeon Deployment Wizard will perform three tasks:
-
PowerBuilder application source code export and analysis (Task 1: Application Source Code Export).
-
Parsing of the PowerBuilder source code (PBL files) into Web application files that are stored on the local machine (Task 2: Appeon Application File Generation).
-
Transfer of local Web files to the Web Server by using either file copy or FTP, and uploads DataWindows to the Appeon Server (Task 3: Appeon Application Deployment).
When the deployment process is complete, the report dialog box is displayed.
Step 4: Click Finish.


