A package profile is a file containing configurations that are required for packaging the server deployment project. It includes the package type, server settings, AEM settings, application settings etc.
To create a package profile, follow the steps below:
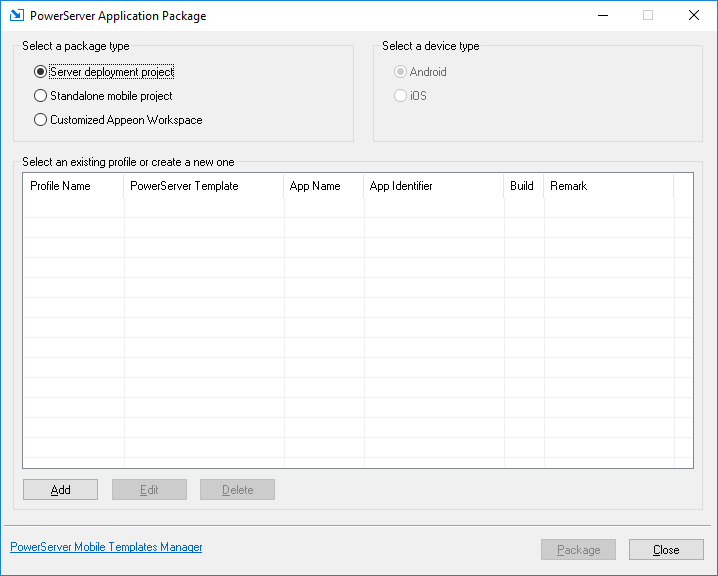
Step 1: Click the Package
( ) button on the PowerServer Toolkit to open the
PowerServer Application Package tool.
Step 2: Select the Server Deployment Project package type, and then click Add.
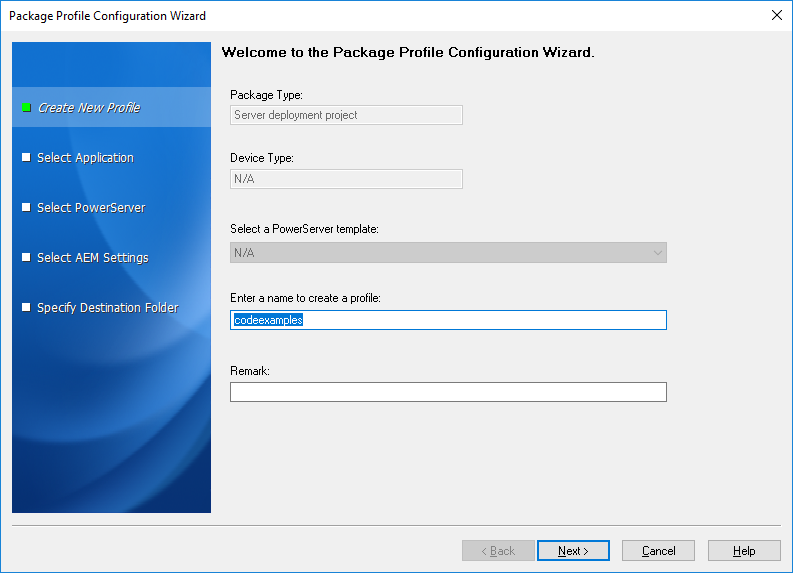
Step 3: In the Package Profile Configuration Wizard that appears, enter the text as the profile name and enter the description (if any) for this profile in the Remark box, and click Next.
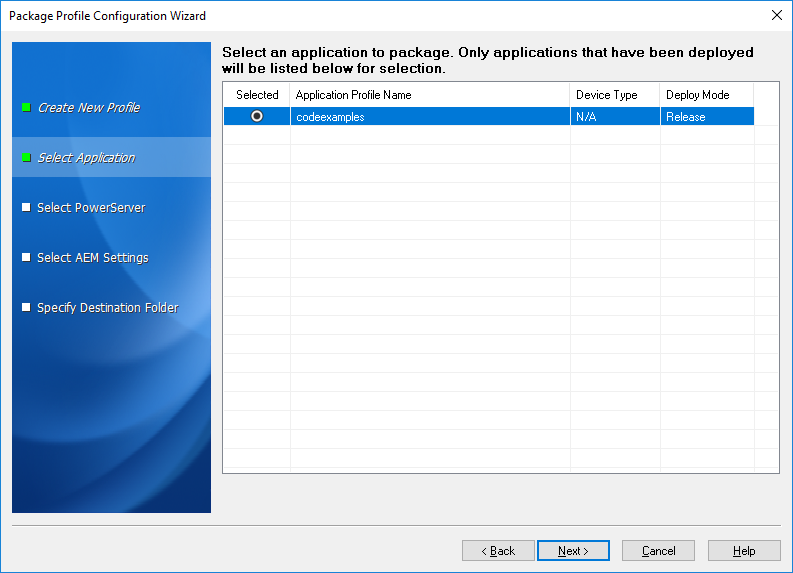
Step 4: Select the application that you want to package and click Next.
Only applications that have been deployed will be listed here for selection. If the application you intend to package is not listed here, you would need to deploy the target application using the PowerServer Application Deployment Wizard first (See Deploying PowerBuilder Applications).
The following table gives a brief introduction to the columns:
Table 35. Package Profile Configuration Wizard
|
Column |
Description |
|---|---|
|
Selected |
Identical to the default application profile selected in the PowerServer Toolkit Configuration window. |
|
Application Profile Name |
Identical to the application profiles configured in the PowerServer Toolkit Configuration window. |
|
Device Type |
It will be N/A if the package type is Server Deployment Project. |
|
Deploy Mode |
Identical to the current mode the application profile is set to in the PowerServer Toolkit Configuration window. It is recommended that the packaged applications should be available in Release mode, as this mode prevents most forms of reverse engineering, and like application packaging, it protects the author's intellectual property. |
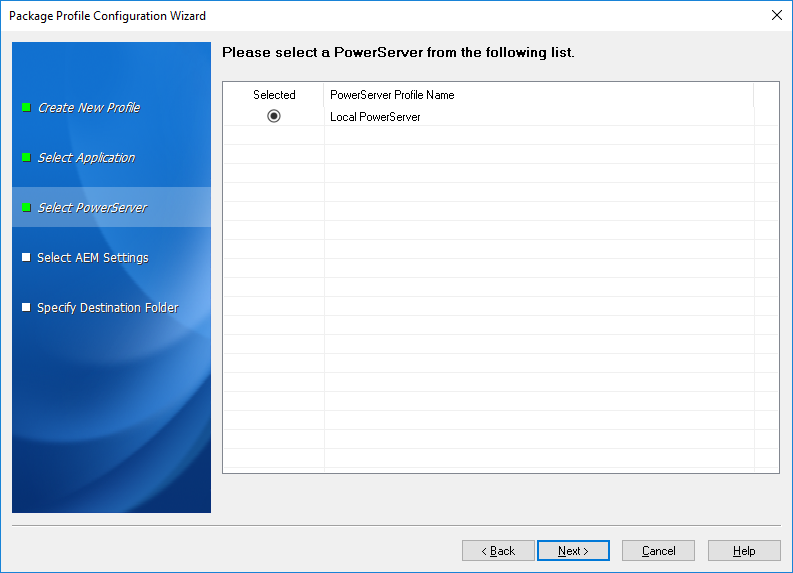
Step 5: Select the PowerServer whose settings will be packaged and click Next.
The PowerServer settings, such as the server type and the PowerServer version, will be saved to the config.xml file in the INI folder of the generated package. If necessary, modify this file using the config.exe tool after the packaging is complete (refer to the section called “Modifying the deploy-config file”).
All the configured PowerServer selected into the default deployment profile in the PowerServer Toolkit Configuration window are listed, as shown in the following figure.
The selected PowerServer determines that its AEM settings will be packaged and that the packaged application can only be installed to PowerServer of the same version, such as 2020, but not necessarily the same type.
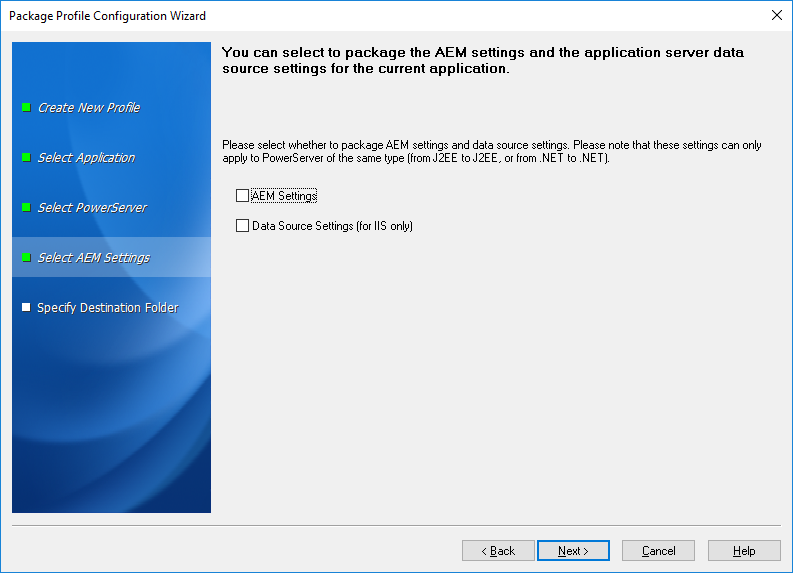
Step 6: Select whether AEM settings and data sources for the current application will be packaged and click Next.
The AEM settings will be saved in the AEM.xml file and data sources will be saved in the config.xml file.
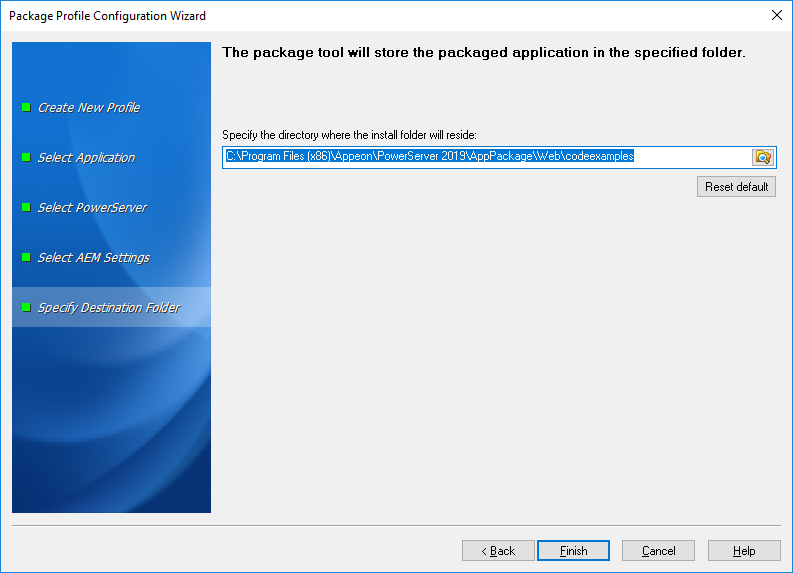
Step 7: Use the default location for the generated package or select a different location and then click Finish.
The profile will be created and listed in the PowerServer Application Package tool. Note that the profile is displayed according to the selected package type.


