The following section will take one database type (Oracle database with Oracle JDBC driver) as an example to show you how to create a data source for WebSphere, you can later create data sources for other database types by taking the same steps below but specifying different parameters according to Data source parameters.
Note:
-
The JNDI name specified for the data source will be regarded as the data source name by Appeon Server and AEM.
-
If the global security mode is turned on in WebSphere, AEM will not be able to access the WebSphere data sources. Please refer to the section called “Required configurations when global security is on” for solutions.
1. Start the WebSphere Server and log on to the WebSphere Server Console.
2. Click Environment > Manage WebSphere Variable in the console.
3. Set the path of the Oracle JDBC driver to the value of the ORACLE_JDBC_DRIVER_PATH variable.
As required in JDBC driver preparation, the path of the Oracle JDBC driver is %WAS_HOME%\lib\ (Windows) or $WAS_HOME/lib/ (Unix\Linux). WAS_HOME is the installation folder of the WebSphere platform.
4. Save changes to the ORACLE_JDBC_DRIVER_PATH variable in the master configuration.
1. Click Security > JAAS Configuration in the WebSphere administrative console, then click J2C Authentication Data.
2. Click New to create a new J2C authentication data entry.

Fill in details as required in the table below.
Table 18. Details for the new authentication data entry
|
Alias |
Enter a suitable (short) name, such as "UDDIAlias" |
|
Userid |
Enter the database user ID used to read and write to the UDDI registry database. |
|
Password |
Enter the password associated with the user ID specified above. |
|
Description |
Enter a suitable description of the chosen user ID or leave it blank. |
3. Click Apply and save changes to the master configuration.
1. Click Resources | JDBC Providers in the WebSphere administrative console.
2. Click New. The JDBC Providers configuration window opens.
3. Select the correct JDBC provider type. For example, Oracle JDBC Driver.

4. Select the driver provider and driver file.
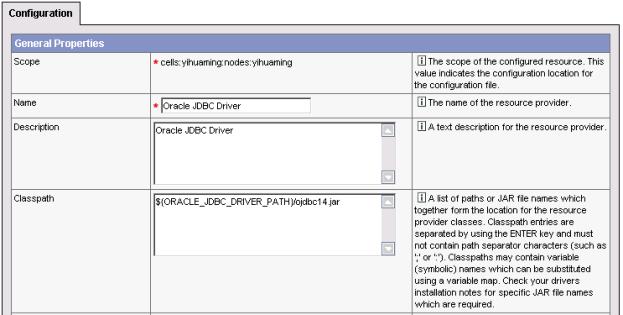
The Classpath field displays the path to the JDBC file that is configured in the WebSphere variable, for example, the ORACLE_JDBC_DRIVER_PATH driver.
5. Click OK to return to the JDBC providers page, where the new JDBC driver appears in the list.
6. Save the settings.
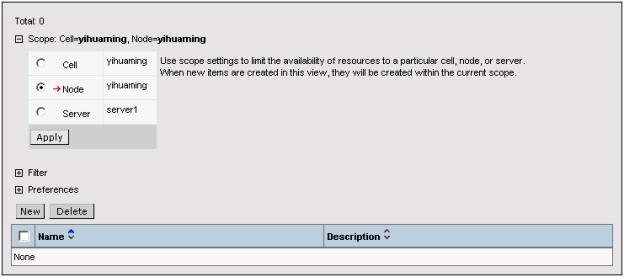
1. Click Resources > JDBC Providers in the administrative console.
2. Choose the JDBC resource provider under which you want to create the data source.
3. Click the Data Sources link under Additional Properties. The Data sources page is displayed.
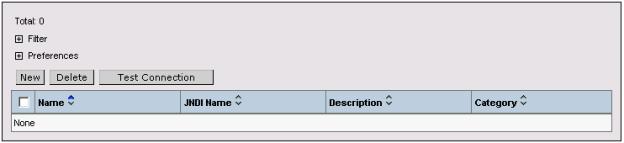
4. Click New to display the Data source settings page.
5. Specify the data source name and JNDI name of the data source.
Note:
-
The JNDI name specified for the data source will be regarded as the data source name by Appeon Server and AEM.
-
If the global security mode is turned on in WebSphere, AEM will not be able to access the WebSphere data sources. Please refer to the section called “Required configurations when global security is on” for solutions.

6. Select the J2C authentication data entry configured in Creating a new J2C authentication data entry in the Container-managed Authentication Alias list box.
7. Click Apply and OK to return to the Data Sources window. The name of the new data source displays in the window.
8. Click the name of the new data source in the Data Sources window.
9. Click the link to Custom Properties in the Additional Properties of the data source configuration window.

10. Configure all the required fields according to the instructions in the window. For example, set the URL property to jdbc:oracle:thin:@192.0.0.51:1521:testing if Oracle 9i, 10g, and 11g, or jdbc:oracle:thin:@//192.0.0.51:1521/testing if Oracle 12c.

11. Click OK to return to the data source configuration window.
12. Click the Test Connection for the new data source. Make sure the connection is successful before continuing.
13. Save the master configuration.
The following section will take one database type (Teradata database with Teradata JDBC driver) as an example to show you how to create a data source for WebSphere, you can later create data sources for other database types by taking the same steps below but specifying different parameters according to Data source parameters.
Note:
-
The JNDI name specified for the data source will be regarded as the data source name by Appeon Server and AEM.
-
If the global security mode is turned on in WebSphere, AEM will not be able to access the WebSphere data sources. Please refer to the section called “Required configurations when global security is on” for solutions.
Step 1: Start the WebSphere Server and log on to the WebSphere Server Console.
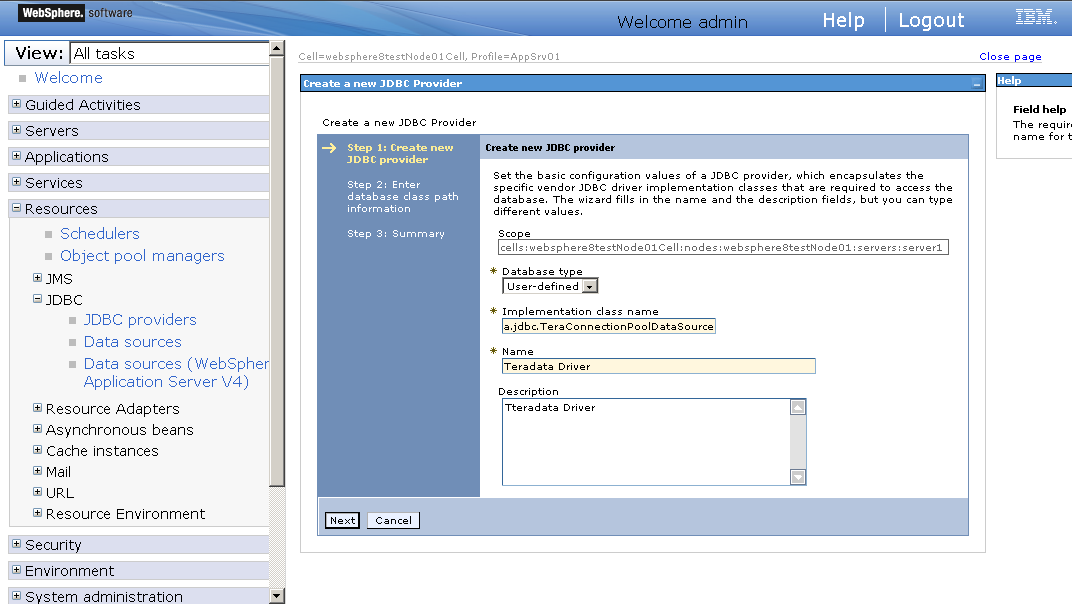
Step 2: Click Resources > JDBC > JDBC providers. In the right pane, select the appropriate scope for the JDBC provider. (This scope becomes the scope of your data source.) You can choose a cell, node, cluster, or server. And then click New.

Step 3: On the Create new JDBC provider page, enter or select the following information, and then click Next.
Fill in details as required in the table below.
Table 19. Create new JDBC provider
|
Field |
Description |
Value |
|---|---|---|
|
Database type |
Select the database type of the JDBC provider you need to create from the drop-down list. Note: If the list of database types does not include the database type that you want to use, select "User-defined". |
User-defined |
|
Implementation classname |
Enter the name of the connection pool driver of the database specified. |
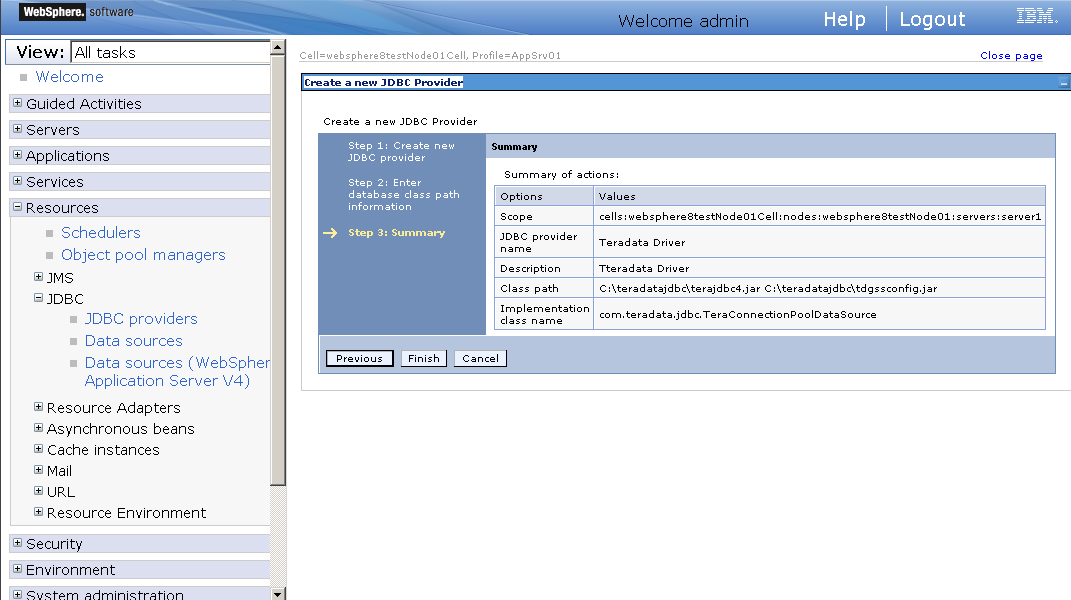
com.teradata.jdbc.TeraConnectionPoolDataSource |
|
Name |
Enter a desired new JDBC provider name. |
Teradata Driver |
|
Description |
Enter the description that you like to describe your new JDBC provider. |
Teradata Driver |
Step 4: On the Enter database class path information page, enter the database class path, and then click Next.
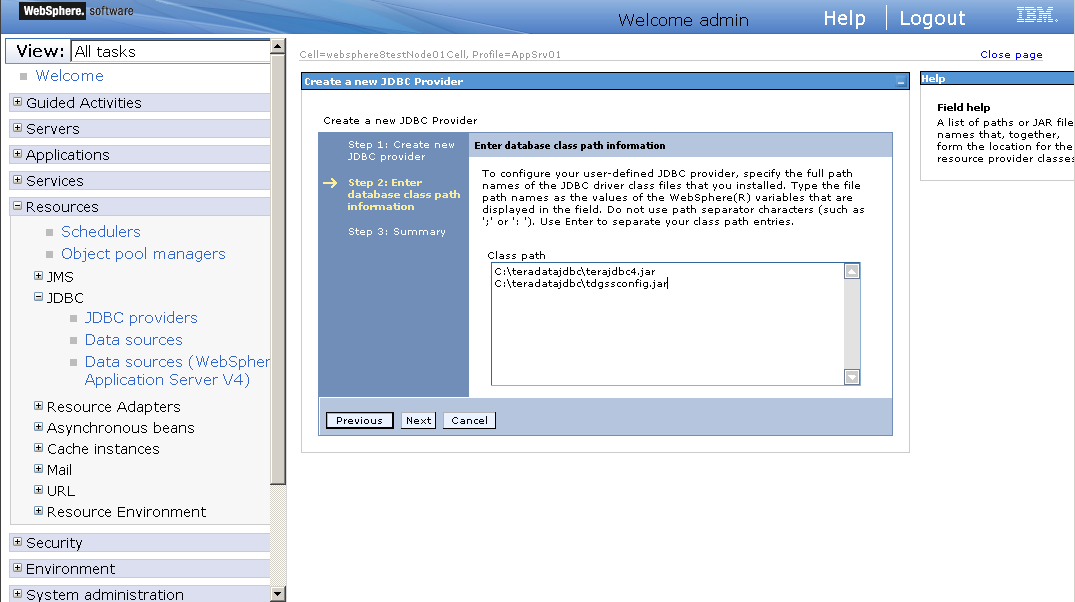
Fill in details as required in the table below.
Table 20. Database class path information
|
Field |
Description |
Value |
|---|---|---|
|
Class path |
The full name of the jar files that make up the Teradata JDBC Driver. The example assumes that you have copied these files to the C:\teradatajdbc directory on your system. A path on a Unix machine would use forward slashes to separate its components. |
C:\teradatajdbc\terajdbc4.jar C:\teradatajdbc\tdgssconfig.jar |
Step 5: On the Summary page, you can review the settings and when done click Finish.
Step 6: On the JDBC providers page, click Save to commit these changes to the master configuration and have them go live inside of the server.
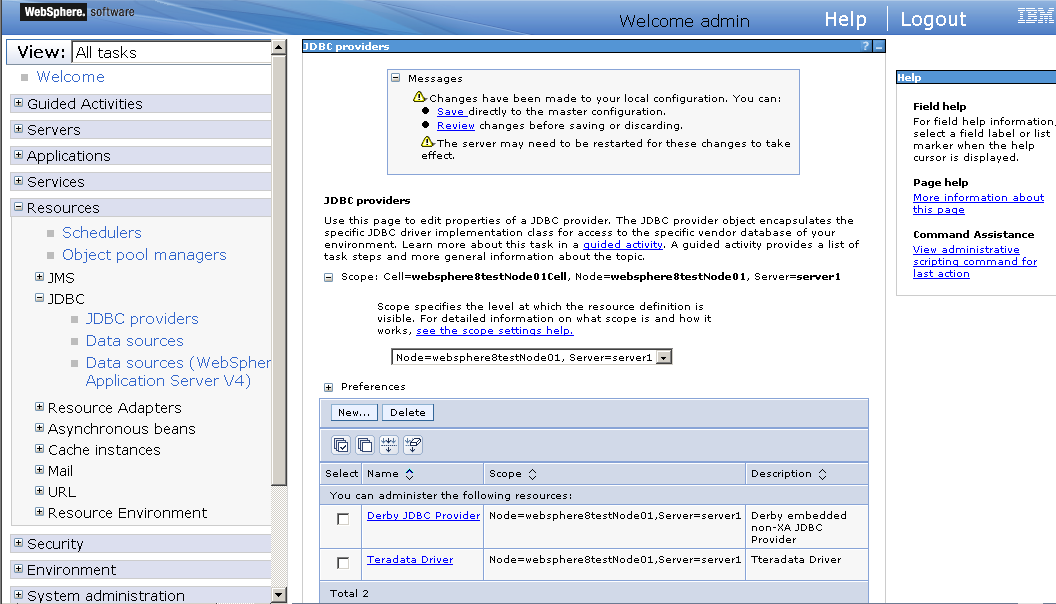
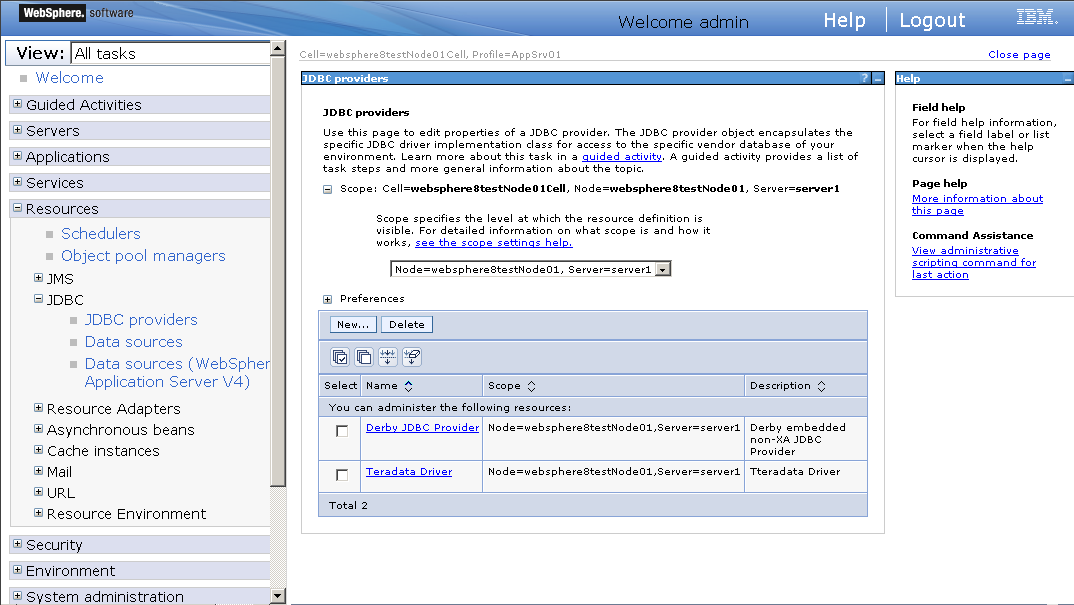
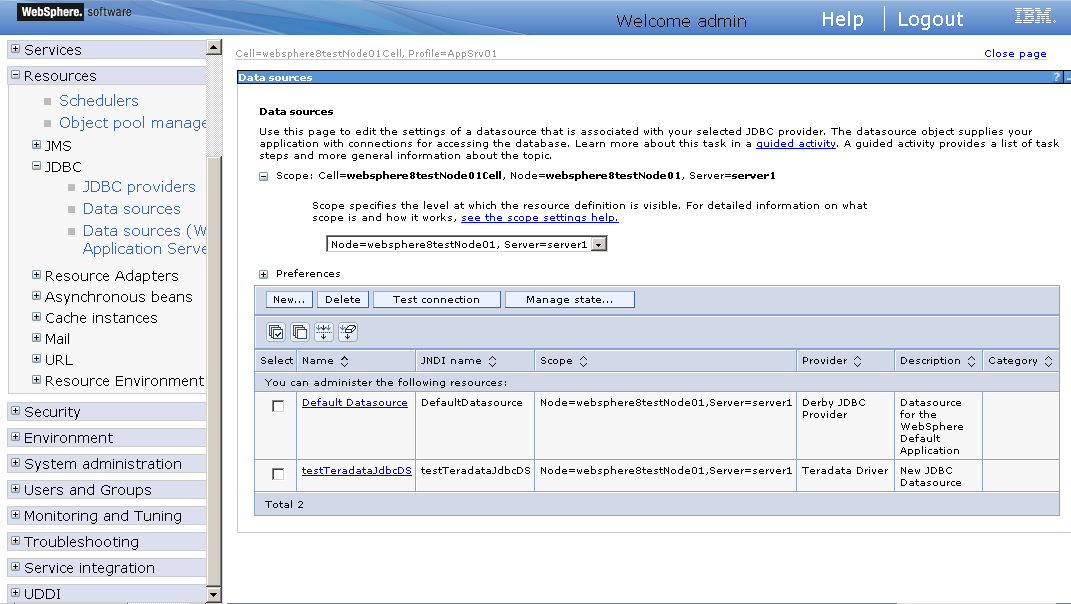
Now the "Teradata Driver" appears in the list of JDBC providers.
Step 1: Start the WebSphere Server and log on to the WebSphere Server Console.
Step 2: Click Resources > JDBC > Data sources. In the right pane, select appropriate scope for the data source. (This scope becomes the scope of your data source.) You can choose a cell, node, cluster, or server. And then click New.

Step 3: On the Enter basic data source information page, enter the following information. And then click Next.

Fill in details as required in the table below.
Table 21. The basic Data Source information
|
Field |
Description |
Value |
|---|---|---|
|
Data Source Name |
Enter a desired new JDBC data source name. |
testTeradataJdbcDS |
|
JNDI Name |
Enter a JNDI name that you like to assign to your new JDBC Data Source. |
testTeradataJdbcDS |
Note:
-
The JNDI name specified for the data source will be regarded as the data source name by Appeon Server and AEM.
-
If the global security mode is turned on in WebSphere, AEM will not be able to access the WebSphere data sources. Please refer to the section called “Required configurations when global security is on” for solutions.
Step 4: On the Select JDBC provider page, click Select an existing JDBC provider and select Teradata Driver from the drop-down list. And then click Next.

Step 5: On the Enter database specific properties for the data source page, click Next.
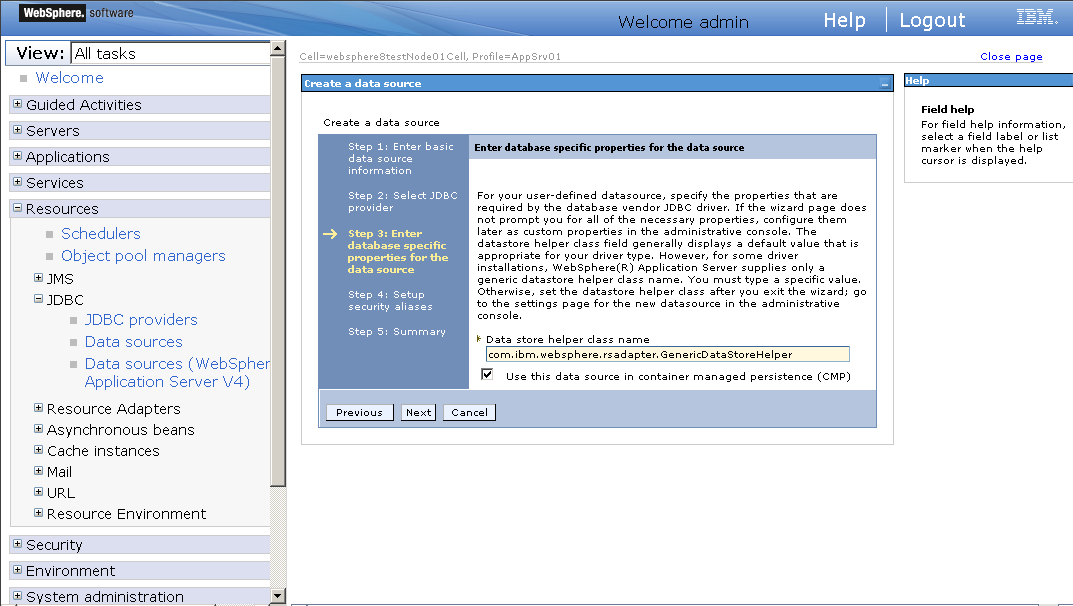
Fill in details as required in the table below.
Table 22. Database specific properties for the data source
|
Field |
Description |
Value |
|---|---|---|
|
Data store helper class name |
Data store helper classes provided by WebSphere. |
Select the default value "com.ibm.websphere.rsadapter.GenericDataStoreHelper". |
|
Container Managed Persistence |
Set if Data Source is used for CMP of EJBs. |
Check this box if the Data Source is used with CMP entity beans. Otherwise, leave it unchecked. |
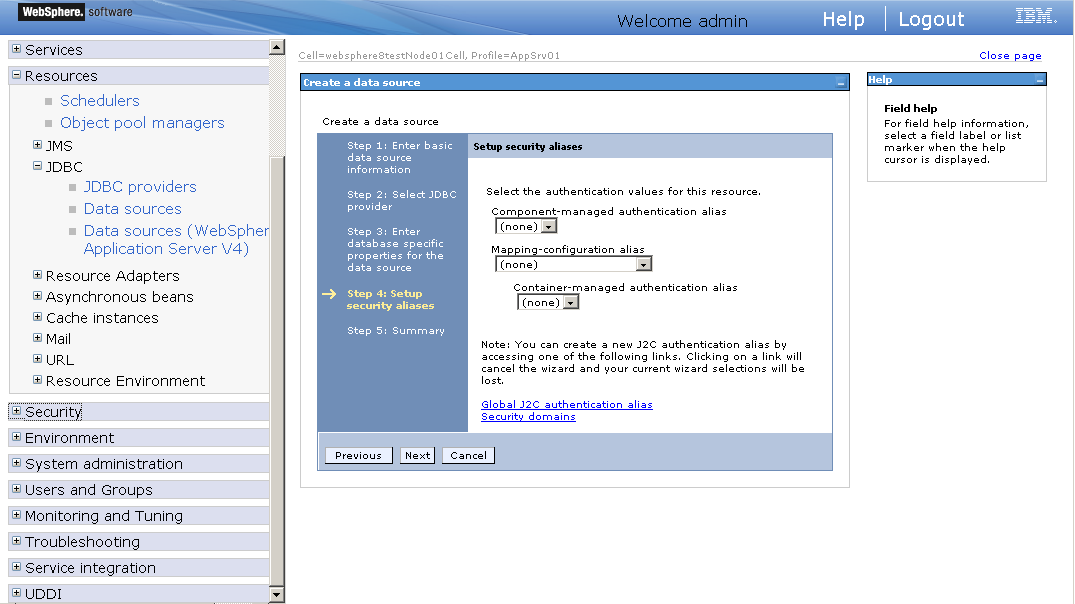
Step 6: On the Setup security aliases page, keep the default values as "none", and then click Next.
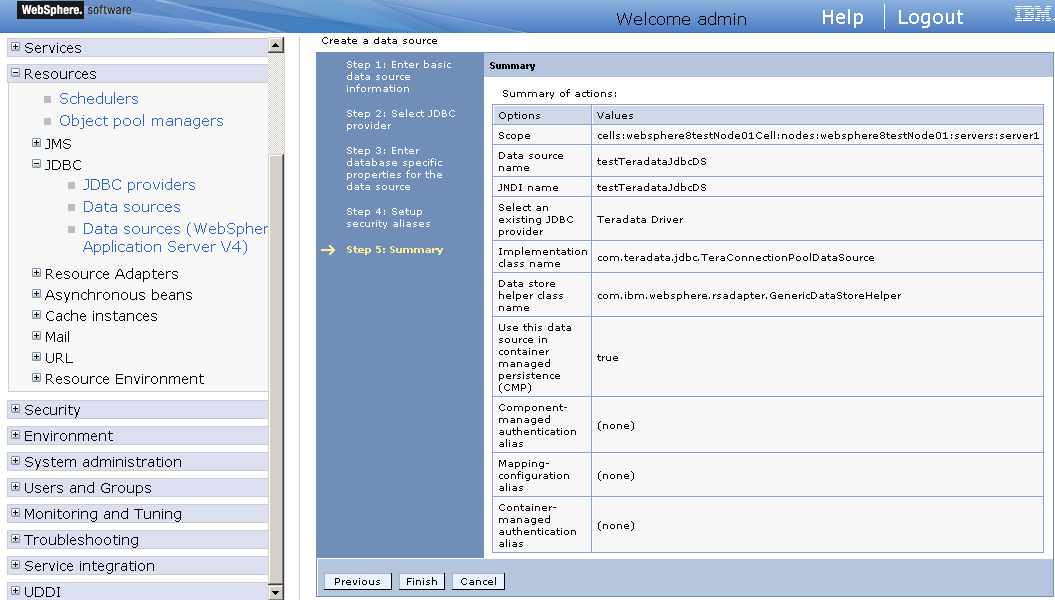
Step 7: On the Summary page, you can review the settings and when done click Finish.
Step 8: On the Data Sources page, click Save to commit these changes to the master configuration and have them go live inside of the server.
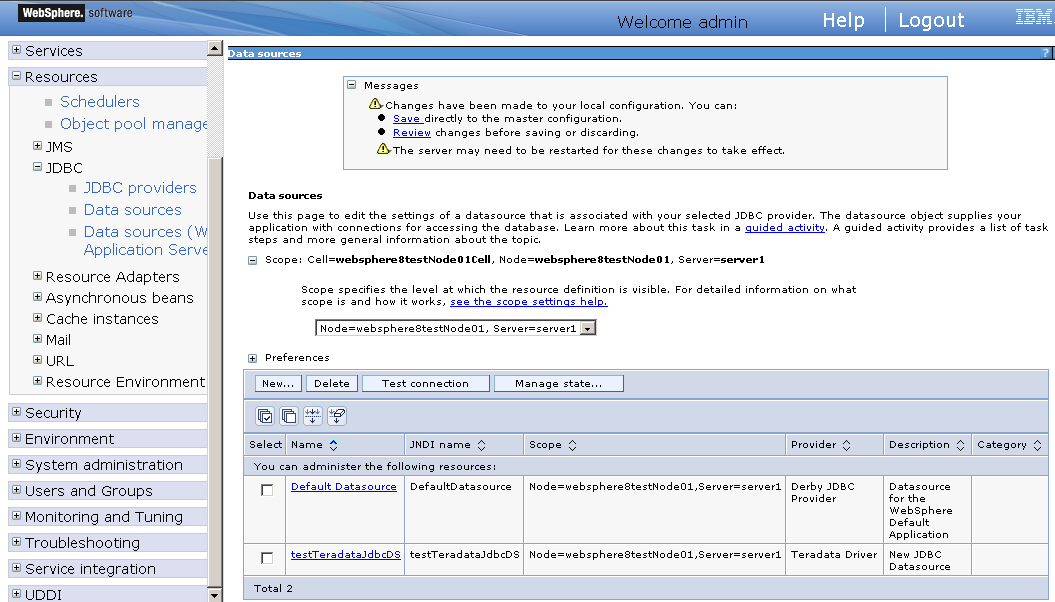
Step 9: On the following page, click testTeradataJdbcDS in the Data Sources window.
Step 10: On the following page, click the link to Custom properties in the Additional Properties of the data source configuration window.
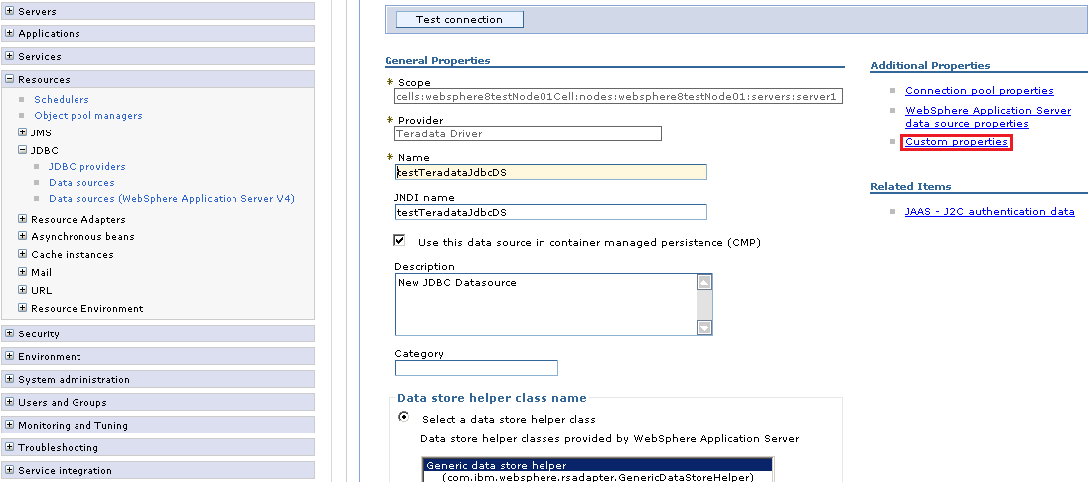
Step 11: On the Custom properties page, specify the Custom properties and click Save.

Fill in details as required in the table below.
Table 23. Custom properties
|
Name |
Description |
Value |
|---|---|---|
|
DSName |
Enter a host name or IP address of the database server. |
192.0.2.54 |
|
USER |
Enter the database account user name that you want to use to create the database connections. |
DBC |
|
PASSWORD |
Enter the database account password that you want to use to create the database connections. |
DBC |
|
CHARSET |
Enter the session character set utilized to map characters bidirectionally from the client application and the Teradata Database. |
UTF8 |
|
TMODE |
Enter the session mode on a Teradata Database V2R2.0 or later system. |
ANSI |
|
account |
Enter the database account name that you want to use to create the database connections. |
DBC |
Step 12: Click Test Connection for the new data source. A message will display as follows if the data source is successfully created.

If the global security mode is turned on in WebSphere, AEM will not be able to access the WebSphere data sources. You can perform the following configurations to resolve this problem.
Step 1: Go to the %user.install.root%\properties directory (%user.install.root% indicates the WebSphere instance installation directory, for example, C:\Program Files\IBM\WebSphere\AppServer\profiles\AppSrv01\), open the sas.client.props file in text editor, and modify the following three properties:
-
com.ibm.CORBA.loginUserid: set to the WebSphere account username.
-
com.ibm.CORBA.loginPassword: set to the WebSphere account password.
-
com.ibm.CORBA.securityServerPort: set to the WebSphere IIOP port, if it is not the default port 2809. You can find out and modify this port number by using the BOOTSTRAP_ADDRESS property in the WebSphere console.
Step 2: Save changes in sas.client.props and then restart WebSphere.
Note: After making the above changes, everytime when a data source is created, you will need to restart WebSphere so the new data source is accessible to AEM.
If the global security mode is turned off, you will need to remove settings of com.ibm.CORBA.loginUserid and com.ibm.CORBA.loginPassword from the sas.client.props file.
