Secure a Web API with a JWT Token
Last Updated: December 2023
Create a Web API Project
Let's first create a new Web API project.
Step 1: Start SnapDevelop and select Create New Project from the Welcome page. Or, from the File menu, select New and then New Project...
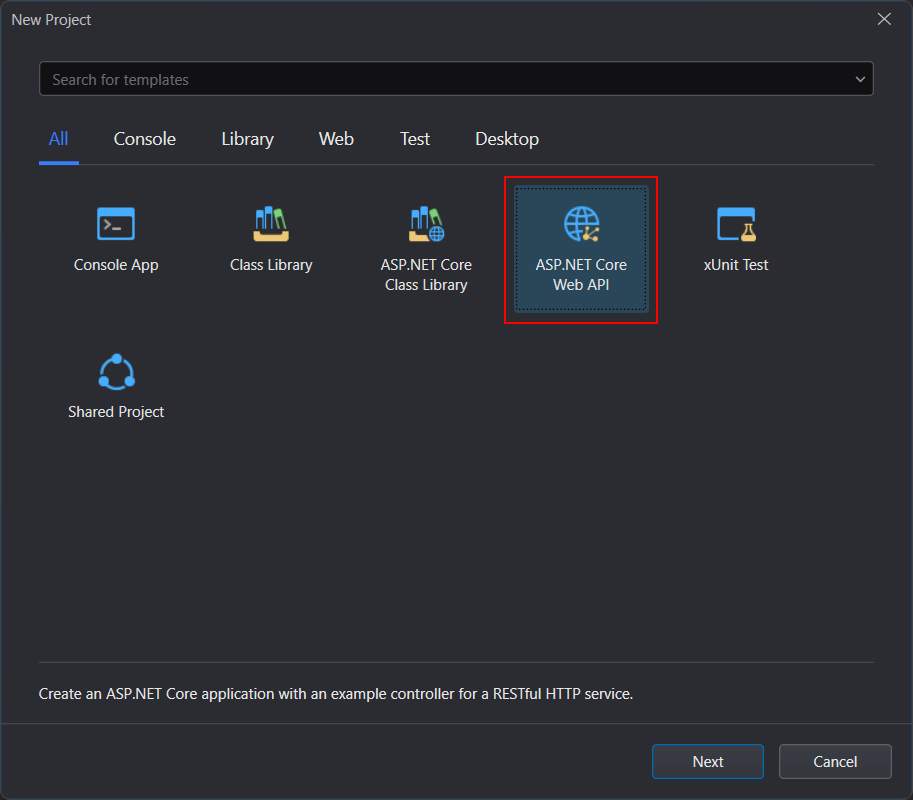
Step 2: In the New Project dialog, select ASP.NET Core Web API, and then click Next.
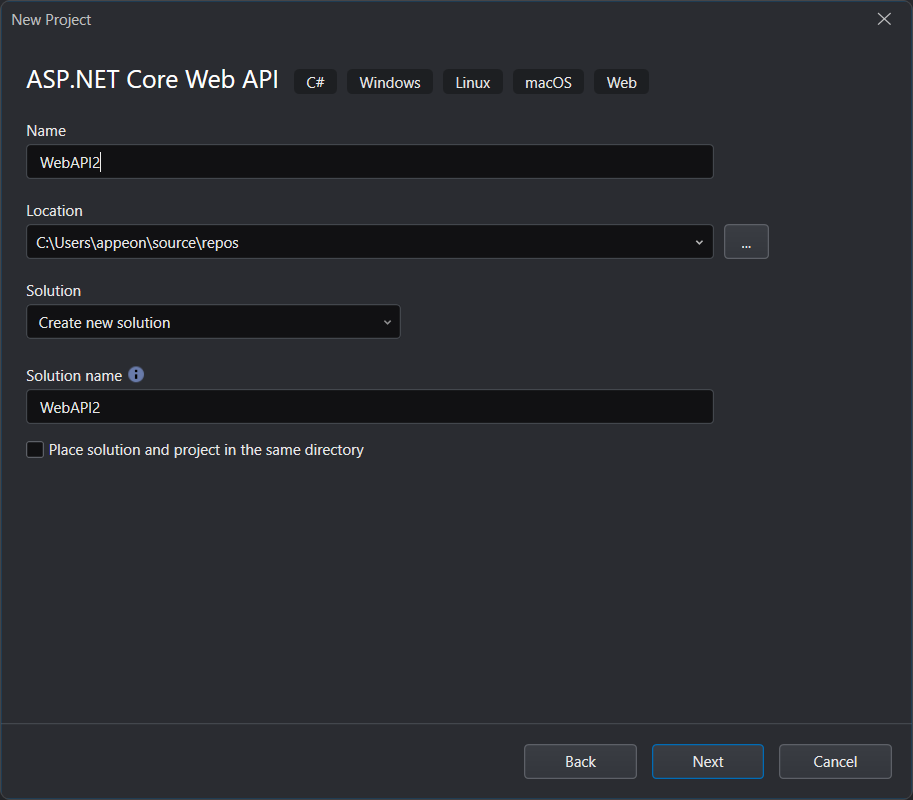
Step 3: Specify the project name as WebAPI2 and click Next.
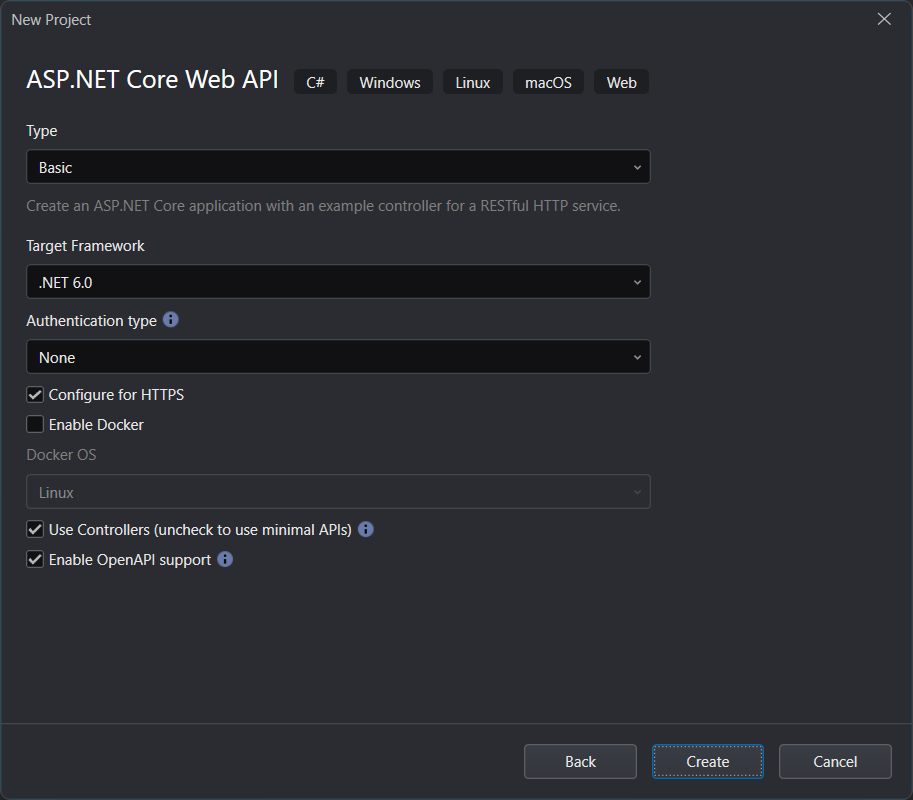
Step 4: Select Basic from the Type drop-down list and click Create.
If you have changed the settings on this screen, they will be used as default settings for the next project.
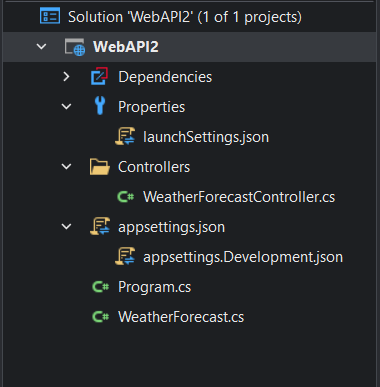
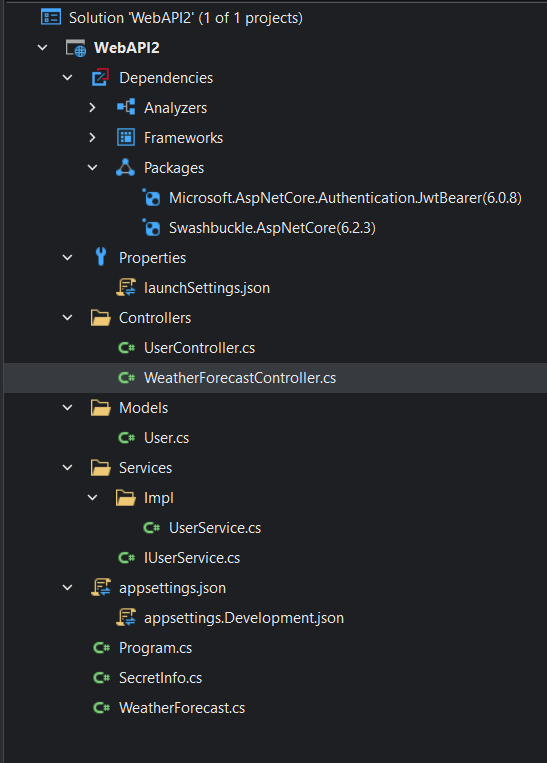
A sample Web API project is created. It contains the following folders and files by default:
Run and Test the Web APIs
Run the Web APIs
Let's run the Web API and see what interfaces it provides.
Press Ctrl + F5 in the SnapDevelop IDE (or click the Start Without Debugging icon in the toolbar). SnapDevelop will compile the Web API project, start the Web API service, and display the Web API's Swagger UI in the browser. You can use the Enable OpenAPI Support option to decide whether to generate Swagger UI pages during the process of creating a Web API project.
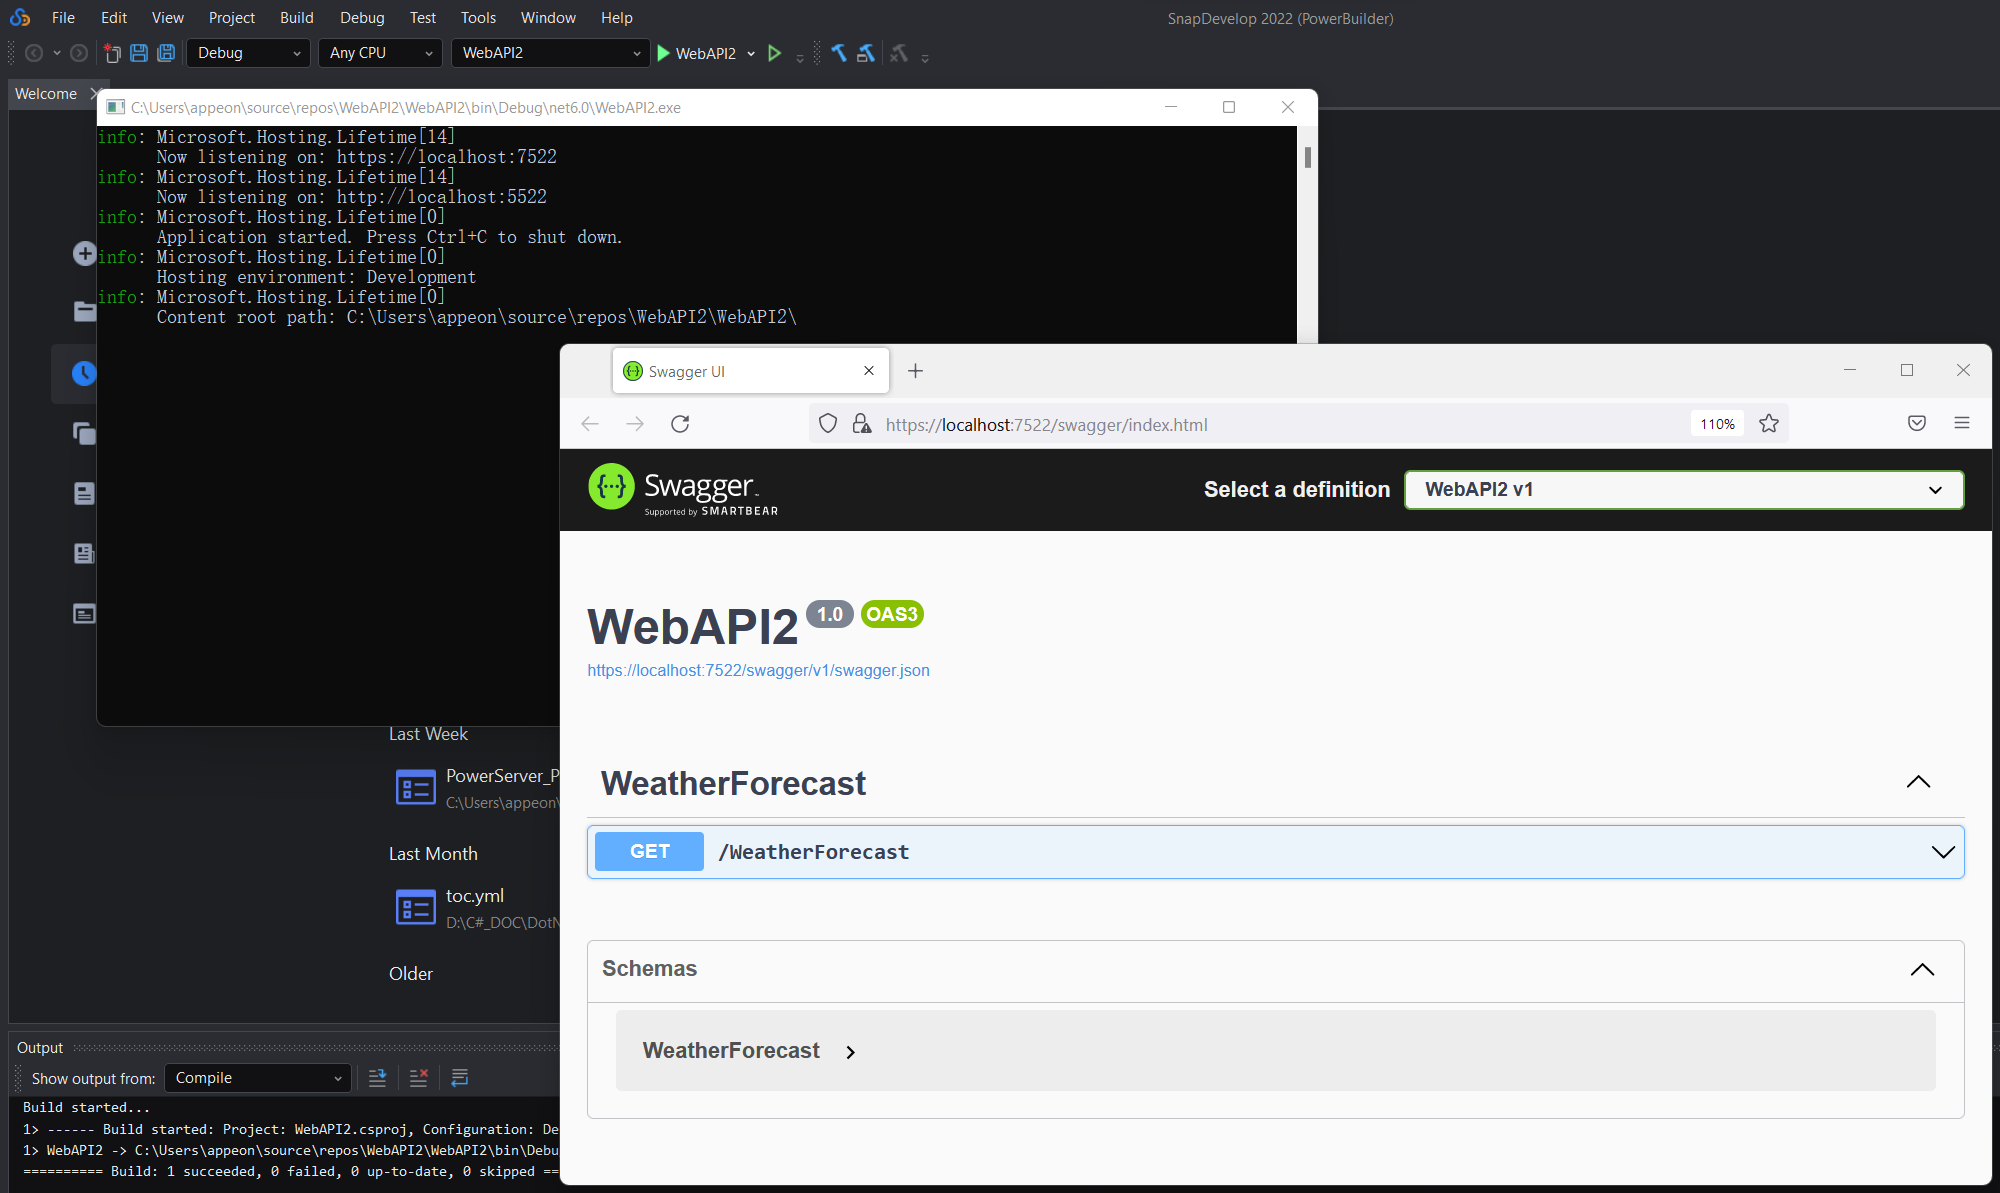
The Swagger page of the Web API shows all the interfaces provided in the Web API. You can expand and try out each interface (click Try it Out ).
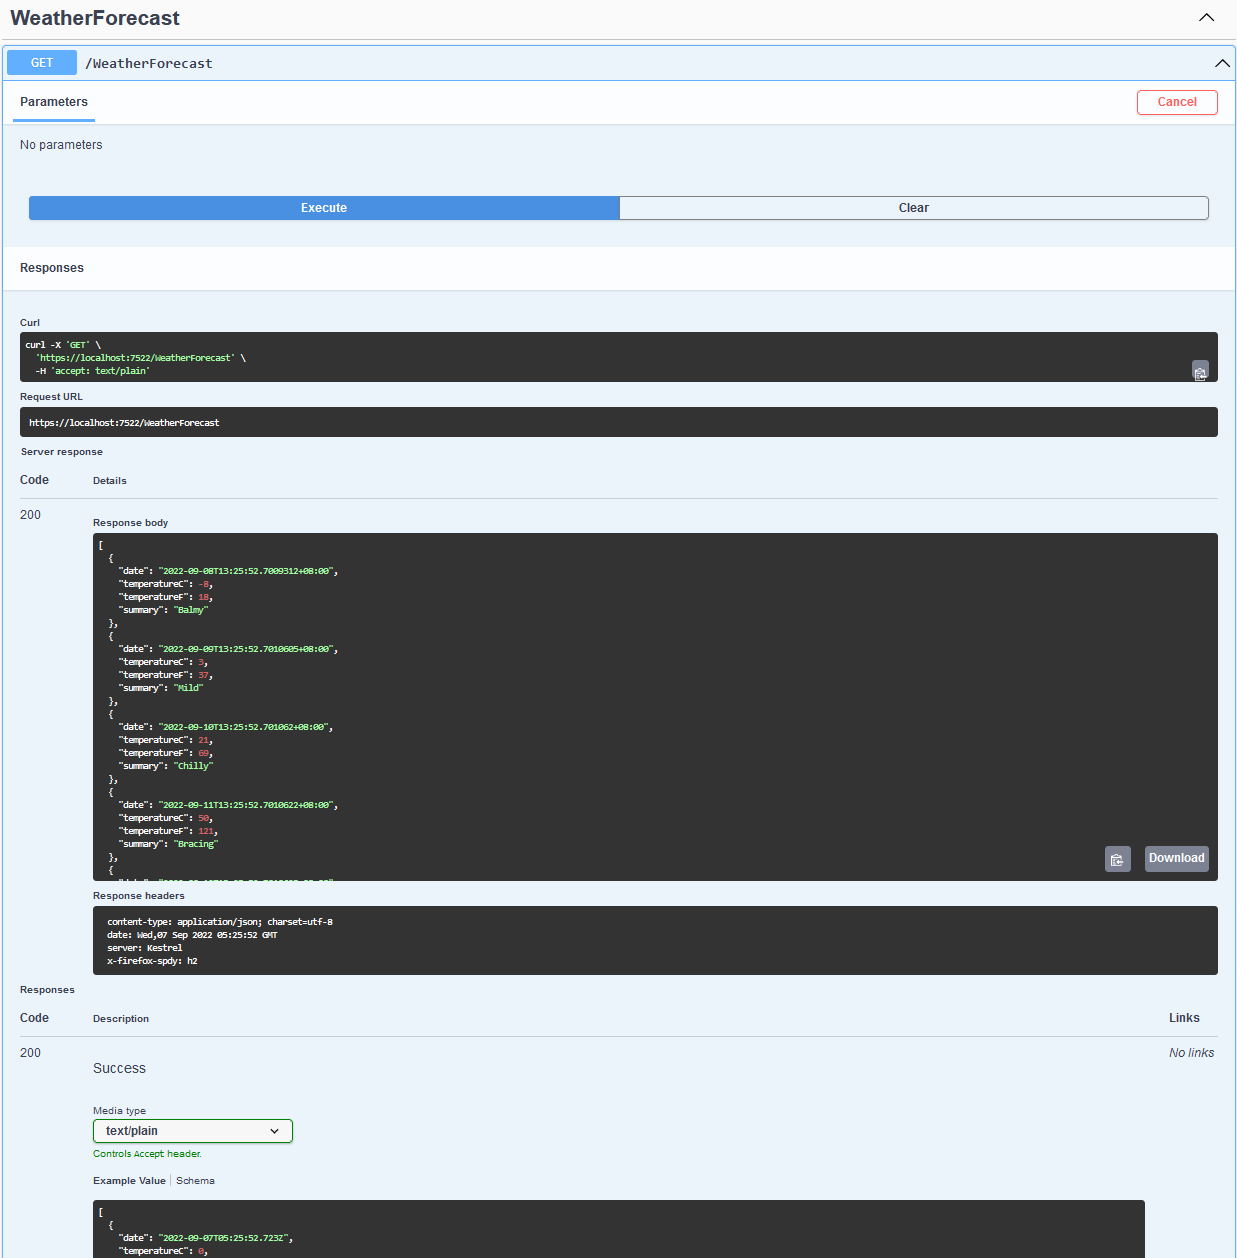
There is only one interface GET /WeatherForecast in the sample project. You can expand the interface, click the Try it Out button, then the Execute button; and then view the return values (the weather forecast for the next 5 days) in the Responses section.
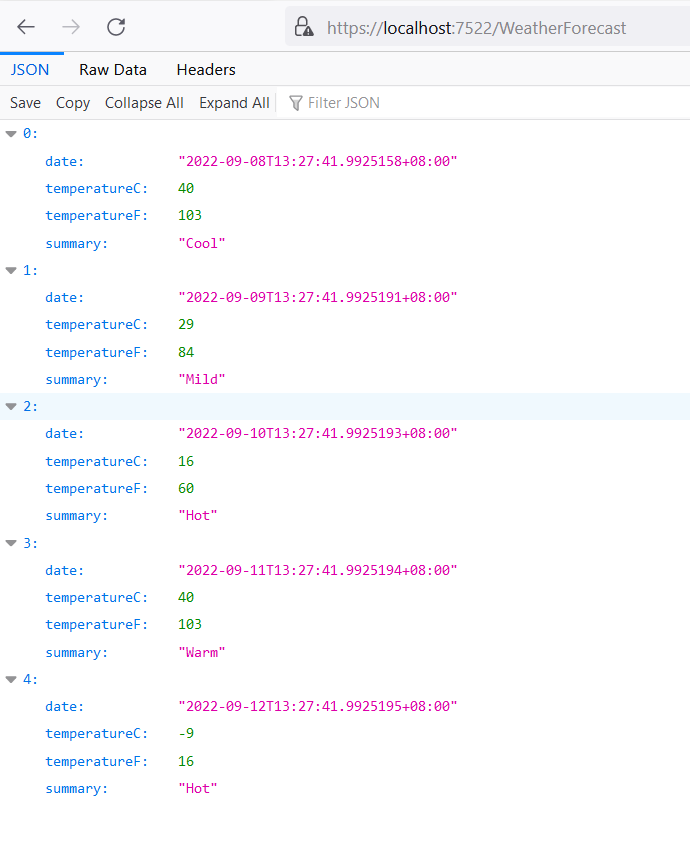
If you access the request URL in the browser, for example, https://localhost:7522/WeatherForecast, the page will return the weather forecast for the next 5 days like the following.
Test the Web APIs
Let's test the Web APIs using the Web API Tester.
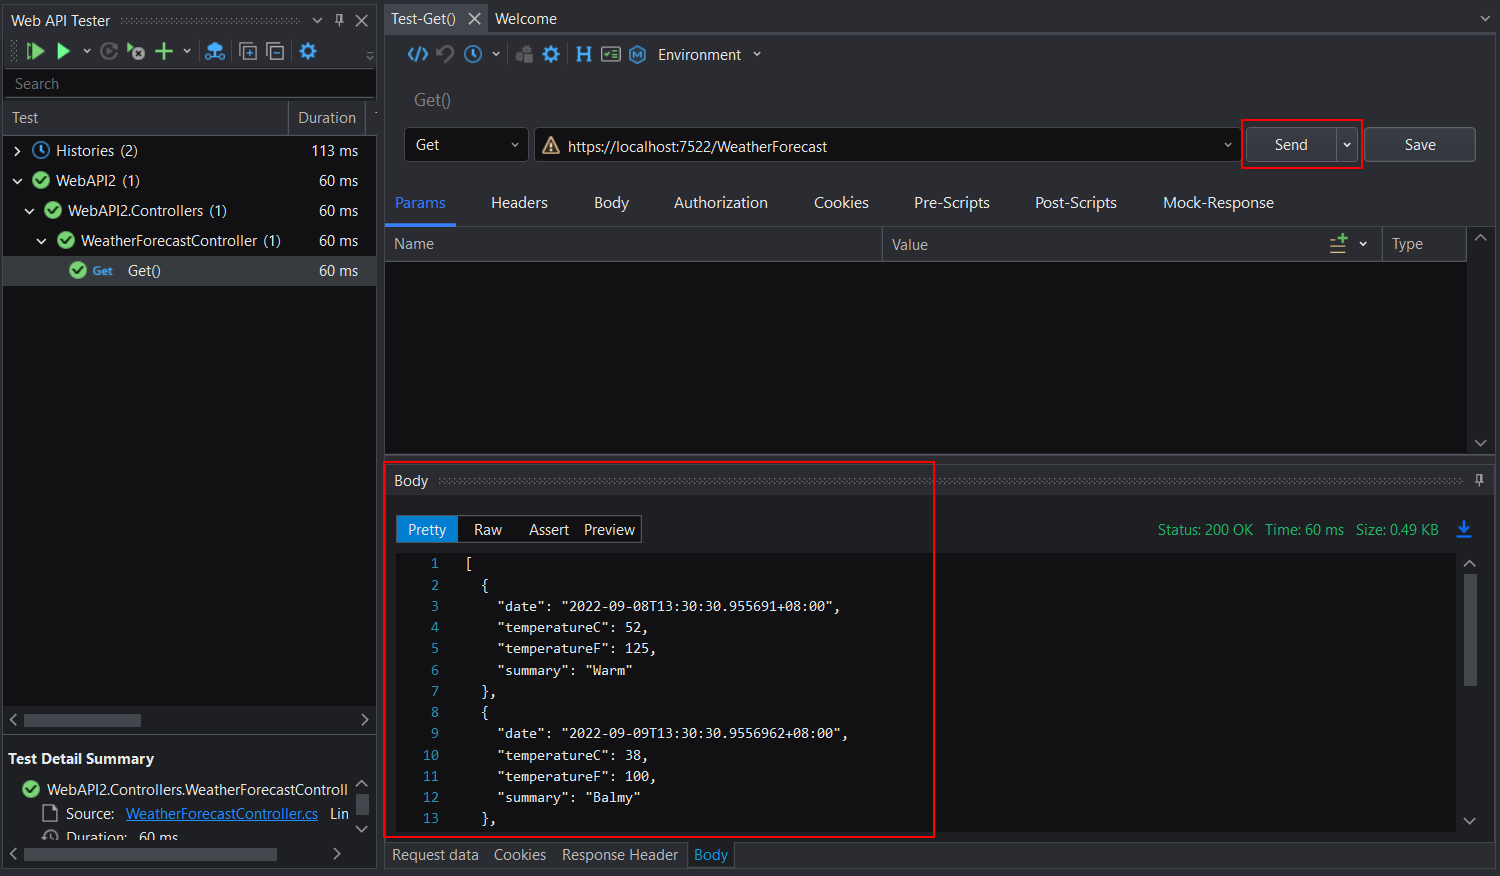
Step 1: Select Web API Tester from the Test menu.
Step 2: In the Web API Tester, expand the list of tests and double-click the Get method. Then click Send on the right. The returned data is displayed in the Body panel.
For more information on Web API Tester, visit the tutorial Testing with Web API Tester.
Configure Authentication and JWT
Install the dependency package
The Microsoft.AspNetCore.Authentication.JwtBearer package is required when implementing the JWT bearer authentication with the Web APIs. You will need to install the Microsoft.AspNetCore.Authentication.JwtBearer package first.
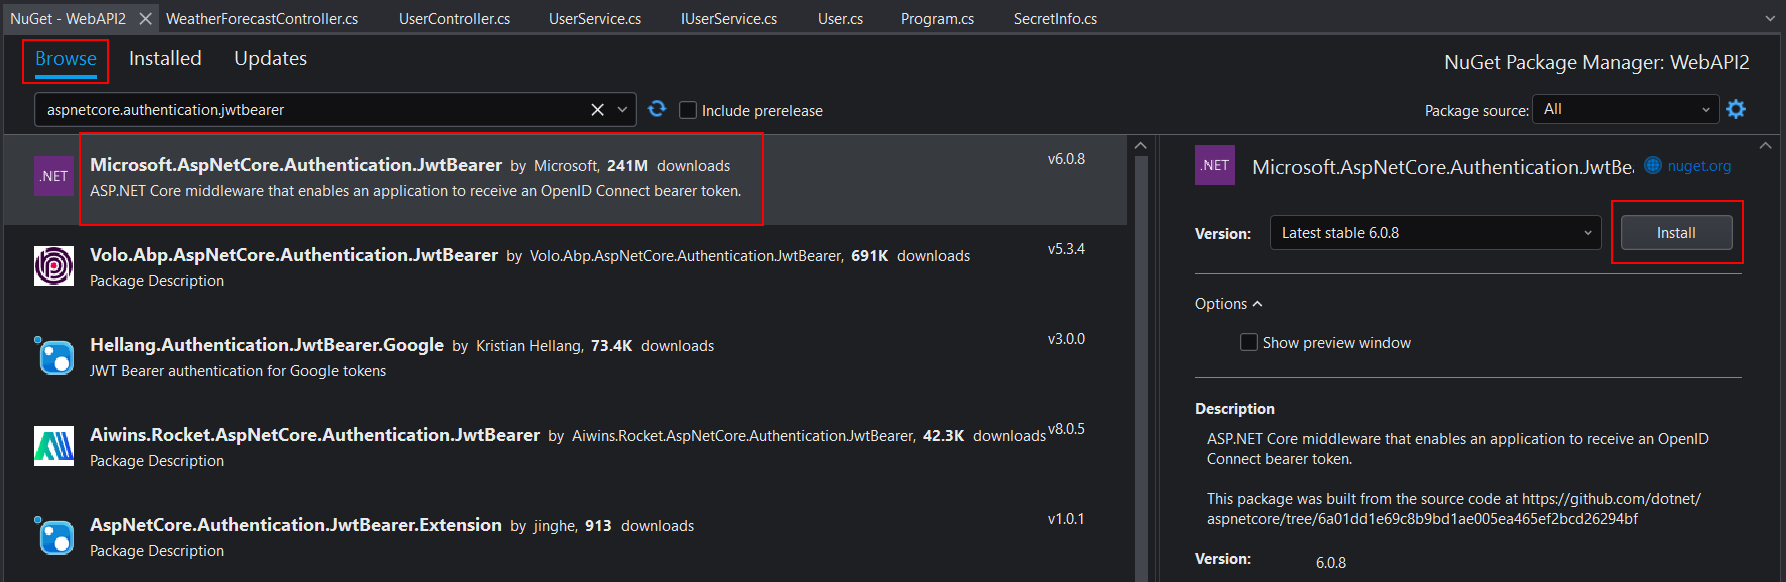
Step 1: Right click the Dependencies node and then select Manage NuGet Packages.
Step 2: In the NuGet Package Manager, select the Browse tab, and then search for "Microsoft.AspNetCore.Authentication.JwtBearer".
Step 3: Select "Microsoft.AspNetCore.Authentication.JwtBearer" from the search result and then click Install on the right.
After the package is downloaded and installed, it will be listed under Dependencies > Packages in the Web API project.
Define a class for Secret Key
Let's create a separate class for specifying the secret key information.
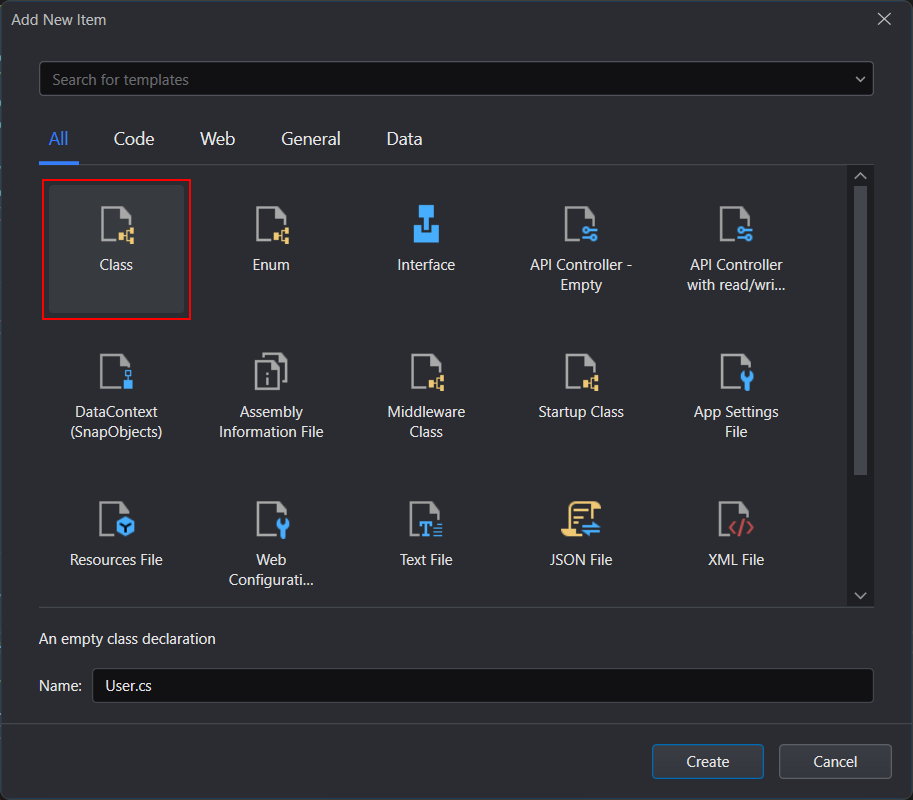
Step 1: Create a new class: right-click on the project node and then select Add > Class; in the Add New Item dialog, select Class, specify the class name, and then click Create.

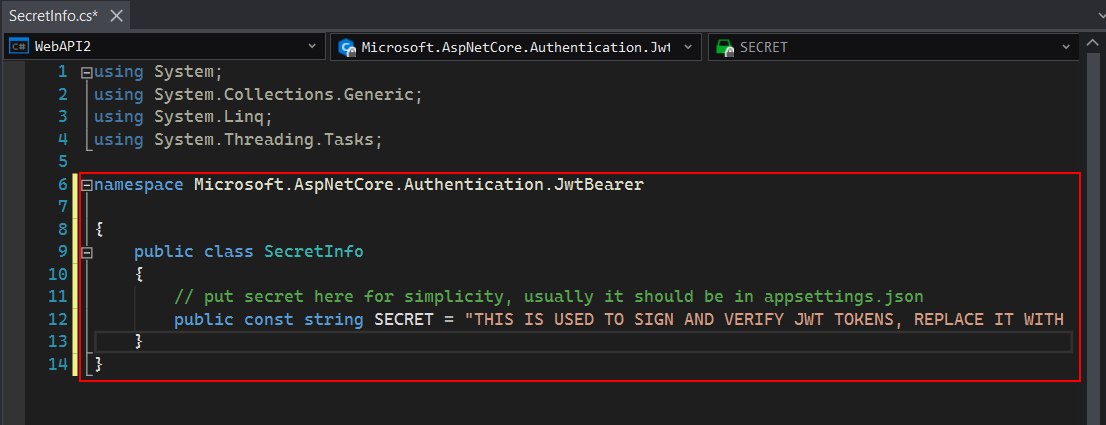
Step 2: Add the following script to the class:
namespace Microsoft.AspNetCore.Authentication.JwtBearer

{
  public class SecretInfo
  {
    // put secret here for simplicity, usually it should be in appsettings.json
    public const string SECRET = "THIS IS USED TO SIGN AND VERIFY JWT TOKENS, REPLACE IT WITH YOUR OWN SECRET, IT CAN BE ANY STRING OF AT LEASE 128 BITS (16 BYTES)";
  }
}
Add configuration code and enable authentication
In the Program.cs file, add scripts to configure and enable the JWT authentication:
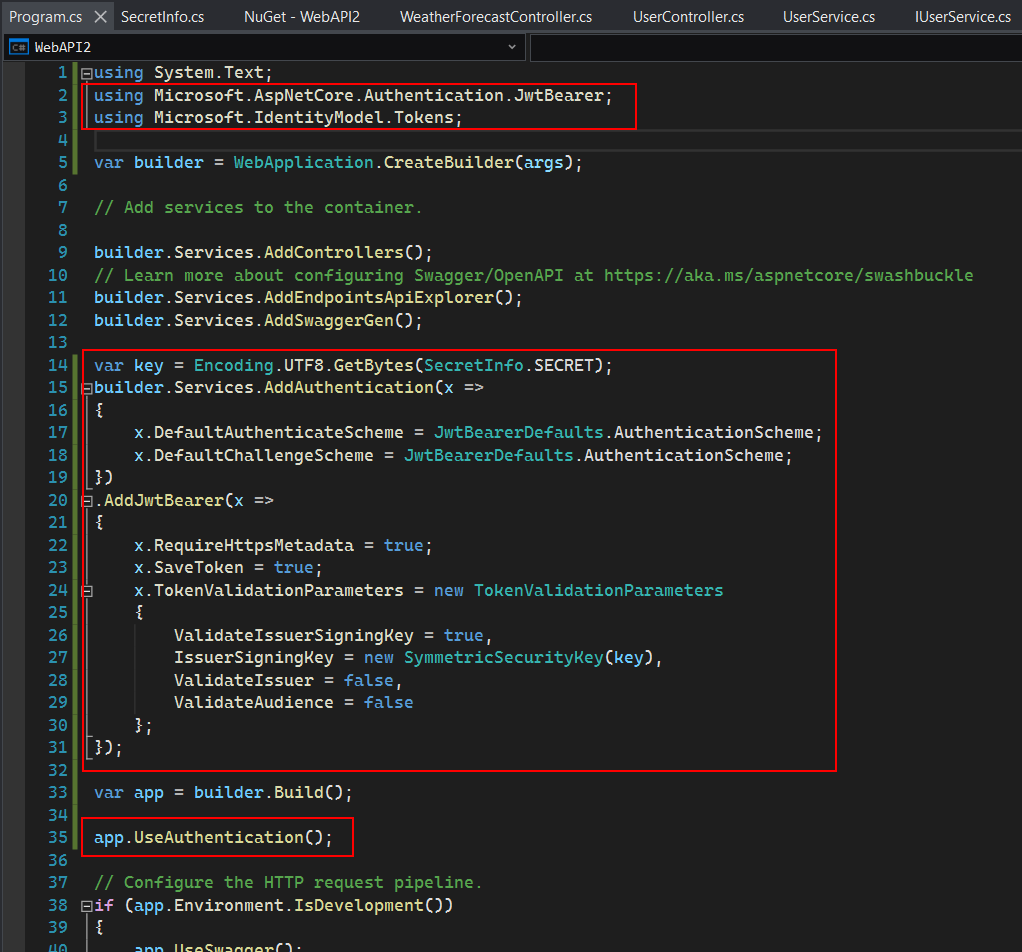
Step 1: Add the following using statement.
using System.Text;
using Microsoft.AspNetCore.Authentication.JwtBearer;
using Microsoft.IdentityModel.Tokens;
Step 2: Add the following scripts to add and configure the JWT authentication.
var key = Encoding.UTF8.GetBytes(SecretInfo.SECRET);
builder.Services.AddAuthentication(x =>
{
  x.DefaultAuthenticateScheme = JwtBearerDefaults.AuthenticationScheme;
  x.DefaultChallengeScheme = JwtBearerDefaults.AuthenticationScheme;
})
.AddJwtBearer(x =>
{
  x.RequireHttpsMetadata = true;
  x.SaveToken = true;
  x.TokenValidationParameters = new TokenValidationParameters
  {
    ValidateIssuerSigningKey = true,
    IssuerSigningKey = new SymmetricSecurityKey(key),
    ValidateIssuer = false,
    ValidateAudience = false
  };
});
Step 3: Enable the authentication by adding the following script after var app = builder.Build();.
app.UseAuthentication();
Add a Service
Add a User Model
Let's create a model that defines the data structure of the user information.
Step 1: Right-click on the Web API project. Click Add > New Folder. Name it Models. Then right-click on the new folder and click Add > Class.
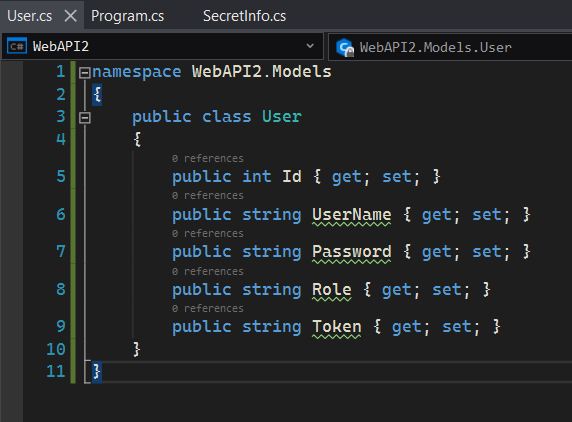
Step 2: In the popup window, select Class, specify the class name as User.cs and click Create.
The User class represents the data structure for a user, and acts as a data model in the application.
Step 3: Replace the auto-generated code with the following code:
namespace WebAPI2.Models
{
    public class User
    {
        public int Id { get; set; }
        public string UserName { get; set; }
        public string Password { get; set; }
        public string Role { get; set; }
        public string Token { get; set; }
    }
}
Add Service Interface and Implementation
Let's create a service for defining/validating the users and generating the token. There are two users (user1 has the admin role, and user2 has the guest role) defined.
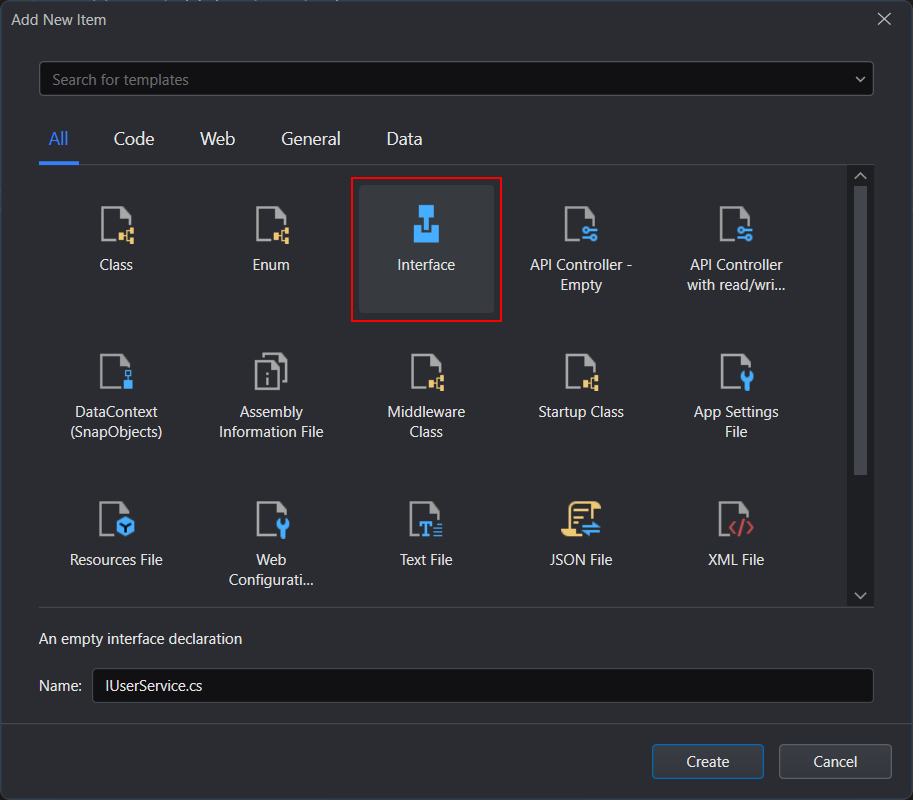
Step 1: Right-click on the Web API project. Click Add > New Folder. Name it Services. Now add a sub-folder to it and name it Impl. Next, right-click on the Services folder and click on Add > Class.
Step 2: Select Interface on the template list and name the interface IUserService, click Create.
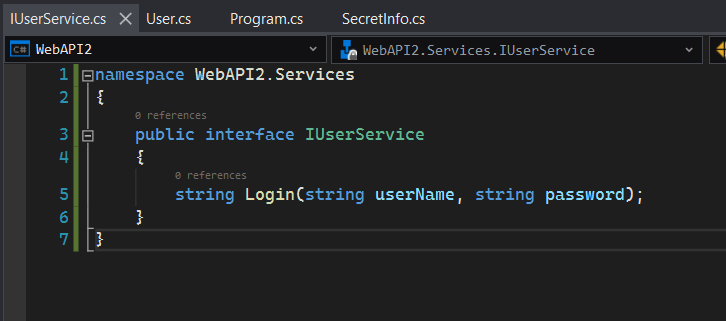
The IUserService defines the user login.
Step 3: Replace the auto-generated code with the following code:
namespace WebAPI2.Services
{
    public interface IUserService
    {
        string Login(string userName, string password);
    }
}
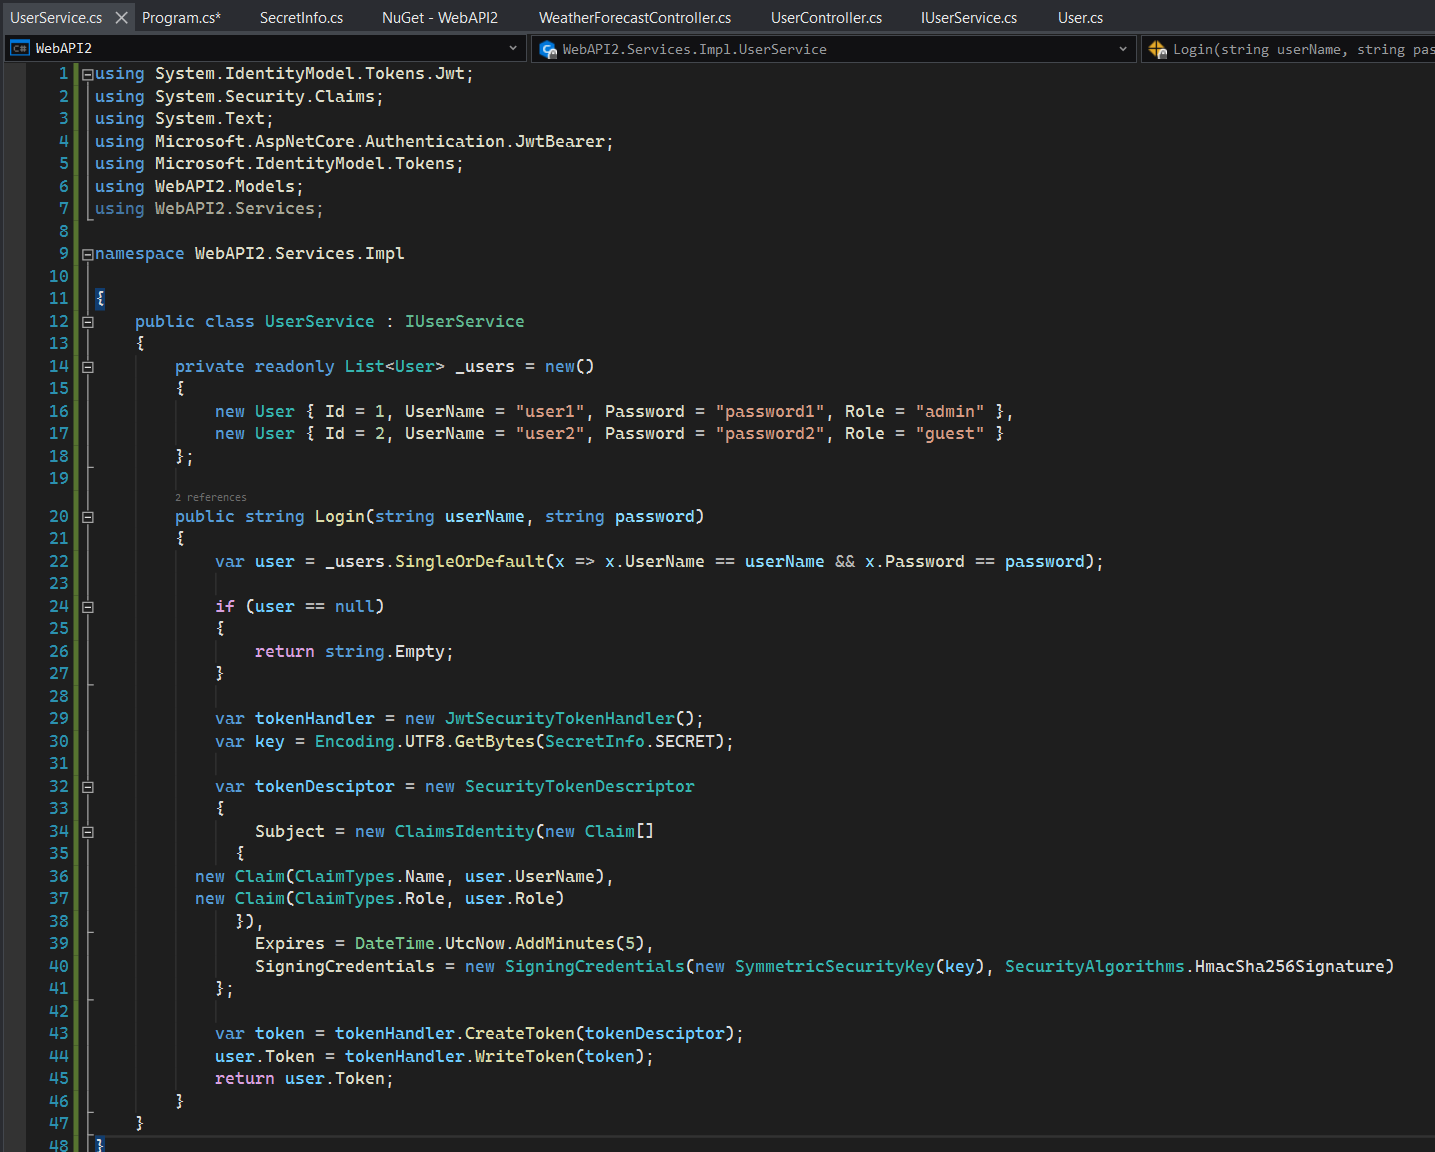
Step 4: Right-click on the Impl folder and click on Add > Class. Select Class, specify the class name as UserService and then click Create.
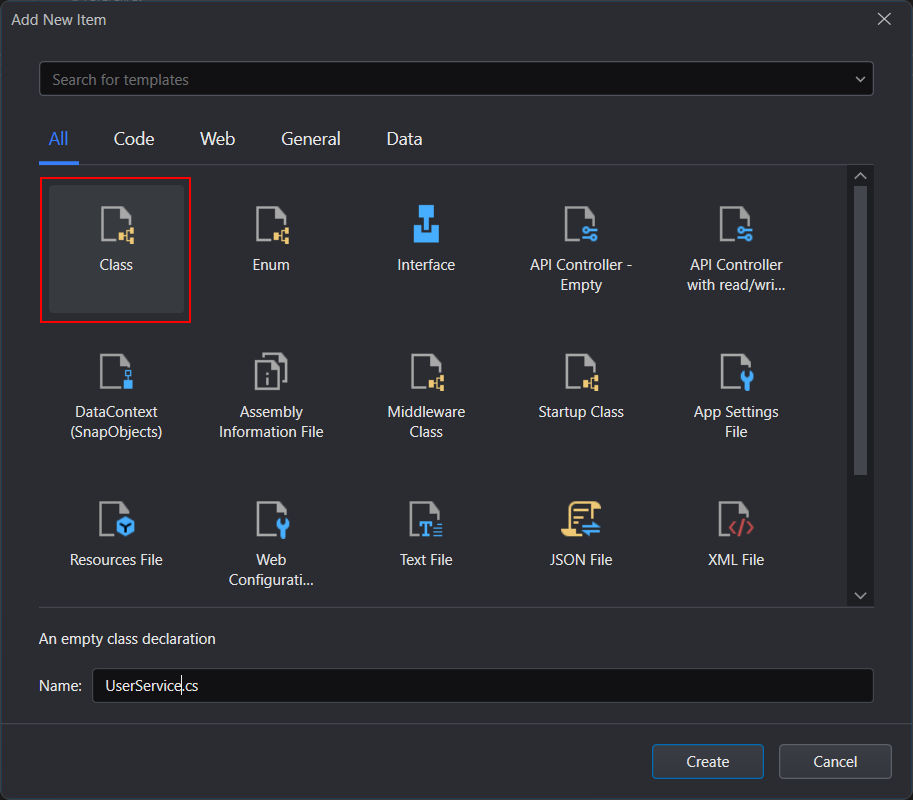
The UserService class implements the IUserService interface. It defines the user information, validates the login information and returns the token when user authentication is successful.
Step 5: Replace the auto-generated code with the following code:
using System.IdentityModel.Tokens.Jwt;
using System.Security.Claims;
using System.Text;
using Microsoft.AspNetCore.Authentication.JwtBearer;
using Microsoft.IdentityModel.Tokens;
using WebAPI2.Models;
using WebAPI2.Services;

namespace WebAPI2.Services.Impl

{
  public class UserService : IUserService
  {
    private readonly List<User> _users = new()
    {
      new User{ Id = 1, UserName = "user1", Password = "password1", Role = "admin"},
      new User{ Id = 2, UserName = "user2", Password = "password2", Role = "guest"}
    };

    public string Login(string userName, string password)
    {
      var user = _users.SingleOrDefault(x => x.UserName == userName && x.Password == password);

      if (user == null)
      {
        return string.Empty;
      }

      var tokenHandler = new JwtSecurityTokenHandler();
      var key = Encoding.UTF8.GetBytes(SecretInfo.SECRET);

      var tokenDesciptor = new SecurityTokenDescriptor
      {
        Subject = new ClaimsIdentity(new Claim[]
        {
          new Claim(ClaimTypes.Name, user.UserName),
          new Claim(ClaimTypes.Role, user.Role)
        }),
        Expires = DateTime.UtcNow.AddMinutes(5),
        SigningCredentials = new SigningCredentials(new SymmetricSecurityKey(key), SecurityAlgorithms.HmacSha256Signature)
      };

      var token = tokenHandler.CreateToken(tokenDesciptor);
      user.Token = tokenHandler.WriteToken(token);
      return user.Token;
    }
  }
}
The Login method checks user existence by the username and password passed to the method, and creates a token for the user if the user exists. We describe how to get information from the token later.
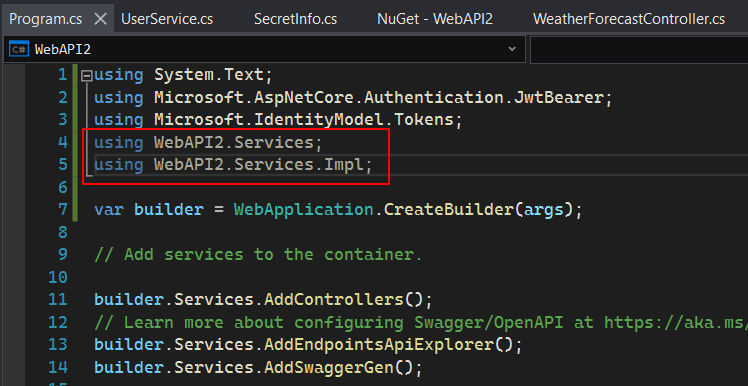
Step 6: Add the following using statements to Program.cs:
using WebAPI2.Services;
using WebAPI2.Services.Impl;
Add a Controller
Let's create a controller that defines the API entry for the user login requests and invokes the corresponding service.
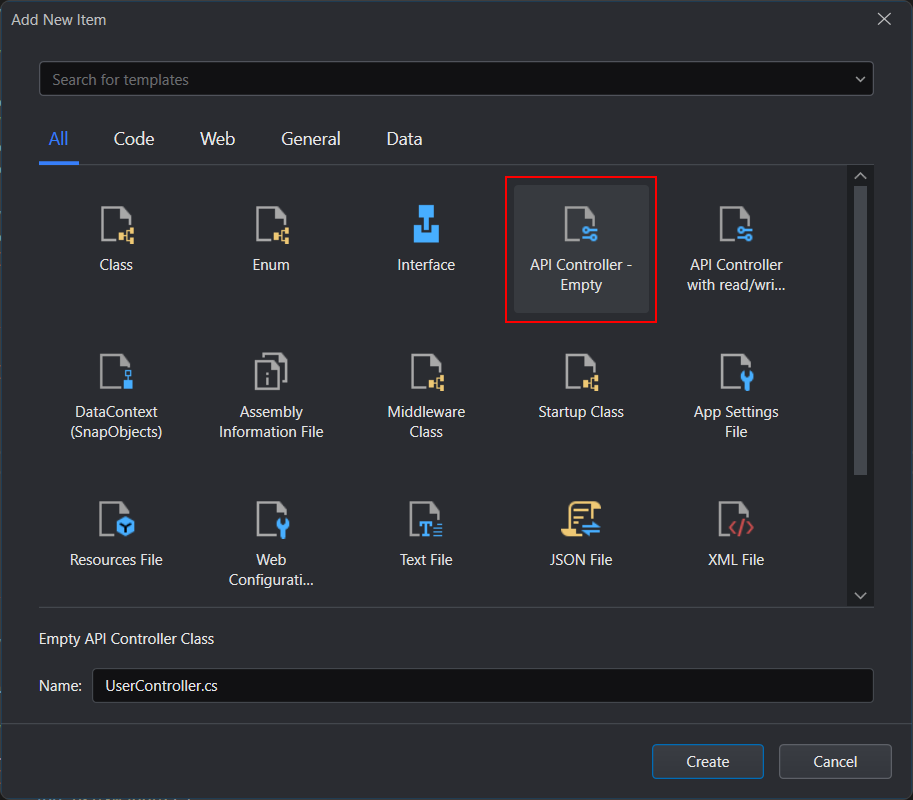
Step 1: Right-click on the Controllers folder and click on Add > Class. Select API Controller - Empty, specify the controller name as UserController, click Create.
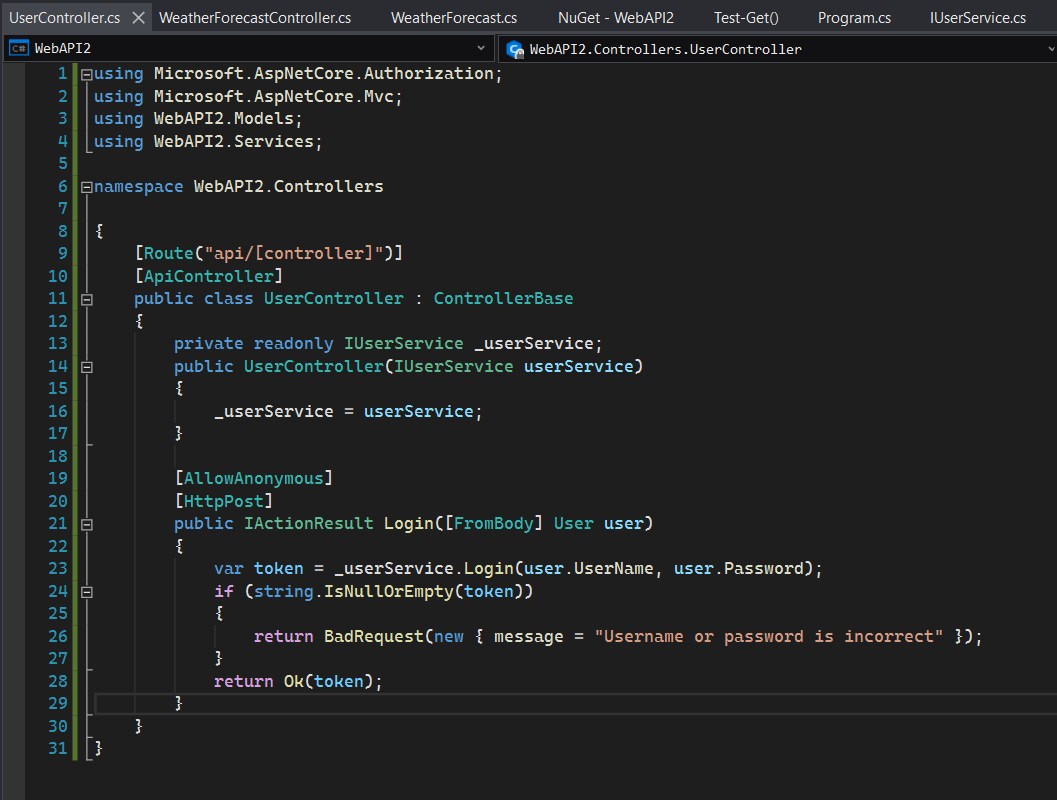
Step 2: Replace the auto-generated code with the following code:
using Microsoft.AspNetCore.Authorization;
using Microsoft.AspNetCore.Mvc;
using WebAPI2.Models;
using WebAPI2.Services;

namespace WebAPI2.Controllers

{
  [Route("api/[controller]")]
  [ApiController]
  public class UserController : ControllerBase
  {
    private readonly IUserService _userService;
    public UserController(IUserService userService)
    {
      _userService = userService;
     }

    [AllowAnonymous]
    [HttpPost]
    public IActionResult Login([FromBody] User user)
    {
      var token = _userService.Login(user.UserName, user.Password);
      if (string.IsNullOrEmpty(token))
      {
         return BadRequest(new { message = "Username or password is incorrect" });
      }
      return Ok(token);
    }
  }
}
Enable Authentication for the Sample Controller
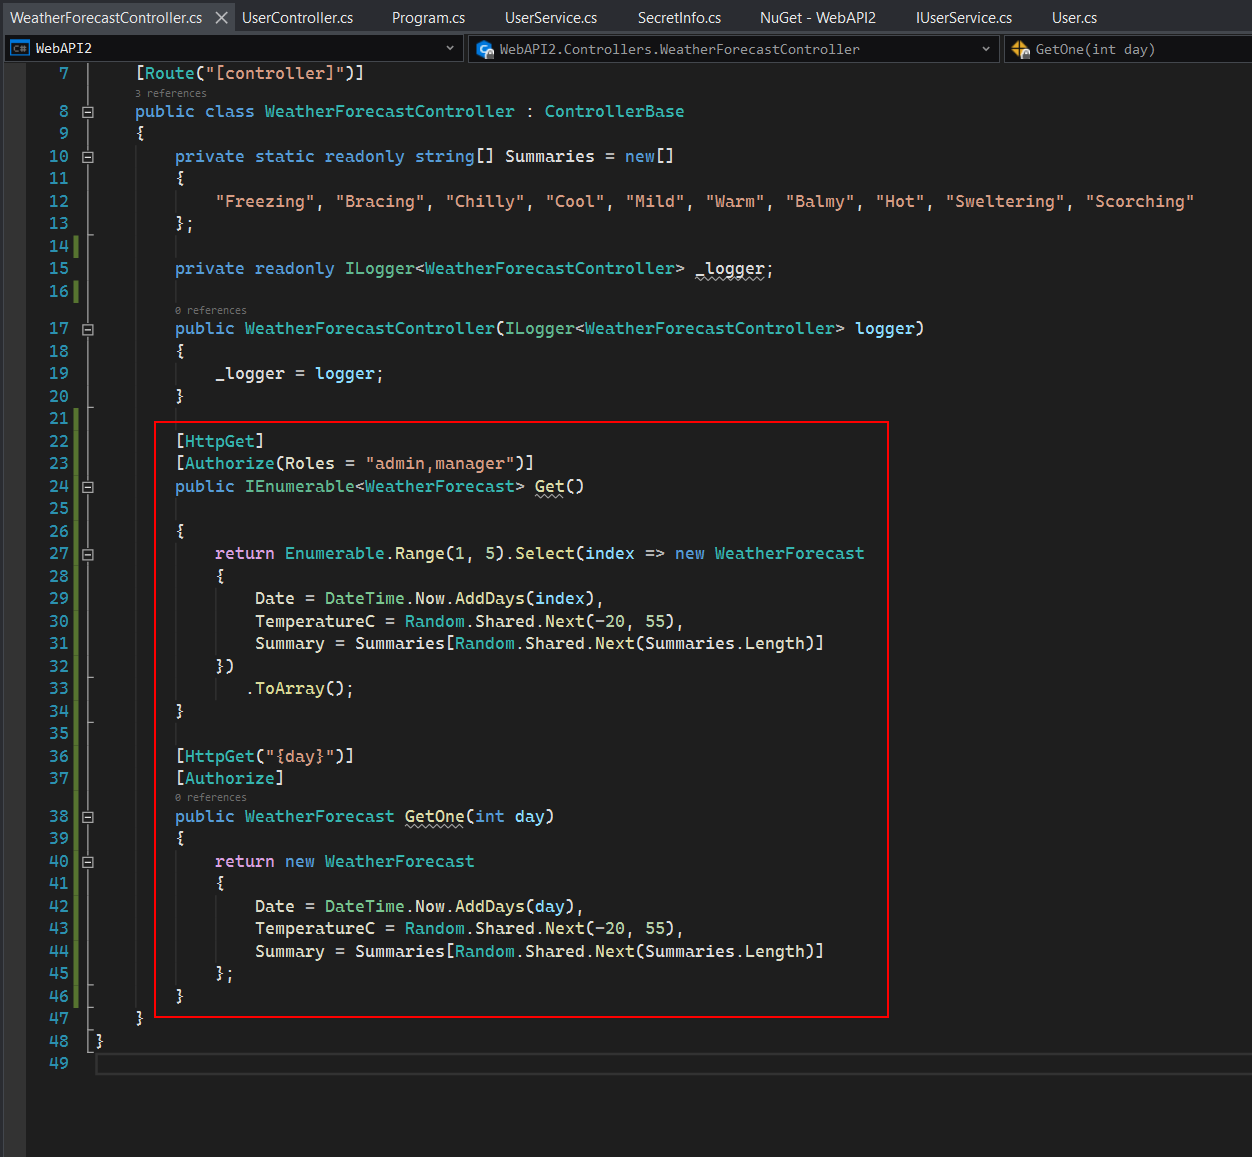
Let's modify the sample controller to route user requests to different APIs according to the user roles. Users with "admin" or "manager" roles can access the API GET /WeatherForecast (to get the weather forecast for the next 5 days) and GET /WeatherForecast/{day} (to get the weather forecast of one of the next 5 days), and users with any roles can access the API GET /WeatherForecast/{day}.
Add the following scripts to the sample controller WeatherForecastController.cs:
using Microsoft.AspNetCore.Authorization;
        [HttpGet]
        [Authorize(Roles = "admin,manager")]
        public IEnumerable<WeatherForecast> Get()

        {
            return Enumerable.Range(1, 5).Select(index => new WeatherForecast
            {
                Date = DateTime.Now.AddDays(index),
                TemperatureC = Random.Shared.Next(-20, 55),
                Summary = Summaries[Random.Shared.Next(Summaries.Length)]
            })
               .ToArray();
        }

        [HttpGet("{day}")]
        [Authorize]
        public WeatherForecast GetOne(int day)
        {
            return new WeatherForecast
            {
                Date = DateTime.Now.AddDays(day),
                TemperatureC = Random.Shared.Next(-20, 55),
                Summary = Summaries[Random.Shared.Next(Summaries.Length)]
            };
        }
View of the Solution Tree:
Call the Web API from PowerBuilder
Get a JWT Token
The RESTClient object provides the ability to access the RESTful Web APIs. It can get a JWT token using the POST method.
Step 1: In the Declare Instance Variables of your window, add an instance variable of the RESTClient object:
RESTClient inv_RestClient
Step 2: In the open event of your window, create the object variable and set the request header:
// Create the RESTClient object variable
inv_RestClient	= CREATE RESTClient

// Set the Request Headers to tell the Web API you will send JSON data
inv_RESTClient.SetRequestHeader ("Content-Type", "application/json;charset=UTF-8")
Step 3: In the clicked event of your Send Request button, add the RESTClient.GetJWTToken() method to call the Web API to get a token, and add the RESTClient.SetJWTToken() method to set the JWT token string to the HTTP request header:
String ls_url_token = "https://localhost:7522/api/User"
String ls_user = '{"UserName":"user1", "Password":"password1"}'
String ls_token

// Get a JWT token.
If inv_RestClient.GetJWTToken(ls_url_token, ls_user, ls_token) = 1 Then

    // Set the JWT token string to the HTTP request header.
    inv_RestClient.SetJWTToken(ls_token)
Else
    // Get JWT token failed.
    Return
End If
Call the Web API with the JWT Token
In the clicked event of your Send Request button, add the RESTClient.SendGetRequest() method to call your Web API to get data (with the JWT token in HTTP request header):
String ls_url = "https://localhost:7522/WeatherForecast"
String ls_response
String ls_msg

// Request WeatherForecast
inv_RestClient.SendGetRequest(ls_url, ls_response)

// Show response info.
ls_msg = "Status Code: " + String(inv_RestClient.GetResponseStatusCode()) + '~r~n' + &
            "Status Text: " + String(inv_RestClient.GetResponseStatusText()) + '~r~n' + &
            "Response Body: " + ls_response

Messagebox("Response Info", ls_msg)
Press Ctrl+R to run the app. Click Send Request and check the response. (Note: Your Web API needs to be running.)
Status Code: 200
Status Text: OK
Response Body: value
Call the Web API with Different Roles
There are two users created at server side (see Add Service Interface and Implementation): user1 has the admin role, and user2 has the guest role.
In the sample controller class at server side (see Enable Authentication for the Sample Controller), it only allows the users with admin or manager role to access the API GET /WeatherForecast, and the API GET /WeatherForecast/{day} is allowed to access by users with any roles.
Call the Web API with Admin Role
From the previous steps we see that user1 with the admin role is allowed to access the API GET /WeatherForecast.
Step 1: In the clicked event of your Send Request button, change the request URL:
String ls_url = "https://localhost:7522/WeatherForecast"
Step 2: Press Ctrl+R to run the app. Click Send Request and check the response. (Note: Your Web API needs to be running.)
Status Code: 200
Status Text: OK
Response Body: value
Notice that user1 is authorized to access both the GET /WeatherForecast and GET /WeatherForecast/{day} APIs.
Call the Web API with Guest Role
Close your application. In the clicked event of your Send Request button, change user1 (admin) to user2 (guest):
String ls_user = '{"UserName":"user2", "Password":"password2"}'
In the clicked event of your Send Request button, change the request URL to the APIs respectively and check the response.
Scenario 1: GET /WeatherForecast
String ls_url = "https://localhost:7522/WeatherForecast"
Press Ctrl+R to run the app. Click Send Request and check the response. (Note: Your Web API needs to be running.)
Status Code: 403
Status Text: Forbidden
Response Body:
Notice that user2 is forbidden to access the API GET /WeatherForecast, because only admin and manager are allowed to access this API.
Scenario 2: GET /WeatherForecast/{day}
String ls_url = "https://localhost:7522/WeatherForecast/1"
Press Ctrl+R to run the app. Click Send Request and check the response. (Note: Your Web API needs to be running.)
Status Code: 200
Status Text: OK
Response Body: value
Notice that user2 can access the API GET /WeatherForecast/{day}, because users with any roles are allowed to access this API.