Now you run the PowerBuilder application to see how it works, and you can test the retrieve, insert, delete, and update capabilities of the DataWindow.
-
Click the Run button (
 ) in the PowerBar1.
The database connection is established, and the MDI frame for the application appears.
-
Select Tutorial > Open from the menu bar.
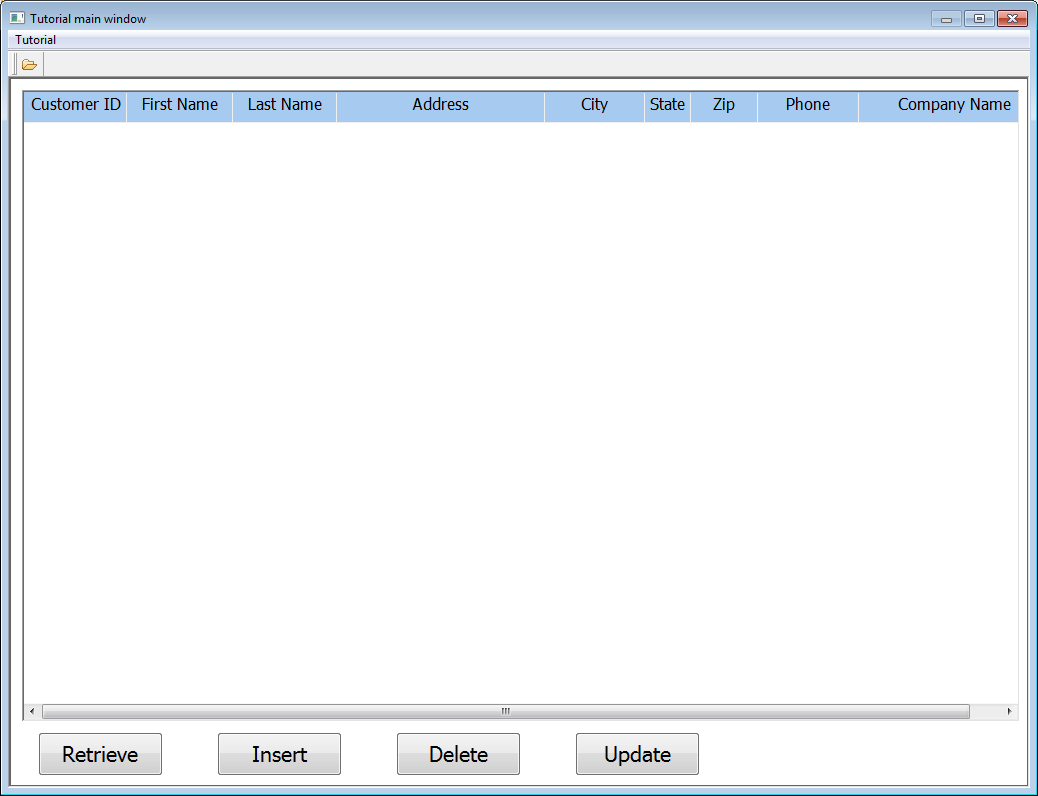
The w_cusdata sheet window appears.
The DataWindow control shows all of the columns retrieved from the Customer table. And you are ready to retrieve, insert, delete, and/or update data for the DataWindow control.
-
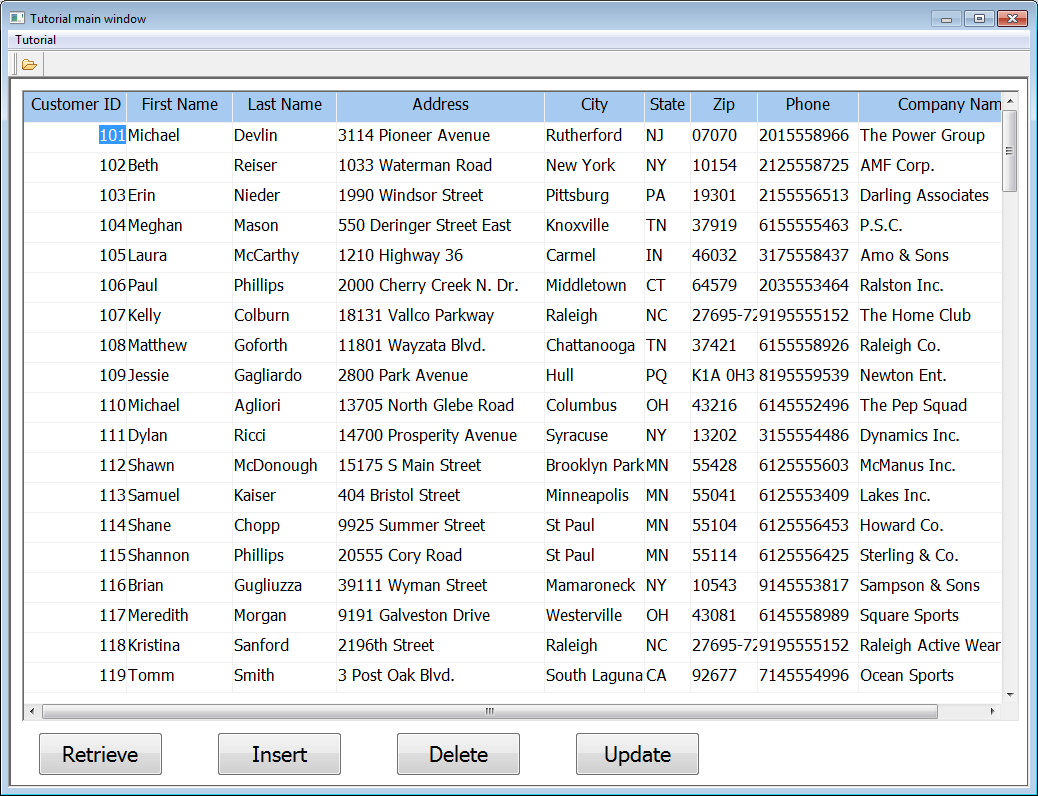
Click the Retrieve button.
This retrieves data from the Customer table.
-
Click the Insert button.
This clears (resets) the DataWindow, allowing you to add information for a new row that you will insert into the data source. The cursor is in the Customer ID box in the DataWindow control.
-
Add a new customer row by entering information in the boxes in the DataWindow.
Typing information for a new customer
The Customer ID number must be unique. To avoid duplicate numbers, use a four-digit number for your new database entry, or scroll down the list of three-digit customer numbers in the DataWindow and select an ID number that does not appear in the list.
Enter values for the remaining fields.
The phone number and zip code use edit masks to display the information you type. You must enter numbers only for these data fields. To specify the state in which the customer resides, you must click the arrow next to the state column and select an entry from the drop-down list box.
-
Click the Delete button.
The customer is deleted from the DataWindow immediately but is not deleted from the database unless you select the Update option. In this particular situation, the Update operation may fail, because rows in other tables in the database may refer to the row that you are trying to delete.
You should be able to delete any row that you have added to the database.
-
Click the Update button.
This sends the new customer data to the database and displays a confirmation message, as coded in the script for the ue_update event.
-
Click OK in the message box.
-
Click the Close button on the top right corner of the window to exit the application.
The application terminates and you return to the Menu painter.
-
Close the Menu painter.


