The following section will take one database type (Oracle database with Oracle JDBC driver) as an example to show you how to create a data source for JEUS, you can later create data sources for other database types by taking the same steps below but specifying different parameters according to Data source parameters.
Detailed steps are as below:
Step 1: Start JEUS and log on to the JEUS Manager.
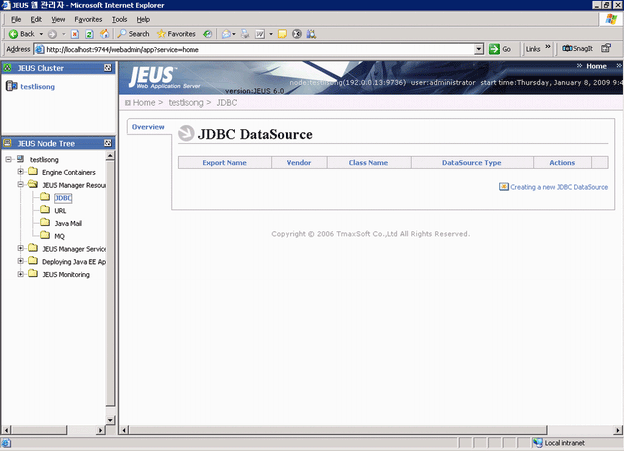
Step 2: Click the node name: JEUS Manager Resources > JDBC in the JEUS Node Tree.
Step 3: Click Creating a new JDBC DataSource.
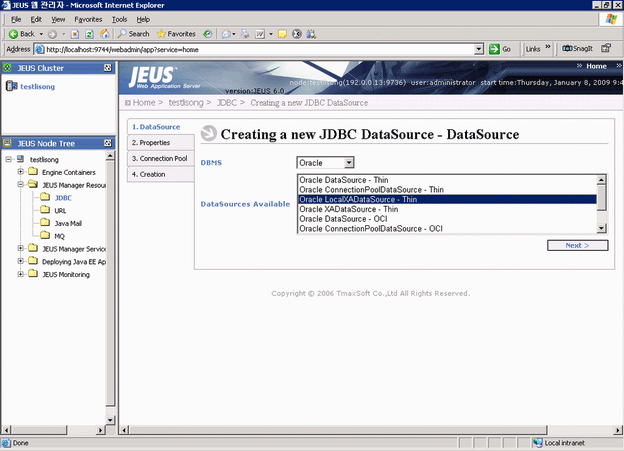
Step 4: In the DBMS dropdown list box, select Oracle, and in the DataSources Available list box, select Oracle LocalXADataSource -- Thin.
You must select LocalXADataSource or XADataSource. LocalXADataSource is preferable to XADataSource because it improves the application performance. For ASA/SQL Anywhere databases, you can only select LocalXADataSource. Following are the recommended datasources for different database drivers:
-
MS SQL Server 2000 JDBC driver: MS-SQ LocalXADataSource
-
MS SQL Server 2005 JDBC driver: Custom DataSource
-
jTDS/IBM JDBC Driver: BlackBox LocalXADataSource
-
Oracle JDBC driver: Oracle LocalXADataSource -- Thin, or Oracle XADataSource -- Thin
-
jConnect: SAP jConnect 5.5 LocalXADataSource
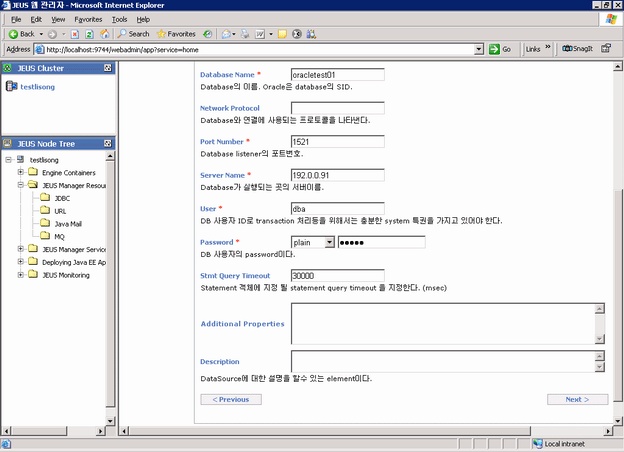
Step 5: Specify the datasource properties and click Next twice.
The following table lists instructions for how to specify the properties for a datasource.
Table 26. Datasource properties
|
Export Name |
Input any text as the datasource name. For example, "oracle_datasource1". This name will be recognized as the data source name in AEM. |
|
Database Name |
Type the database name. For example, "oracletest01". |
|
Port Number |
Type the database port. The default port is 1521. |
|
Server Name |
Type the database server name. For example, 192.0.0.91. |
|
User Name |
Type the database login username. The username is set on the database server. |
|
Password |
Type the database login password. The password is set on the database server. If the password has no effect in the Password field, input "password=password" to the Additional Properties box. |
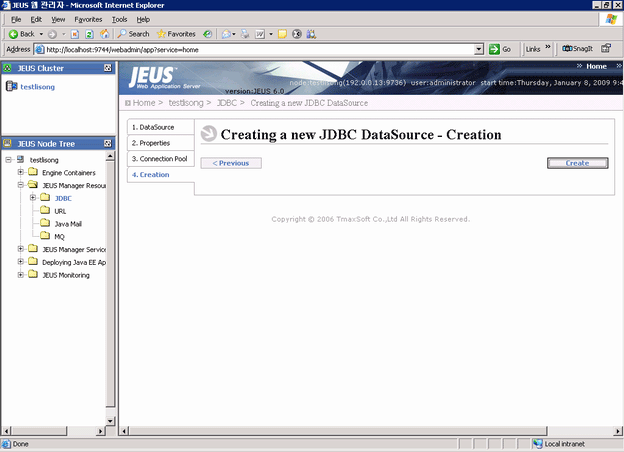
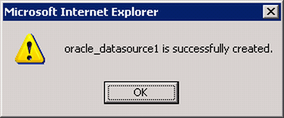
Step 6: Click Create and ensure that the JDBC data source is successfully created.
A message pops up if the JDBC data source is successfully created.


