The deployment settings associate the PowerServer(s) and Web server(s) as a group used for the application deployment.
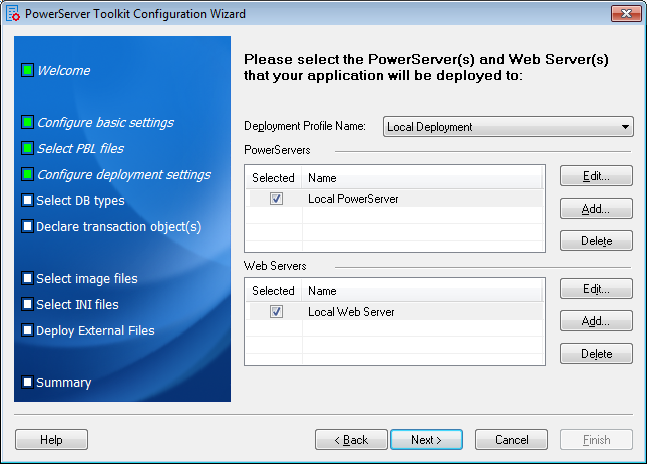
Step 1: Select an existing deployment profile.
To create or modify a deployment profile, you must use the Configure tool. For detailed instructions, refer to the section called “Deployment profile settings”.
Step 2: Select the check boxes to include the PowerServer(s) and the Web server(s) in the deployment profile.
All the PowerServer profiles and Web server profiles you have created are listed. More than one PowerServer and one Web server can be selected.
If the required PowerServer profiles or Web server profiles are not available, click the Add button to create them. Refer to the section called “PowerServer profile settings” for detailed instructions on creating a PowerServer profile and refer to the section called “Web Server profile settings” for detailed instructions on creating a Web server profile.
Step 3: Click Next to proceed.
When the Next button is clicked, the wizard will test the connection to the PowerServer and the Web server. If the connection is successful, the deployment profile is saved with the associated PowerServer(s) and Web server(s).
