Workspaces and targets
In PowerBuilder, you work with one or more targets in a workspace. You can add as many targets to the workspace as you want, open and edit objects in multiple targets, and build and deploy multiple targets at once.
A PowerBuilder application target can be a client/server, Web, or mobile executable application.
This tutorial shows you how to create a workspace and an Application target.
The development environment
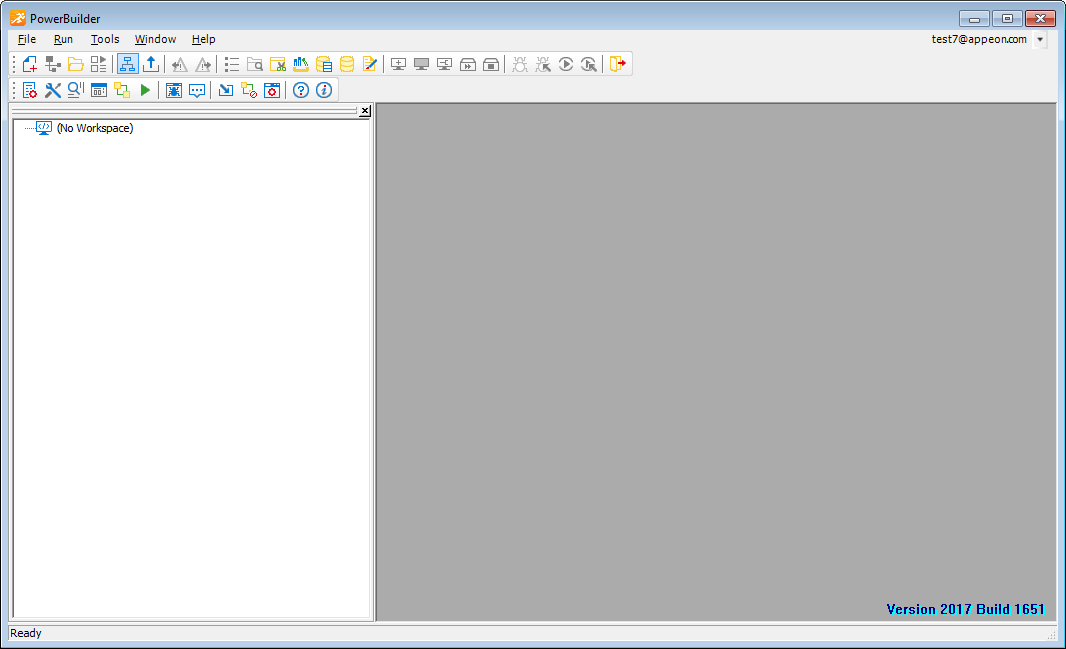
When you start PowerBuilder, it opens in a window that contains a menu bar and the PowerBar at the top, and the System Tree and Clip windows on the left.
System Tree
The System Tree window can serve as the hub of your development activities. You use it to open, run, debug, and build your targets, and for drag-and-drop programming.
Clip window
The Clip window lets you store code fragments that you use frequently.
Output window
The output of a variety of operations (migration, builds, object saves, and searches) displays in an Output window at the bottom of the main window. The Output window opens automatically when output information is generated, but you can open the Output window at any time by clicking the Output window toolbar button.
Painters
Once you have created a workspace and a PowerScript target, you build the components of the target using painters. Painters provide an assortment of tools for enhancing and fine tuning the objects in a target.
PowerBuilder provides a painter for each type of object you build. For example, you build a window in the Window painter. There you define the properties of the window and add controls, such as buttons and text boxes.
Wizards
Wizards simplify the creation of applications, objects, etc.
To-Do List
The To-Do List displays a list of development tasks you need to do for the current target. Entries on the To-Do list can be created automatically by most PowerBuilder wizards. You can also type in entries or import them from a text file and then link them to a task that you want to complete.
Browser
The Browser lets you see all the objects, methods, variables, and structures that are defined for or available to your PowerScript target. Objects in the Browser can be displayed in alphabetic or hierarchical order. The Browser displays methods with their complete prototypes (signatures), which include the datatypes of all arguments and return values.
PowerBar
The PowerBar displays when you begin a PowerBuilder session. The PowerBar is the main control point for building PowerBuilder applications. You can use the New, Inherit, or Open buttons on the PowerBar to open all of the PowerBuilder painters. From the PowerBar, you can also open the Browser, debug or run the current application, and build and deploy the workspace.
PainterBar
When you open a painter or editor, PowerBuilder displays a new window that has a workspace in which you design the object you are building. PowerBuilder also displays one or more PainterBars with buttons that provide easy access to the tools available in the painter or editor. For example, here is the PainterBar for the DataWindow painter.

StyleBar
The StyleBar displays when you open any painter that can contain text controls, such as the Window painter. Using buttons on the StyleBar, you can modify text properties such as the font and point size.

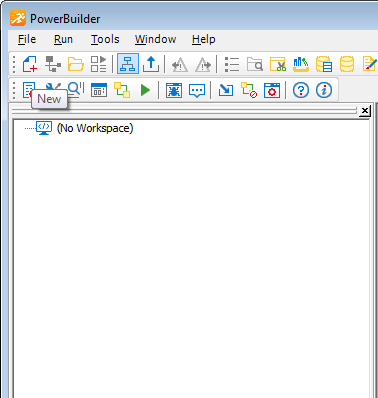
PowerTips
When you leave the mouse pointer over a button for a second or two, PowerBuilder can display a brief description of the button (a PowerTip). The ability to display PowerTips is toggled on and off by selecting the Show PowerTips menu item in any toolbar pop-up menu.
You can also include brief descriptive texts on all toolbar buttons by selecting ShowText from any toolbar pop-up menu.
Customizing the environment
In addition to displaying text in toolbar buttons, you can move the toolbars around, add new toolbars, and customize existing ones. You can add buttons for opening painters and performing other activities.
You can also rearrange the System Tree, Clip, and Output views, set up custom layouts for each painter, choose whether PowerBuilder opens your last workspace at start-up with or without painters and editors open, customize shortcut keys, and change the colors and fonts used in scripts.
PowerBar buttons
The buttons in the PowerBar give you quick access to the most common PowerBuilder tasks.

The following table lists only the tasks related with the mobile app development. The tasks for mobile deployment will be introduced later.
Table 1. Buttons in the PowerBar
| Button | Use to |
|---|---|
 |
Create new workspace, target, or other object, or open a tool. |
 |
Inherit from menu, user object, or window. |
 |
Open an existing application, DataWindow, function, menu, query, structure, user object, or window. |
 |
Preview a window or DataWindow object. |
 |
Show or hide the System Tree window. |
 |
Show or hide the Output window. |
 |
Move to the next line in the Output window. |
 |
Move to the previous line in the Output window. |
 |
Display a list of development tasks you need to do. These can be self entered or entered automatically by PowerBuilder wizards. |
 |
View object information (such as object properties or global variables) and copy, export, or print it. |
 |
Show or hide the Clip window. |
 |
Create and maintain libraries of PowerBuilder objects. |
 |
Specify how to connect to a database. |
 |
Maintain databases, control user access to databases, and manipulate data in databases. |
 |
Edit a file. |
 |
Start an incremental build of the workspace. |
 |
Start a full build of the workspace. |
 |
When a series of operations is in progress, such as a full deploy of the workspace, skip to the next operation. |
 |
Stop a build operation or series of operations. |
 |
Run the current target. |
 |
Select a target and run it. |
 |
Exit from PowerBuilder. |
