Step 1: On the PowerServer Toolkit, click the Config Wizard ( ) icon.
Step 2: In the welcome screen, click Next.
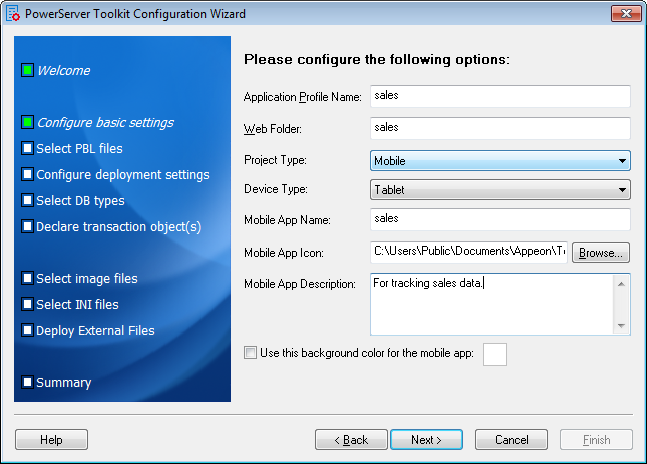
Step 3: Specify the following settings and then click Next.
-
Specify the application profile name in the Application Profile Name text box. The same text will be displayed in the Web Folder text box and the Mobile App Name text box. You can modify these fields to use different text.
-
Select Mobile or Universal from the Project Type dropdown list box.
-
Select a device type from the Device Type dropdown list box.
For applications that are designed for tablets, select Tablet; for applications that are designed for smartphones, select Smartphone; for applications that are designed for both devices, select Both.
-
In the Mobile App Icon text box, specify an icon for your application by clicking Browse to select the image file of the following format: PNG, GIF, JPG, and BMP. The image that you choose will be displayed as the application icon in Appeon Workspace. Recommended size is 86 x 86 pixels (or above) for non-retina display and 172 x 172 pixels (or above) for retina display. To ensure the best display quality in both high-resolution and low-resolution screens, you must supply an image of 172 x 172 or above. The image will be automatically adjusted to fit properly. If you leave this field empty, the default icon will be displayed in Appeon Workspace.
-
Enter a brief description in the Mobile App Description text box. This description will be displayed in the Appeon Workspace next to the application icon. If you leave this field empty, no app description will be displayed in Appeon Workspace.
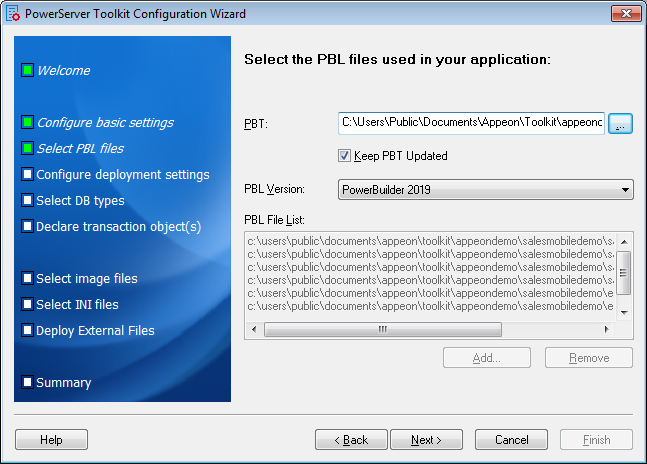
Step 4: Add the PBT from the PBT dropdown list box (and all related PBLs will be automatically added for you) or add the PBL files individually that are used in your application by clicking the Add... button in the PBL File List group box, and then select a PBL version from the PBL Version dropdown list box. Click Next.
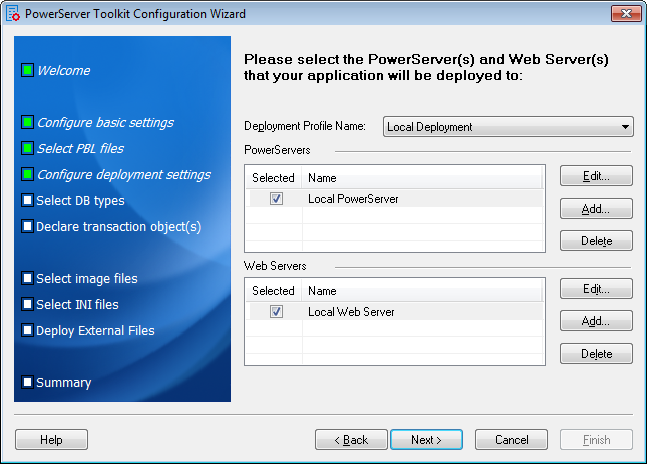
Step 5: Keep the default settings and click Next.
Since you have installed PowerServer Toolkit and PowerServer on the same machine, you can directly use the Local PowerServer profile, the Local Web Server profile, and the Local Deployment profile, all of which are configured automatically by the product setup program.
When you click Next, the configuration wizard will automatically test the connection to the server. You will not be able to proceed if the connection test failed.
Step 6: Select the database type from the Used column and click Next.
If your mobile application connects with the local offline database only, then select the database type for the local offline database. If your mobile application also connects with the server-side consolidated database, then you will also need to select the database type for your server-side consolidated database.
If the required database type has not been configured in Task 1: Configure the database type, you should highlight the database type, then click Edit, and then follow Step 4 in Task 1: Configure the database type to configure it.

Step 7: Click Add to specify the transaction object that connects with the server-side consolidated database.
Note: this step is required only if your mobile application connects with the server-side consolidated database. If your mobile application connects with the local offline database only, then skip this step.
For detailed instructions on how to configure the transaction object, please refer to Step 7 in Tutorial 2: Config, Deploy & Run the Application in PowerServer Mobile Tutorials.

Step 8: Click Browse to select the image file or the folder that contains the image files, if any. Click Next.
Step 9: Click Add File or Add Directory to select the INI file, if any. Click Next.
Step 10: Click Add File or Add Directory to select any other external files such as TXT file, PDF file, etc., if any. Click Next.
Step 11: In the configuration summary screen, uncheck the Deploy the application now option. Click Finish.
