You will create an application, complete with toolbars and menus. You will create a shortcut for the application. Then you can run it from your desktop, just the way you run InfoMaker or any other application.
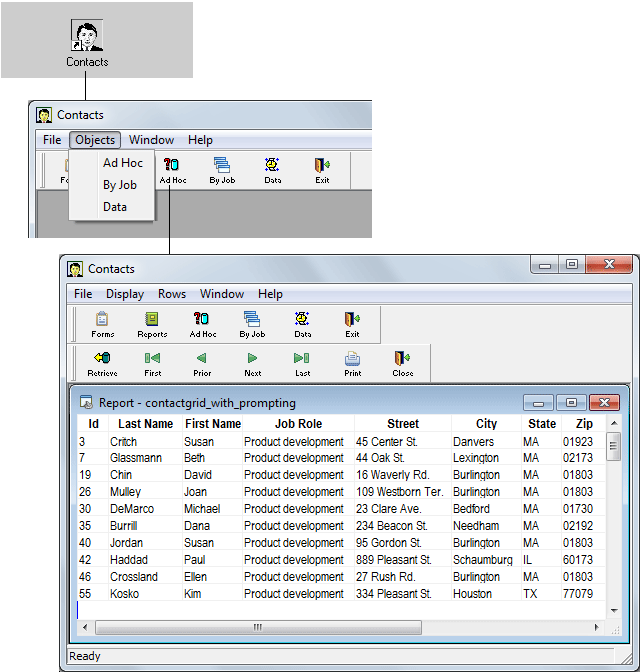
Where you are
Create a shortcut to the application
The application you create consists of an executable file and an initialization file. The initialization file provides information about the database to the executable file.
For example, InfoMaker itself is an application that has an executable file called im190.exe. This is the file you start running when you start InfoMaker. InfoMaker also has an initialization file called im.ini.
Terms
The executable file is also called an exe file (pronounced exxy). The initialization file is also called an ini file (pronounced inny).
Make sure you have the diskette
Before you begin, make sure you have the diskette from Lesson 7 in the diskette drive.
-
If you are continuing from Lesson 7, go to step 2.
Otherwise, go to the Library painter with the diskette in the drive and the library named mylib.pbl set to be the current library (File>Select Library).
The Library painter shows the contents of mylib.pbl.

-
Select Design>Create Executable from the menu bar.
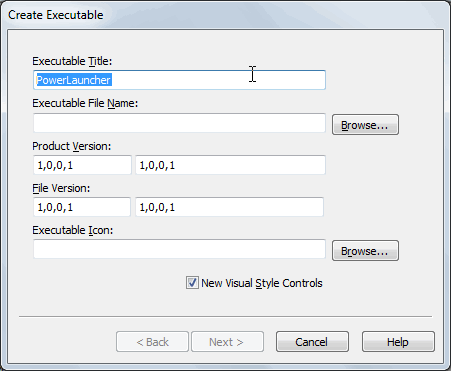
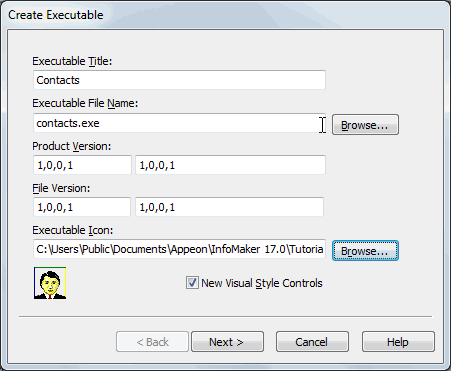
The Create Executable dialog box displays. In this dialog box you specify a title for the application window, a file name for the executable file, the folder for storing the executable file, and an icon for the application.
-
Type Contacts in the Executable Title box.
Later, when you run your application, the title bar displays the word Contacts.
-
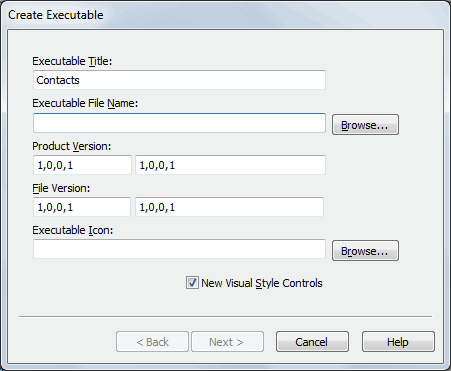
Type contacts.exe in the Executable File Name box.
This assigns a name to your executable file.
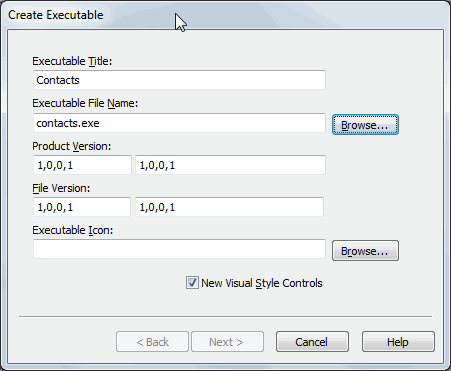
-
Click the Browse button next to the Executable Icon box to select an icon for your application.
The icon will display in the Windows shortcut. You create a shortcut shortly.
-
Change to the Tutorial folder (the icon is there).
Click emp.ico.
Click Open to accept the emp.ico file as the icon for your application.
You return to the Create Executable dialog box. The icon and its full name display.
-
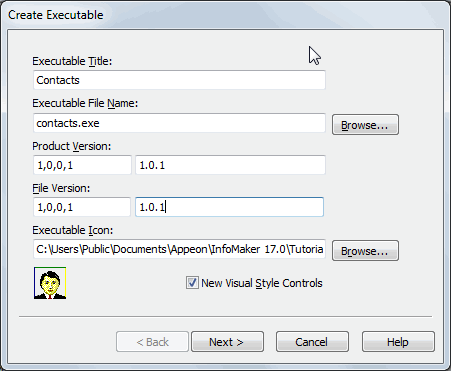
Type Version 1.0.1 in the Product Version and File Version boxes on the right.
Leave 1,0,0,1 in the boxes on the left.
The text you type in the boxes on the right displays on the Version tab page of the Properties dialog box when you look at the properties of the executable file in Windows Explorer. The four numbers separated by commas on the left can be used by installation programs.
-
Click Next to select items for the application.
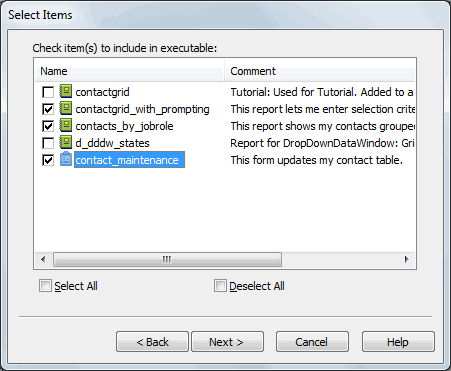
The Select Items dialog box displays. Now you select the form and reports for your application.
-
Click the check box for contactgrid_with_prompting.
Click the check box for contacts_by_jobrole.
Click the check box for contact_maintenance.
-
Click Next to define the toolbar items.
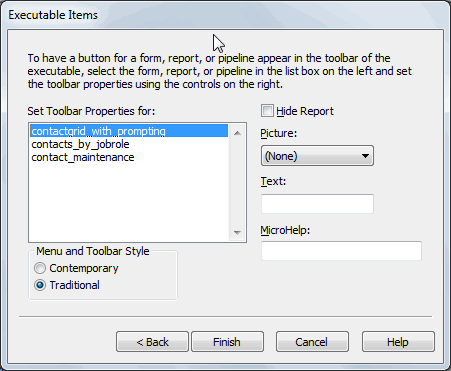
The Executable Items dialog box displays. It lists the form and reports to be included in your application. The information you enter in the boxes to the right of the list of items is for the currently selected item.
Finish defining all information before you click Finish
Do not click the Finish button or press enter until you have finished defining information for all the items you want to include in the application's toolbar. Once you click Finish or press enter, InfoMaker generates the executable file.
If you create the executable file before you mean to, select Design>Create Executable again. InfoMaker remembers what you have specified. You can continue where you left off and re-create the executable file.
-
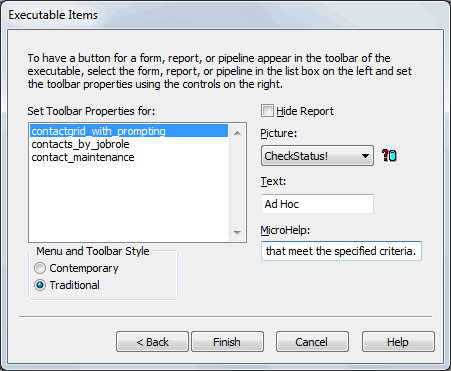
Make sure contactgrid_with_prompting is selected.
In the Picture box, display the list and select CheckStatus!.
Click the Text box and type Ad Hoc.
Press Tab to go to the MicroHelp box.
Type List contacts that meet the specified criteria.
The Picture box specifies the picture for the button, which will be in the application's toolbar.
The Text box provides text for the button and for the menu item that will run contact_maintenance in your application.
The MicroHelp box provides MicroHelp for the button and menu item.
-
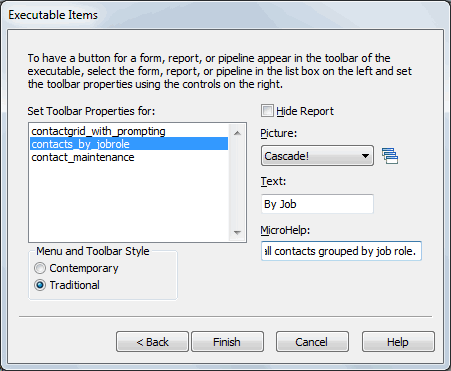
Click contacts_by_jobrole.
In the Picture box, display the list and select Cascade!.
Click the Text box and type By Job.
Press Tab to go to the MicroHelp box.
Type List all contacts grouped by job role.
-
Click contact_maintenance.
In the Picture box, select the entry AddWatch!
Click the Text box and type Data.
Press Tab to move to the MicroHelp box.
Type Maintain contact information in the database.
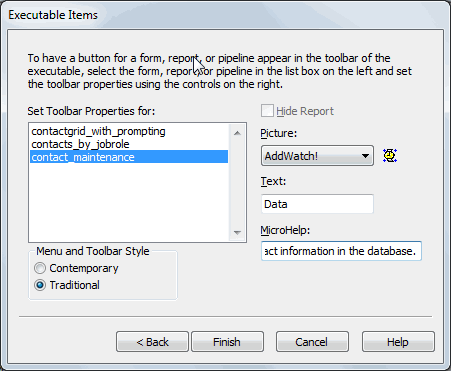
Now you have finished providing information for the form and the two reports that are in your application.
-
Click Finish.
InfoMaker creates the application, which consists of an executable file and an initialization file. These files are in the Tutorial folder.
Now that InfoMaker has finished creating the application, you return to the Library painter.
Before leaving the Library painter, you select tutor_im.pbl as the current library. This is where the samples and the tutorial work are kept.
-
Select File>Select Library from the menu bar.
-
Select tutor_im.pbl from the Recent page in the Select File dialog box and click OK.
The current library is tutor_im.pbl again.
-
Select File>Exit from the menu bar.
InfoMaker closes.
Where you are
> Create a shortcut to the application
Now you make the application easy to access. To do this you create a shortcut on the Windows desktop.
-
Move the pointer to an empty area of the desktop and press the right mouse button.
The pop-up menu for the desktop displays.
-
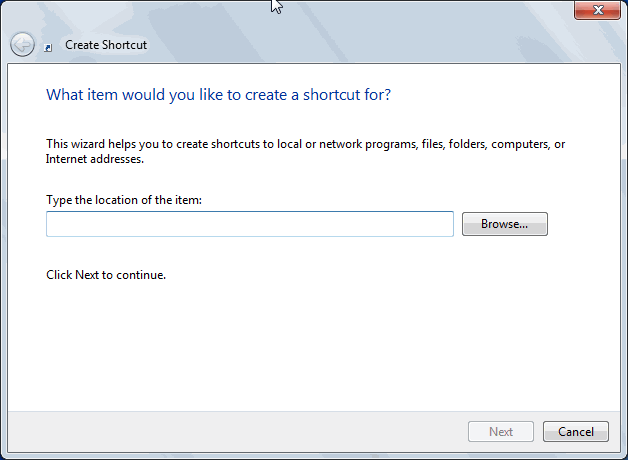
Select New and then Shortcut.
The Create Shortcut dialog box displays.
-
Click the Browse button to locate contacts.exe.
In the Browse dialog box, change folders to the Tutorial folder.
Select contacts.exe and click Open.
You return to the Create Shortcut dialog box with the full path of the contacts.exe file in place.
-
Click Next.
-
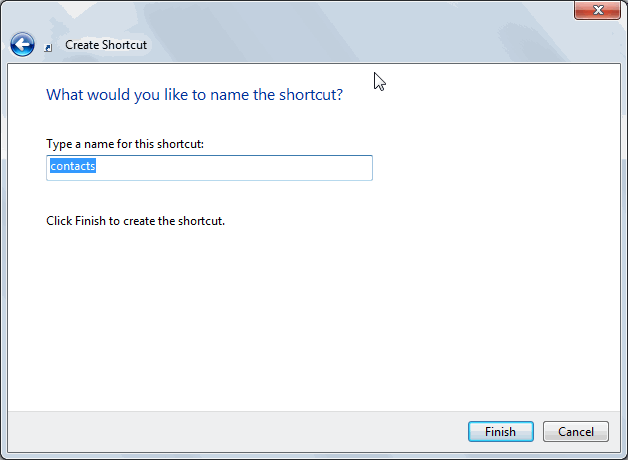
In the text box, type Contacts over the name offered as a default (contacts.exe).
This provides a better title to display under the icon on the desktop.
-
Click Finish.
Windows creates the shortcut to your application and displays it on the desktop. Now you must modify a property of the shortcut so that you can run your application.

-
Move the pointer to the icon and press the right mouse button to display the pop-up menu.
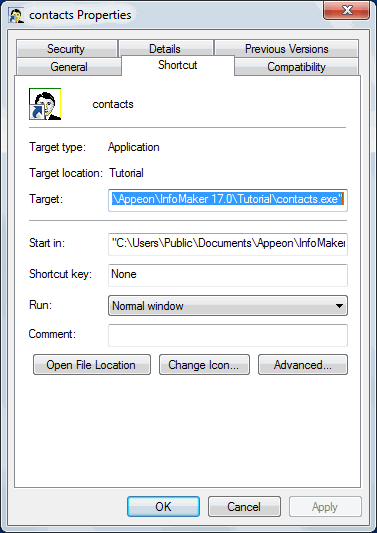
Select Properties to display the shortcut's property sheet.
-
Select the Shortcut tab and type the location (path) of the Appeon system files in the Start in box:
About the location of Appeon system files
When you install InfoMaker, the installation process automatically puts the DLLs in a system folder. If you have changed the names of the folders used for installing, you need to use your names in this step.
The folder path is %systemdrive%\Program Files (x86)\Appeon\Common\PowerBuilder\Runtime [version]\.
You must specify the name of the drive. If you use backslashes to specify a relative path name, the application will be unable to locate the system files.
-
Click OK.
Windows modifies the shortcut to your application. This modification enables Windows to find some InfoMaker modules (DLLs) required for running your application.
Where you are
Create a shortcut to the application
In this exercise you start the application you created and take a look at its toolbar, MicroHelp, and menus.
-
Double-click the Contacts shortcut on your desktop.
Your application runs. Do not be surprised if it takes a minute to get everything running. The database itself has to start up so that you can access data.
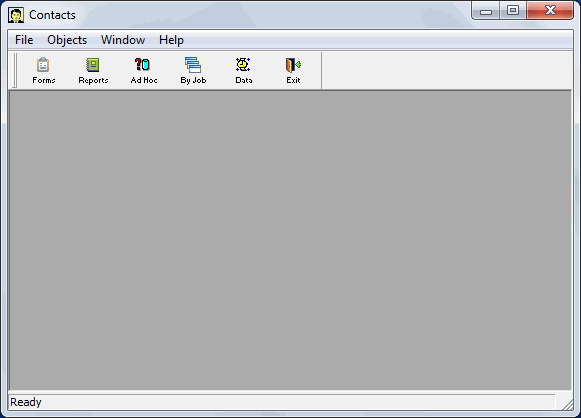
The main window of the Contacts application displays.
-
Notice the toolbar.
The Forms, Reports, and Exit buttons are automatically included. The Ad Hoc, By Job, and Data buttons are in the toolbar because you defined them when you created the application.

-
Move the pointer to one of the buttons.
Notice the MicroHelp at the bottom of the screen.
-
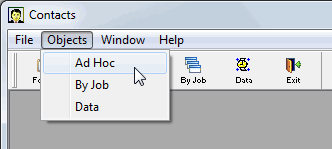
Click the Objects menu item.
Notice that Ad Hoc, By Job, and Data are included in the Objects menu. Your application has a toolbar and a menu. You can run forms and reports from either place.
Where you are
Create a shortcut to the application
Now you use the Data button to run your form. You add a new contact and change information about an existing one.
-
Click the Data button.
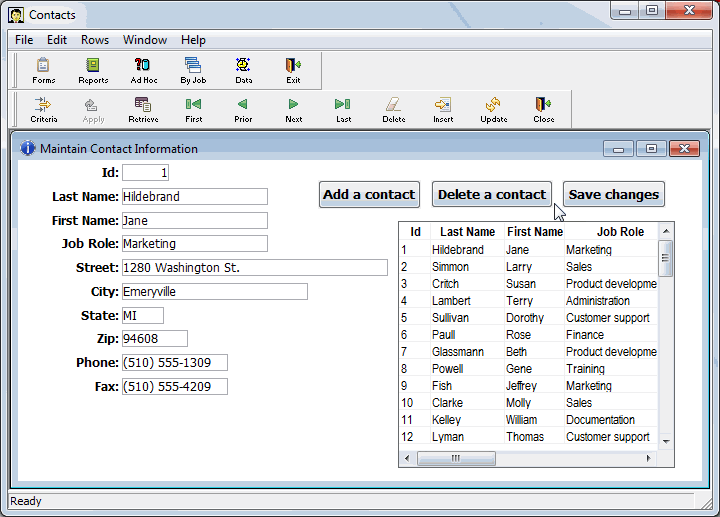
Your form displays. Notice that title bars identify your application and the particular part you are using. You also have the usual form toolbar that lets you view, add, and update information in the database.
-
Click the Add a contact button in the form.
A blank form displays.
-
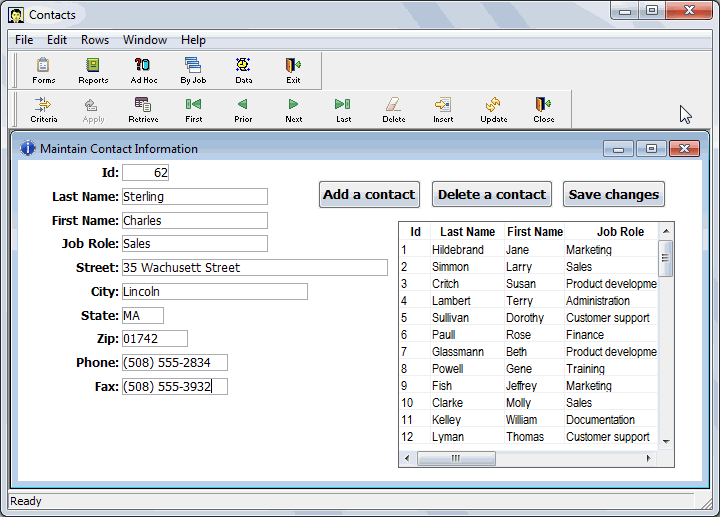
Enter information for a new contact.
Use 62 for the Id entry and make up the rest.
Be sure to fill in all blanks. (The only columns you can skip are phone and fax; the other columns are defined as required in the database.) Use the Tab key to move from box to box.
-
Click the Save changes button in the form.
Your new contact goes into the database. You will see it shortly.
Next you want to display information on the contact with Id 37 so that you can make a correction.
About updating the database and canceling changes
You can click the Update button to update the database immediately; or you can wait until you close the form, and InfoMaker prompts you then to see if you want to update the database.
The Cancel Changes menu item on the Rows menu cancels any changes you have made since the last time you clicked Update.
-
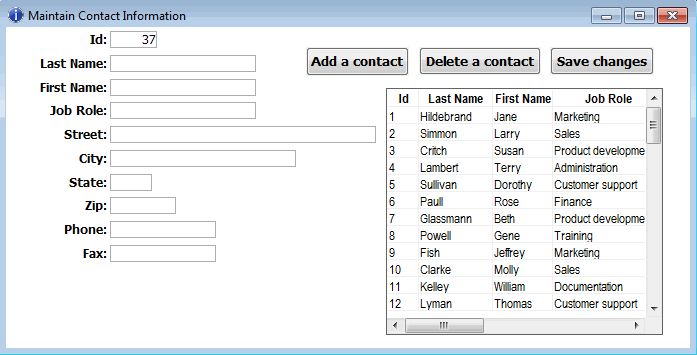
Click the Criteria button to display a blank form for setting retrieval criteria.
-
Type 37 in the Id box.

This sets the retrieval criteria.
-
Click the Apply button.

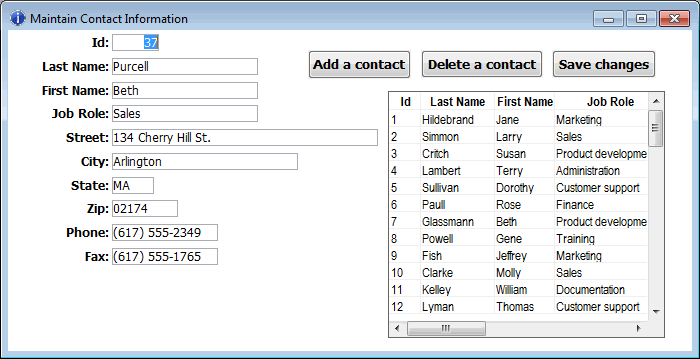
This applies the retrieval criteria. InfoMaker retrieves the row with the Id 37.
-
Change the Street to 134 Cherry St.
Click the Save changes button in the form.
Your changes are added immediately to the database.
-
Click the Next button.

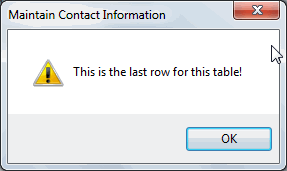
A message box displays because you have set criteria that allow only row 37 to be retrieved. You need to remove the criteria or specify other criteria.
-
Click OK to close the message box.
Click the Criteria button.
Select 37 and press the delete key to delete 37 from the Id box.
-
Click the Apply button.


Now you have no criteria, so InfoMaker retrieves all rows.
-
Select File>Close from the menu bar.
Your form closes.
Where you are
Create a shortcut to the application
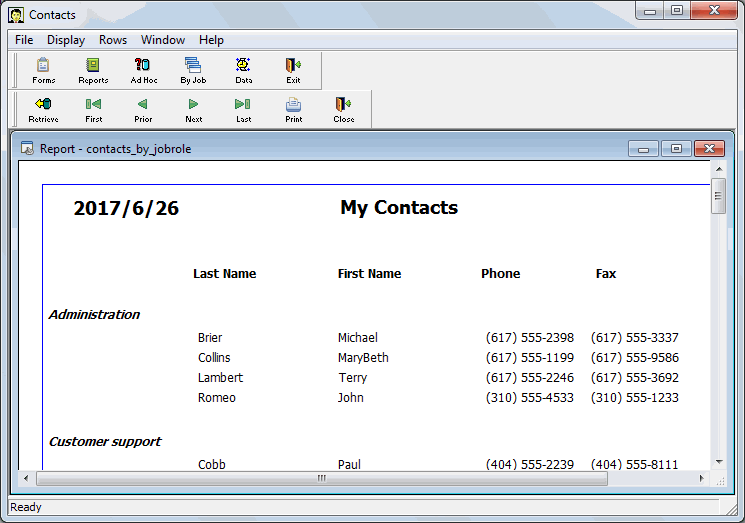
Now you run a report of all contacts grouped by job role.
-
Click the By Job button.
The report that lists all contacts grouped by job role displays.
-
Scroll the report to see your new contact.
When you have finished, select File>Close from the menu bar.
Once again you return to the main application window.
Where you are
Create a shortcut to the application
Now you use the Ad Hoc button to run several different reports based on the criteria you specify.
-
Click the Ad Hoc button.
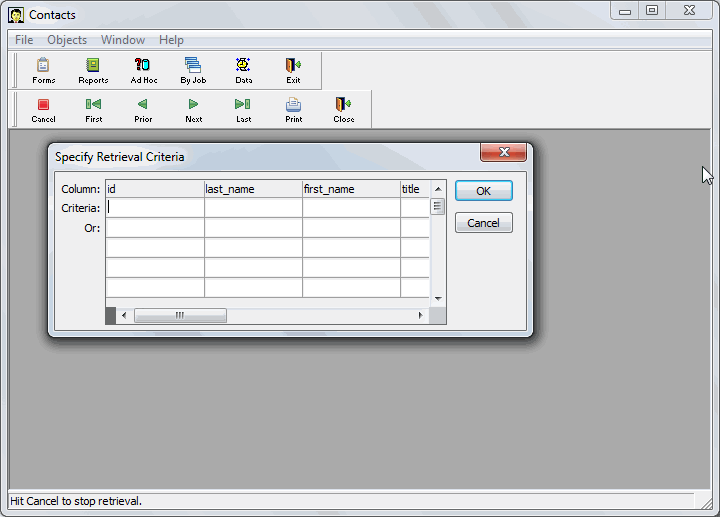
The Specify Retrieval Criteria dialog box displays. This dialog box displays because you selected Prompt For Criteria for this report. Whenever you run this report, you are first prompted for criteria.
-
Click OK.
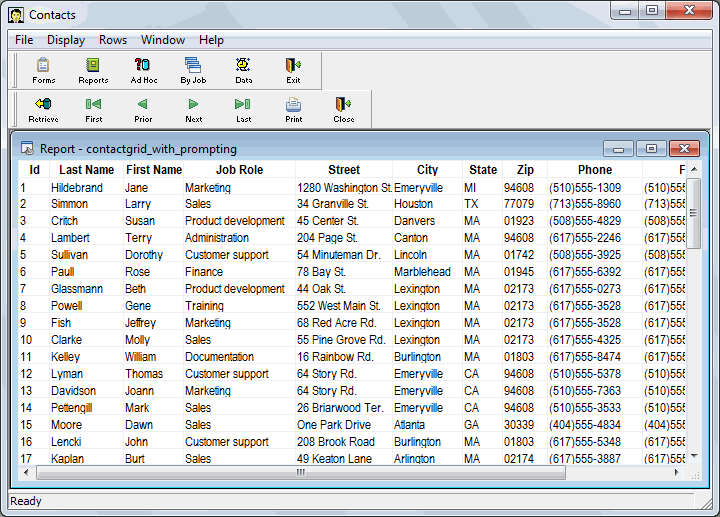
Because you did not specify any criteria, the report retrieves all your contacts.
-
Select Rows>Retrieve from the menu bar.
The Specify Retrieval Criteria dialog box displays again. This time you enter criteria.
-
Go to the title column.
Select Documentation from the drop-down list.
Click OK.
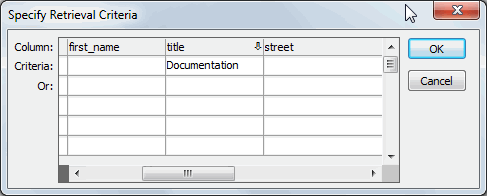
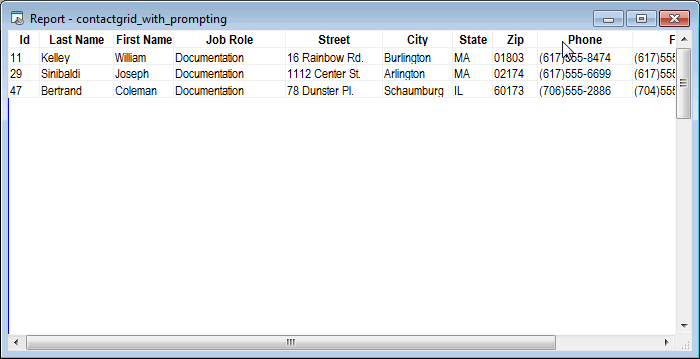
You have specified that the report is to list only contacts who have jobs in documentation.
-
Click the Retrieve button.
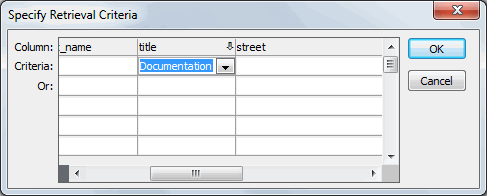
The Specify Retrieval Criteria dialog box displays again. Notice that the criterion in the title column is still in effect. To specify different criteria, you are now going to delete Documentation. Then you enter new criteria.
-
Select the Documentation entry in the title column.
Press delete.
This deletes criteria from the title column. Now you are going to enter new criteria.
-
Click in the first box underneath last_name.
Type like "c%".
Click OK.
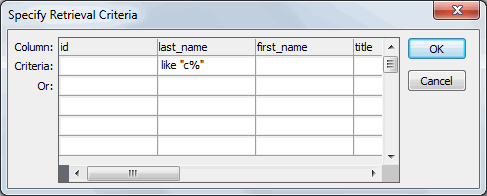
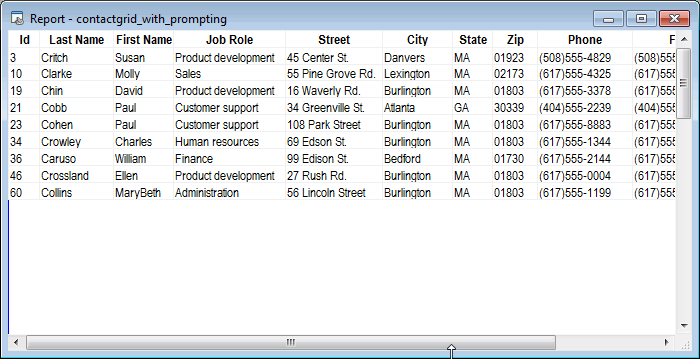
This entry (like "c%") helps you find a name you cannot remember. All you can remember is that it starts with C.
The like operator specifies that only rows that match what follows should be retrieved. The quotes are required. The c means that the first character must be C. The % sign means any characters can follow the C.
This is the report.
-
Click the Retrieve button.
The Specify Retrieval Criteria dialog box displays again. The requirement that the last name begin with C is still in effect. Now you add an additional requirement. The report is to list contacts whose last names begin with C and who are from Burlington.
-
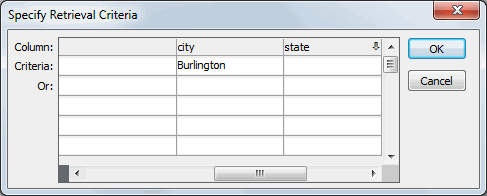
Use the scroll bar to display the city column.
Click in the first box underneath city and type Burlington.
Click OK.
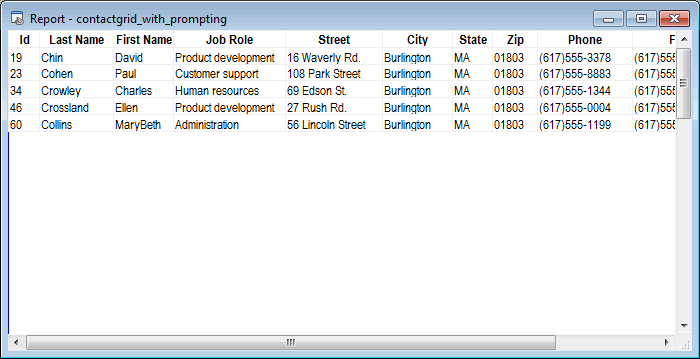
Now the report has only contacts whose last names begin with C and who are from Burlington.
-
Click the Retrieve button.
The Specify Retrieval Criteria dialog box displays again. The requirements that the last name begin with C and that the city be Burlington are still in effect.
Now you change the city requirement slightly. The report is to list contacts whose last names begin with C or who are from Atlanta. To be listed, contacts have to meet either requirement; they do not have to meet both.
-
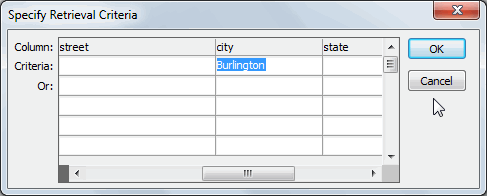
Use the scroll bar to display the city column.
Select Burlington and press delete to delete Burlington.
-
Press the down arrow key to move down one row.
Type Atlanta.
Click OK.
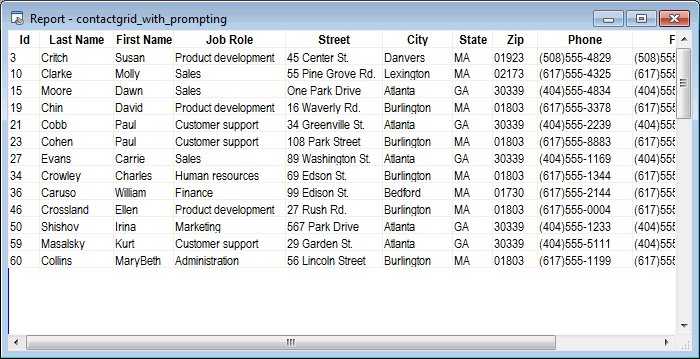
By specifying criteria in two different rows in the dialog box, you are specifying that the report should retrieve rows from the database that meet the first row of criteria or the second row of criteria.
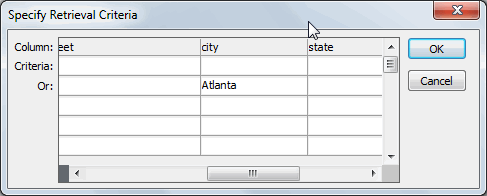
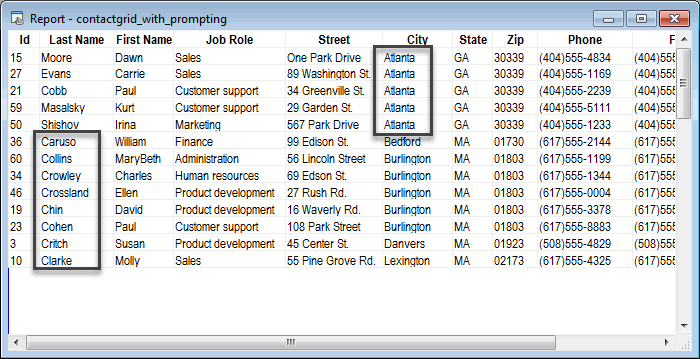
Your report retrieves all contacts whose names begin with C. It also retrieves all contacts who are from Atlanta. It is hard to look at the two sets of rows, so now you sort by city. Then all the Atlanta rows will be together.
-
Select Rows>Sort from the menu bar.
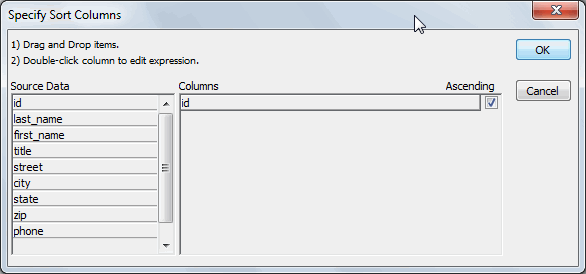
The Specify Sort Columns dialog box displays.
-
Drag the Id column out of the Columns box and the city column into the Columns box.
Click OK.
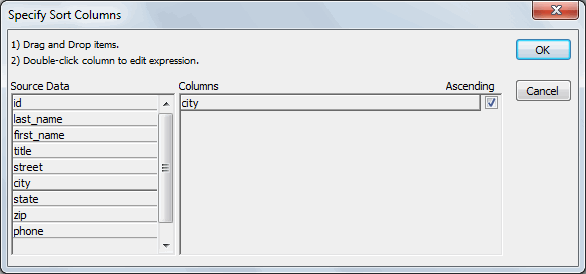
InfoMaker sorts the rows by city. Now you can see the Atlanta contacts first. These are followed by contacts whose names begin with C.
Now you are finished using this report and using the application.
-
Click the Exit button.
This closes the report and the application.
Congratulations.
Now you have done it all. You have created data, maintained it, and reported on it. And you have put all your work together into your own application. See the next page for some suggestions on what to do next.


