You can have only one PowerBuilder Workspace open at a time, but you can add as many targets or applications to the Workspace as you want, including opening and editing objects in multiple targets.
To create a new Workspace for the Appeon tutorial PowerBuilder application:
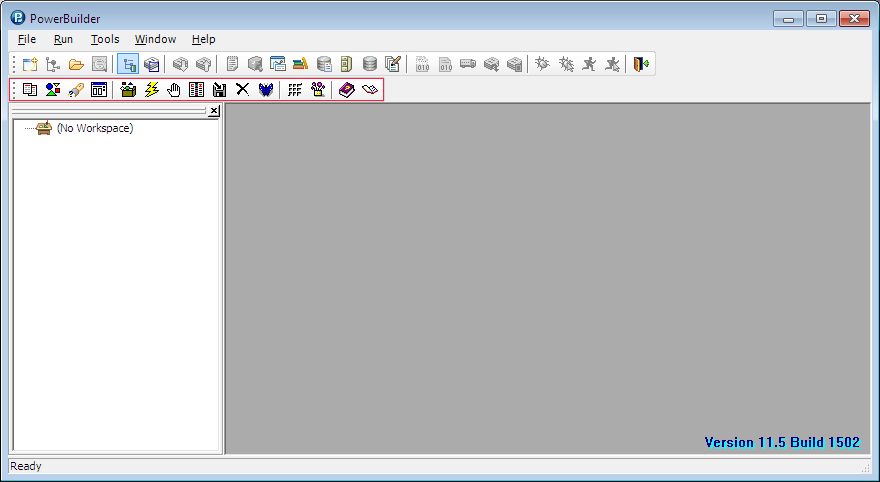
Step 1: Start PowerBuilder. The PowerBuilder IDE starts with the Appeon Developer toolbar loaded.
Step 2: Select File > New from the PowerBuilder menu bar, and the New dialog box appears.

Step 3: Select the Workspace icon in the Workspace tab and click OK. The New Workspace dialog box displays. Navigate to the %Appeon%\Developer2015\appeondemo\Tutorial folder, for example, C:\Users\Public\Documents\Appeon\Developer2015\AppeonDemo\Tutorial.
Type appeontutor in the File name text box and click Save.

The appeontutor workspace has been added and appears as the top item in the PowerBuilder system tree.

