If you don't currently own an Azure Storage account you can use the following steps to quickly set it up with a Free Trial.
-
Go to the Azure homepage and click the Start free button
-
Complete your registration for a Free Trial account
-
Go to your subscription and create a new resource group
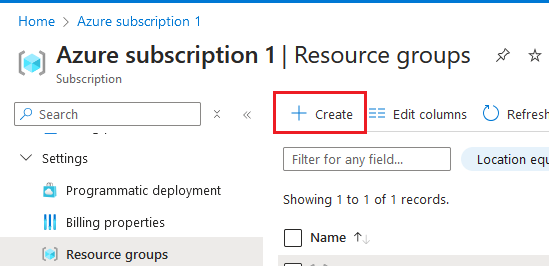
-
Open the resource group and create a new Storage Account resource. Make sure the following settings are configured:
-
Require secure transfer for REST API operations
-
Enable storage account key access
-
Public network access enabled from all networks
-
-
After finishing creating the resource, open it and create a new container:
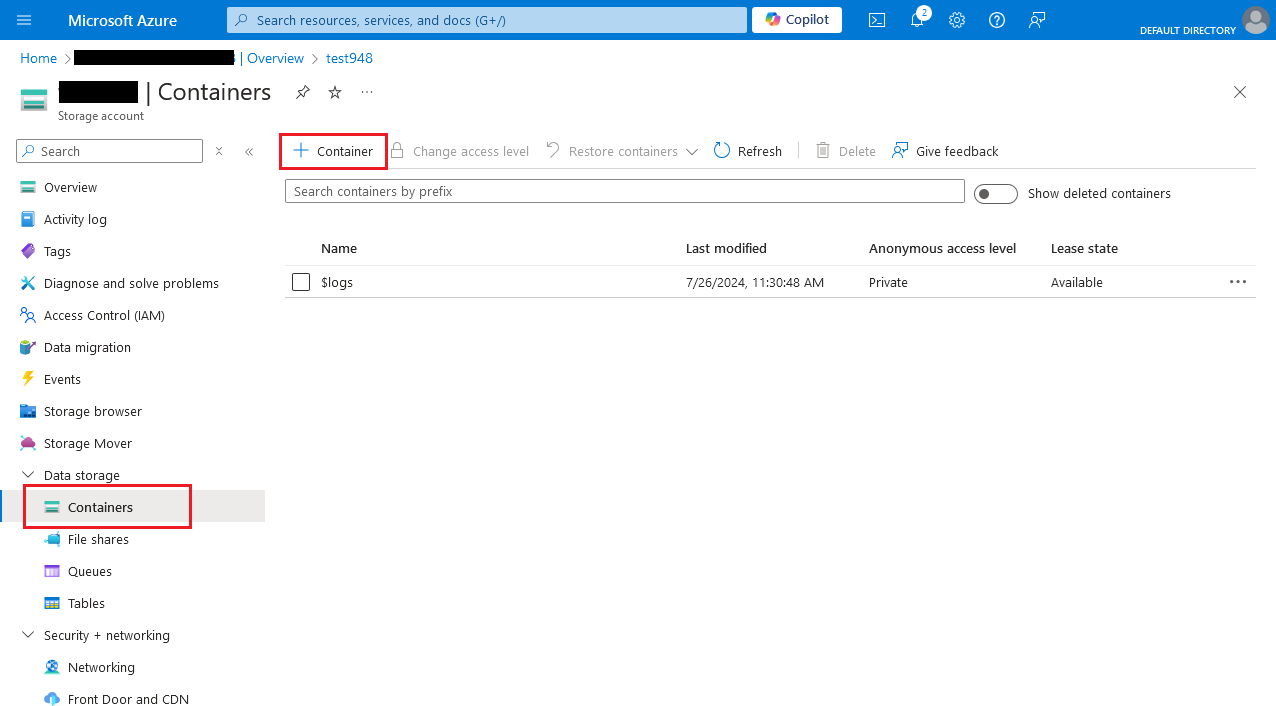
-
In the storage account, go to Security + networking/Shared access signature and configure a SAS token with the following settings
-
Allowed services: Blob, File
-
Allowed resource types: Service, Container, Object
-
Allowed permissions: Read, Write, List (unselect all others)
-
Start and expiry date/time: select an appropriate timeframe. When the token expires you can just generate a new one
-
-
Click Generate SAS and connection string. The contents of the SAS token field is what we will be using in this tutorial, so keep track of it.
Note: The SAS Token is a very sensitive piece of information and you should treat it as if it were a secret key.
-
In the Storage account view, go to the Settings/Endpoints page and take note of the Blob service URL. This is the other piece of data necessary for the app.
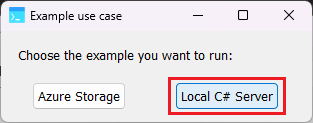
Open the workspace and run it; when presented with the following dialog, choose Azure Storage:
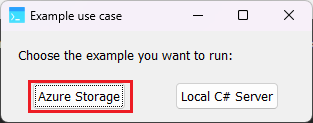
The Azure Browser will show up and you will see the following window:

Fill the fields with the values mentioned during the Setting up Azure Storage section: the Container URL (https://storage account.blob.core.windows.net/container name) and the properly configured SAS token.
Clicking Connect will validate the values through the Azure API. If the values are correct, you will see the list view enable and the controls disable:
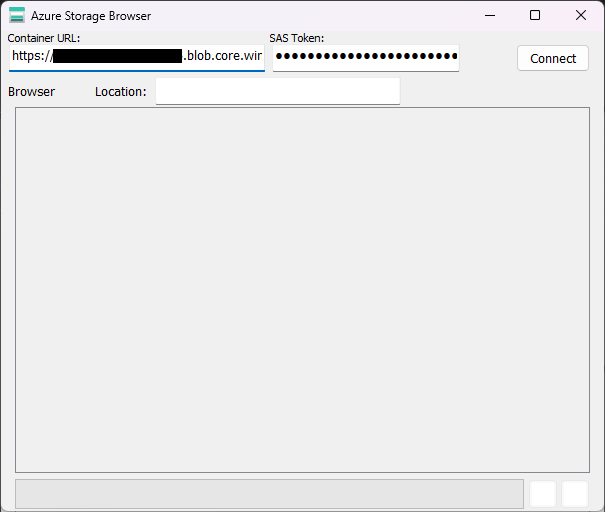
You'll be able to see the files and directories present in the container:

For demonstration purposes a simple C# File Server with role-based authentication is included with the demo. To configure the users and permissions you will need to edit the Models/UserStore.cs file. By default the following users/permissions are defined:
namespace SimpleFileServer.Models;
/// <summary>
/// Entity representing the user database
/// </summary>
public class UserStore
{
public static readonly List<ServiceUser> Users = new List<ServiceUser> {
new(1, "User1", "User1Password", new List<Role>{
Role.Download,
Role.Upload,
Role.List,
}),
new( 2, "User2", "User2Password", new List<Role>{
Role.Download,
Role.List,
}),
};
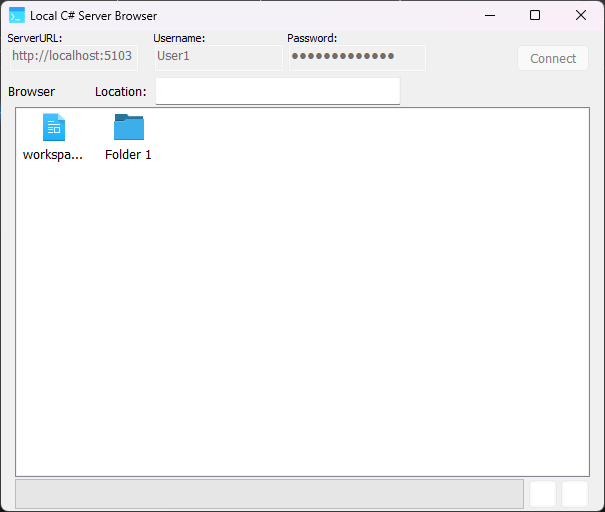
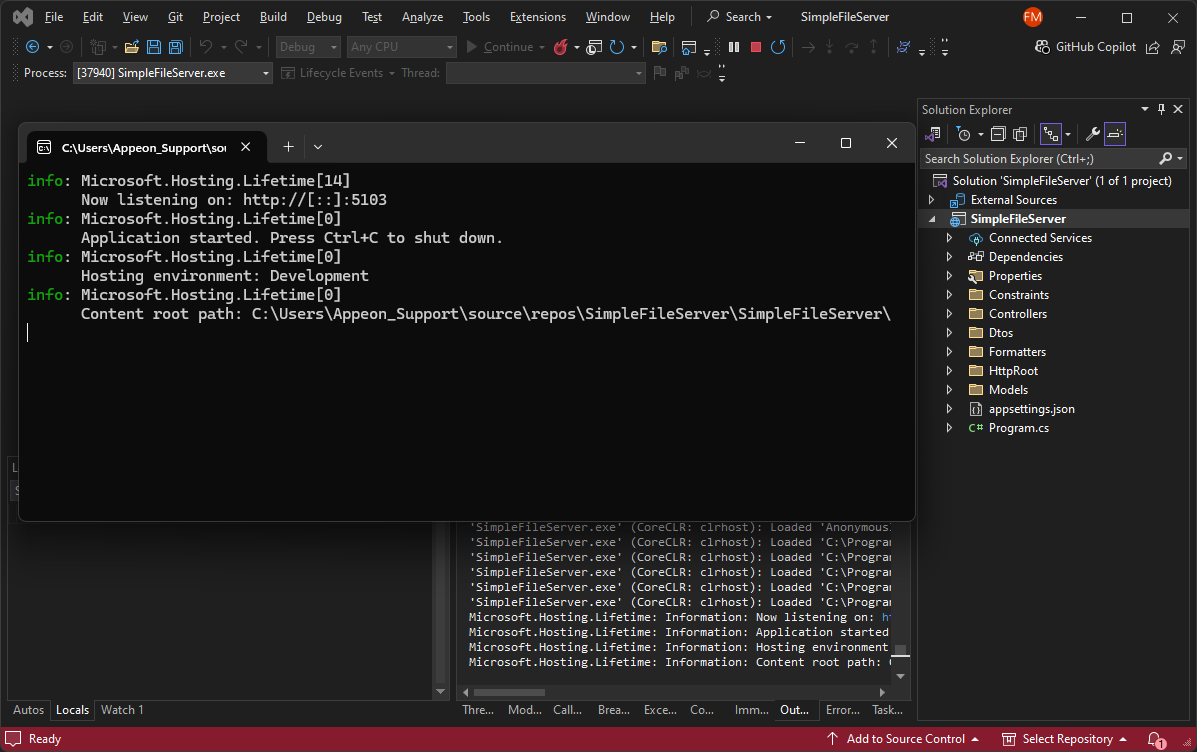
}If using the included C# server, first make sure to open the solution and run it:
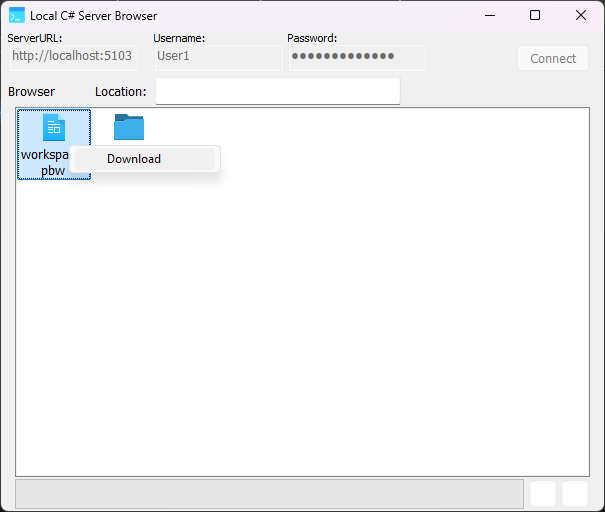
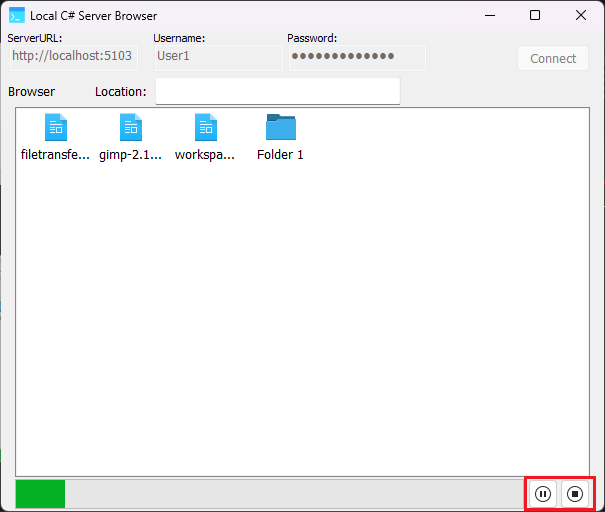
Both the use cases provided with the demo offer the same browser interface and the same operations:
In this window you can right click on an empty region of the ListBox to begin uploading a file.
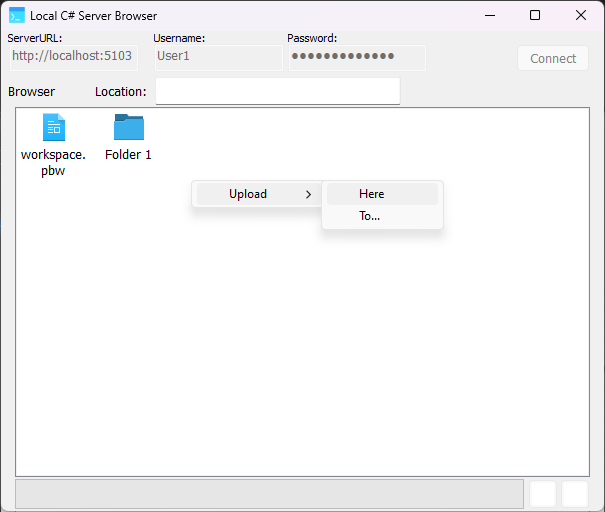
You can choose to either upload a file to the current location (Here) or to create a subfolder and upload the file into it (To...).
Select a file to upload it to the container:

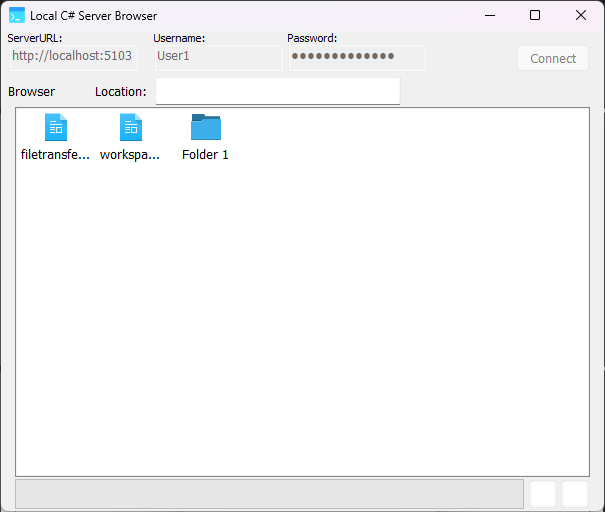
The browser will refresh and you will be able to see the newly uploaded contents:
When working with Azure resources, you have 3 ways of authorizing access through the REST API: Shared Key, Shared Access Signature (SAS), and Microsoft Entra ID. You should generally avoid using Shared Keys because that gives absolute access to the resources while they're valid, and they usually have to be manually revoked. SAS is a little bit more secure because the token it generates has embedded in it the types of resources it can access, the operations that can be performed, and the validity timeframe. This is the authentication mechanism used by the demo application. Microsoft Entra ID is the most secure of the three, and you should generally opt to use it for resources you plan to share because it allows sharing the resources with specific users or roles. This is a little bit more work to set up and definitely out of scope for the simple demo application on this tutorial; but it's the better and more secure alternative for resource sharing.
The included file server uses a JWT Authentication Scheme configured to use role-based authorization based on a hard-coded user database. It's very important to appropriately manage the security of the server because otherwise it might lead to unauthorized resource access, and/or incur in monetary losses (due to the cost of traffic that some cloud providers charge).
Additionally, in the included server the private key used to sign the JWT token is located in the appsettings.json; but in real world scenarios this is ill-advised and it's instead suggested that sensitive information is stored in the database.
Note: it's recommended that you generate your own private key. Remember to encode the key on Base64 before putting it in the appsettings.json file.


