Where you are
Specify an icon for the application
Change the size of the main window
Now you create a new target using the Template Application wizard. Based on the choices you make, the Template Application wizard creates precoded events, menus, windows, and user objects in addition to the application object.
-
Select New from the File menu and click the Target tab
or
Right-click MyWorkspace in the System Tree, select New from the pop-up menu, and click the Target tab.
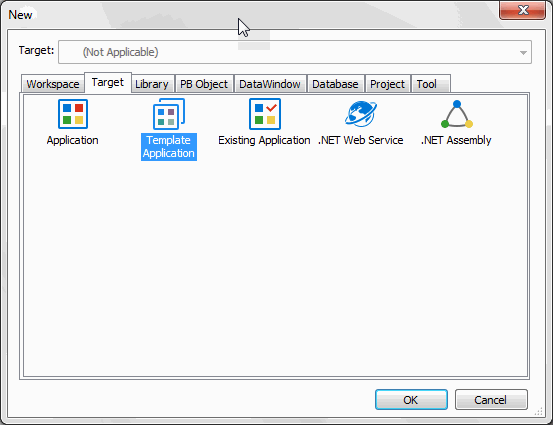
The Target page of the New dialog box displays.
-
Select the Template Application icon and click OK.
The Template Application wizard displays. The first page of most wizards explains what the wizard is used for. As you step through the wizard, you can press F1 to get Help on most fields.
-
Click Next until the Specify New Application and Library page displays.
-
Type pbtutor in the Application Name text box.
The wizard automatically assigns file names to a library and target that use this application name. It assigns the library a PBL extension and the target a PBT extension.
-
Click Next.
The Specify Template Type page displays. The MDI Application with Microhelp radio button is selected. You will create an MDI template application, so you do not need to change this selection.
About MDI
MDI stands for multiple document interface. In an MDI application, the main window for the application is called the MDI frame. Using the MDI frame menu bar, you can open additional windows known as sheet windows that display inside the frame window.
-
Click Next 4 times until the Name Individual Sheets page displays.
In this tutorial you accept the default application type, library search path, frame and frame menu names, sheet menu and manager service, and MDI base sheet.
If you have clicked Next too many times
You can use the wizard's Back button to navigate back to the correct wizard page.
-
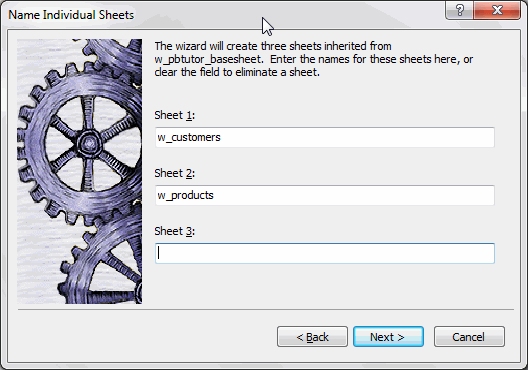
On the Name Individual Sheets page, type w_customers for Sheet 1, w_products for Sheet 2, and clear the Sheet 3 text box.
PowerBuilder will generate two windows based on the default basesheet (w_pbtutor_basesheet), one for customers and one for products. You will add a third sheet window later in the lesson on exception handling.
-
Click Next.
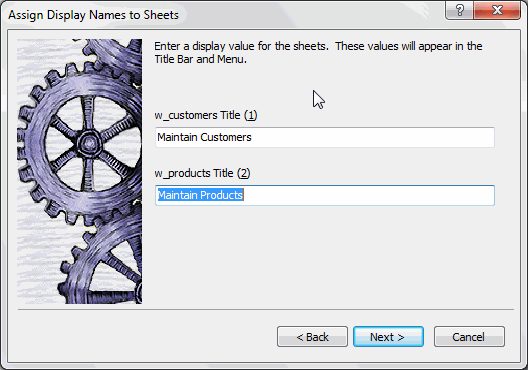
Type Maintain Customers as the display name for Sheet 1.
Type Maintain Products as the display name for Sheet 2.
The names you type will display in the title bars of these sheet windows.
-
Click Next twice.
You do not need to change the names of the About and Toolbar windows.
-
On the Specify Connectivity page, select None.
You will add a Connection object later.
-
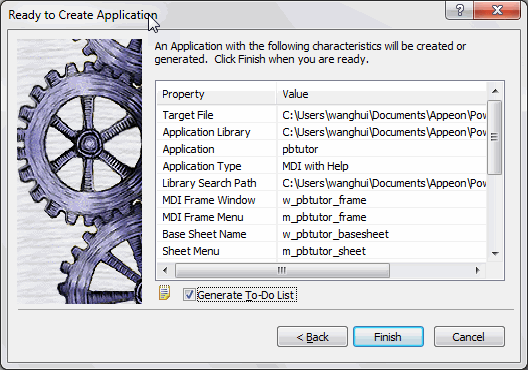
Click Next twice to display the Ready To Create Application page.
You will create a project later.
This is the last wizard page. It lists your current selections so that you can review them and use the Back button to go back and change them if necessary.
-
Make sure the Generate To-Do List check box is selected.
-
Click Finish.
The Template Application wizard creates the pbtutor.pbt target and the pbtutor.pbl library, and sets the new pbtutor application as the default application.
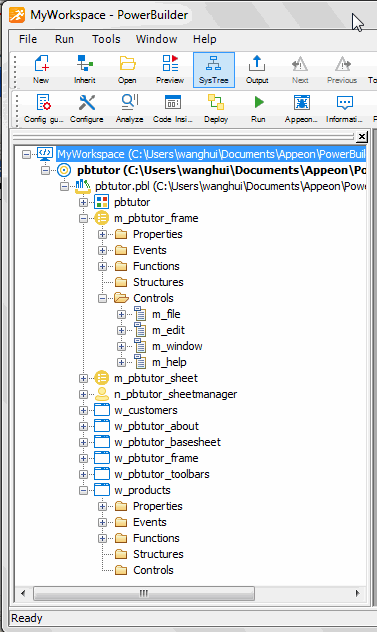
You can expand the System Tree to view all the objects that have been created by the Template Application wizard. The System Tree does not display the file extension of the pbtutor target, but it does display the directory where the target file is saved.
The pbtutor.pbl library displays under the pbtutor target in the System Tree. It contains the target Application object, which has the same name as the target object but displays under the library file. Other objects generated by the wizard also display under the library file.
