Data source configuration in WildFly 10 and JBoss EAP 6.x is almost the same. Here we take WildFly as am example to show you how to create the data source. You can find more details in the corresponding JBoss Web sites: Datasource configuration for WildFly, and Datasource management for JBoss EAP 6.4.
The following section will take one database type (SQL Anywhere database with SAP jConnect JDBC driver) as an example to show you how to create a data source for WildFly, you can later create data sources for other database types by taking the same steps below but specifying different parameters according to Data source parameters.
You need to perform two main tasks to define a data source in WildFly and JBoss EAP. First, you must make the JDBC driver available to the application server; then you need to configure the data source that references the driver you installed.
You can install a JDBC driver with the management console or as a Core Module. In this example, we will take the management console approach as an example. If you want to use the Core Module approach, you may refer to the corresponding JBoss documentation.
Step 1: Modify the JAR file of the JDBC driver. Take SAP jConnect JDBC driver as an example.
-
Under the same directory as the jconn3.jar file, create a "META-INF" subdirectory and a "META-INF\services" subdirectory.
-
Under the "META-INF\services" directory, create a java.sql.Driver file which contains one line - the fully-qualified class name of the JDBC driver, in this example, com.sybase.jdbc3.jdbc.SybDriver.
-
Execute the "jar" command to update the JAR file: "jar -uf jconn3.jar META-INF/services/java.sql.Driver". You can also use WinRAR tool to add the META-INF\services\java.sql.Driver directory and file to jconn3.jar, as shown in the following figure.

Step 2: Deploy the modified JAR file.
-
Log into the WildFly management console.
-
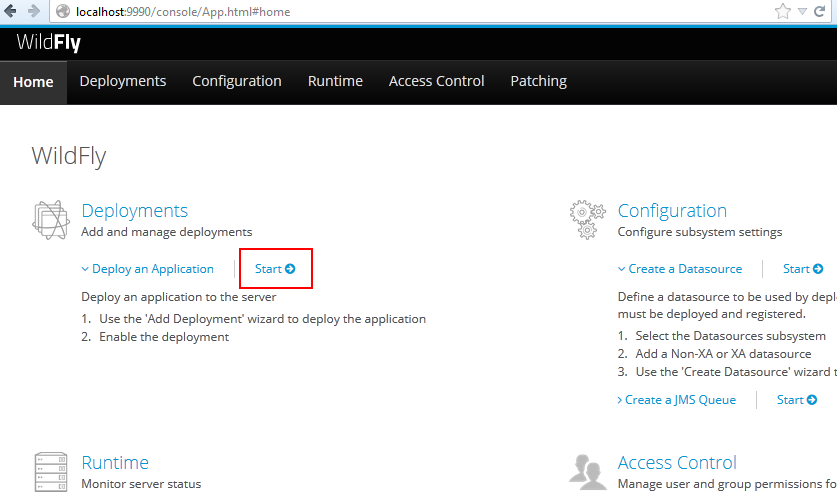
Click Start for Deploy an Application on the home page.
-
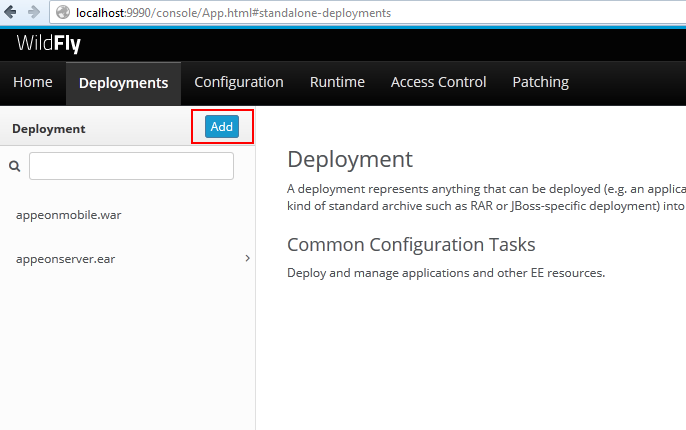
Click the Add button on the deployment page. The New Deployment wizard starts.
-
In the New Deployment Wizard, keep the default option "Upload a new deployment" and click Next.
-
Click Browse to select the modified JAR file and click Next.
-
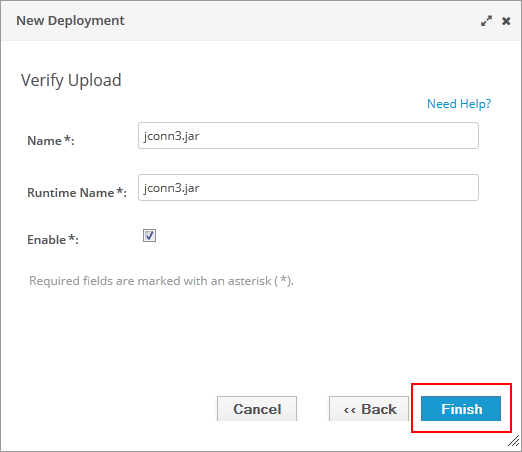
Verify the deployment settings for the JAR file and click Finish.
-
When deployment is successful, you will be able to see the message "jconn3.jar deployed successfully" and jconn3.jar listed on the deployment page.


Step 3: Wait a few minutes for the JAR file to be detected and listed in the driver list by WildFly or restart WildFly application server to make the JAR file detected and listed immediately.
You can configure a data source with the management console or the configuration file. In this example, we will take the management console approach as an example. If you want to use the configuration file approach, you may refer to the corresponding JBoss documentation.
Step 1: On the home page of WildFly management console, click Start for Create a Datasource.

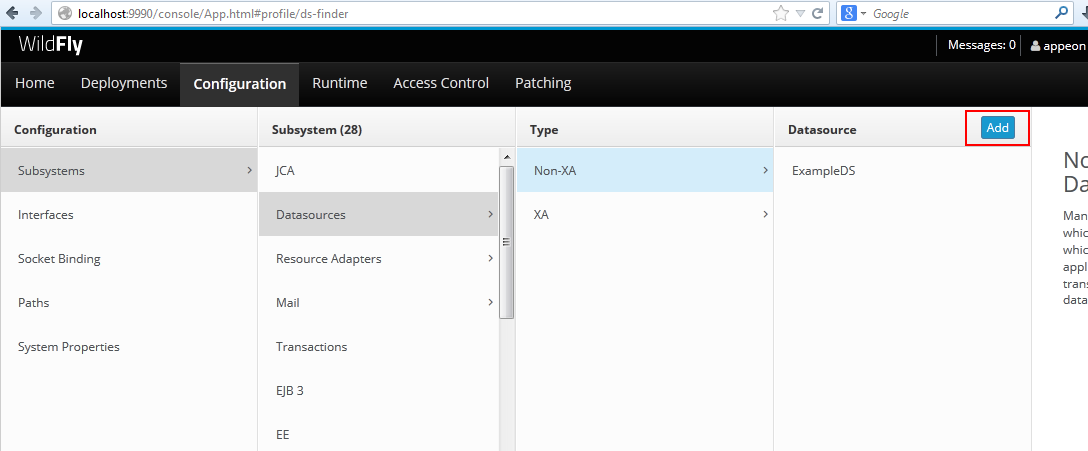
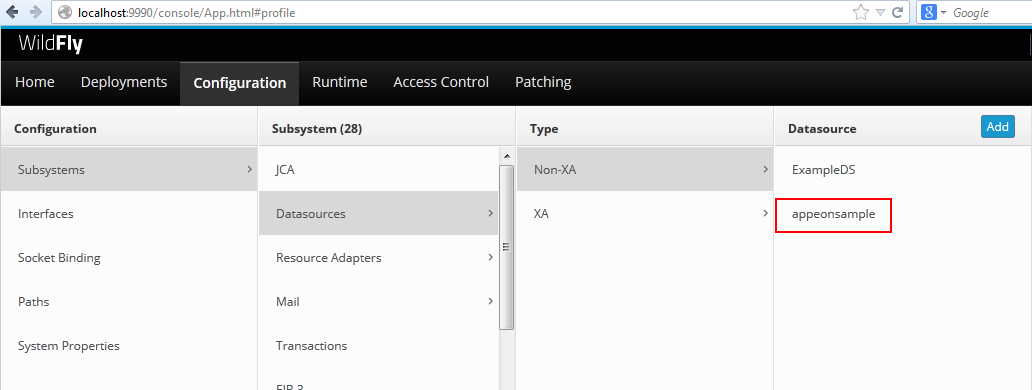
Step 2: On the Configuration page, select Subsystems > Datasources > Non-XA, and then click Add.
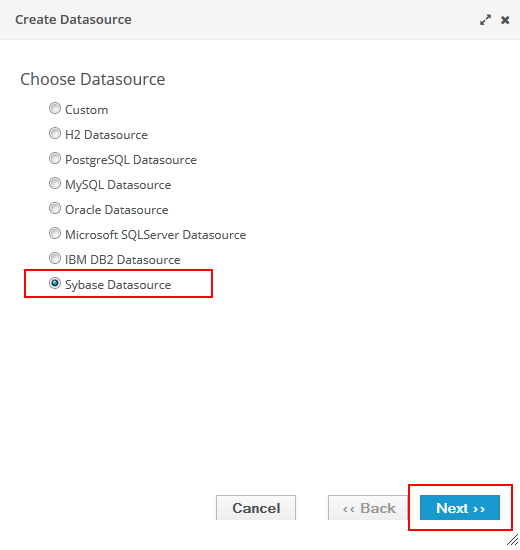
Step 3: The Create Datasource wizard starts to guide you through creating a data source.
-
Select the data source type. In this example, select Sybase Datasource and click Next.
-
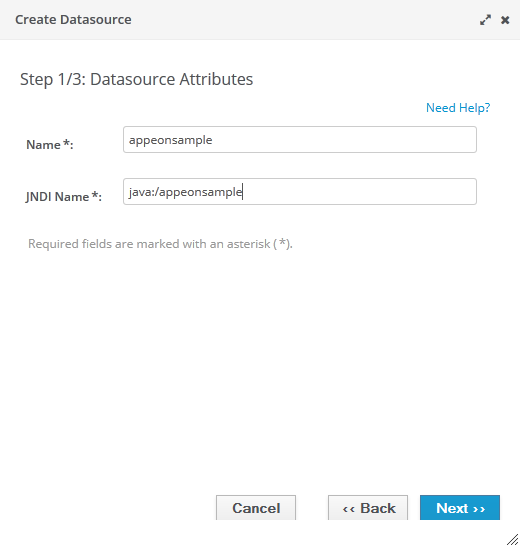
Input any text as the data source name and the JNDI name. For example, "java:/appeonsample". Click Next.
Note: The JNDI name will be used as the data source name in AEM.
-
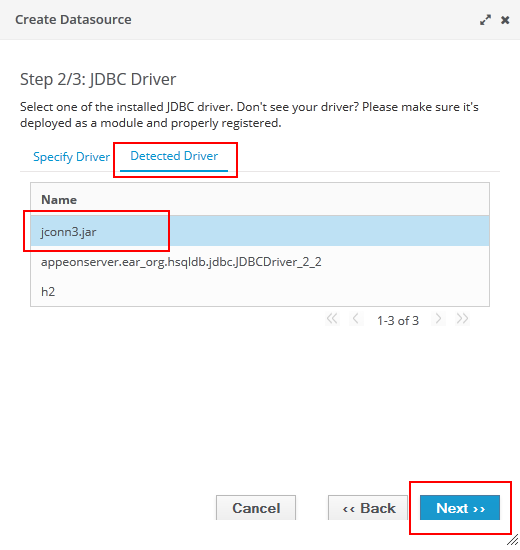
Click Detected Driver, and then select the JDBC driver, in this example, jconn3.jar. Click Next.
If you do not see the driver, make sure you have installed the driver by following instructions in Installing the JDBC driver.
-
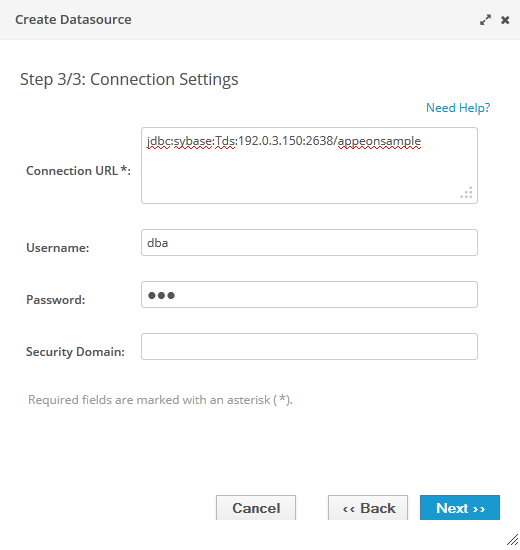
Specify the connection information and click Next.
The following table describes how to specify the connection information for SAP SQL Anywhere databases. The values are different according to database types. You can refer to Data source parameters.
Table 23. Connection properties
Connection URL
For example, jdbc:sybase:Tds:192.0.3.150:2638/appeonsample
Username
Type the database login username. The username is set on the database server.
Password
Type the database login password. The password is set on the database server.
-
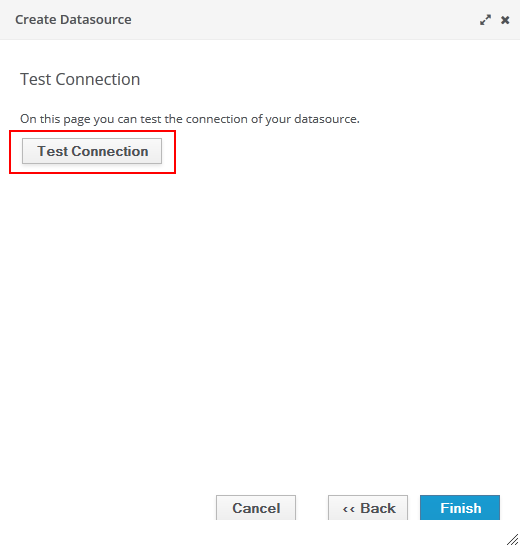
Click Test Connection to make sure the database can be connected and then click Finish.
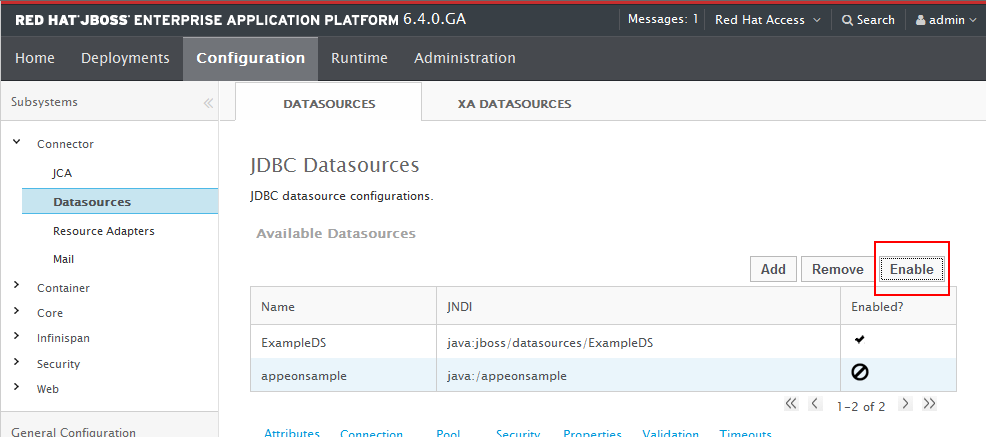
After the data source is created successfully, you will return to the data source page and you will be able to see the new data source in the list.
In JBoss EAP, you may need to manually enable the newly created data source by clicking the Enable button on top of the list.