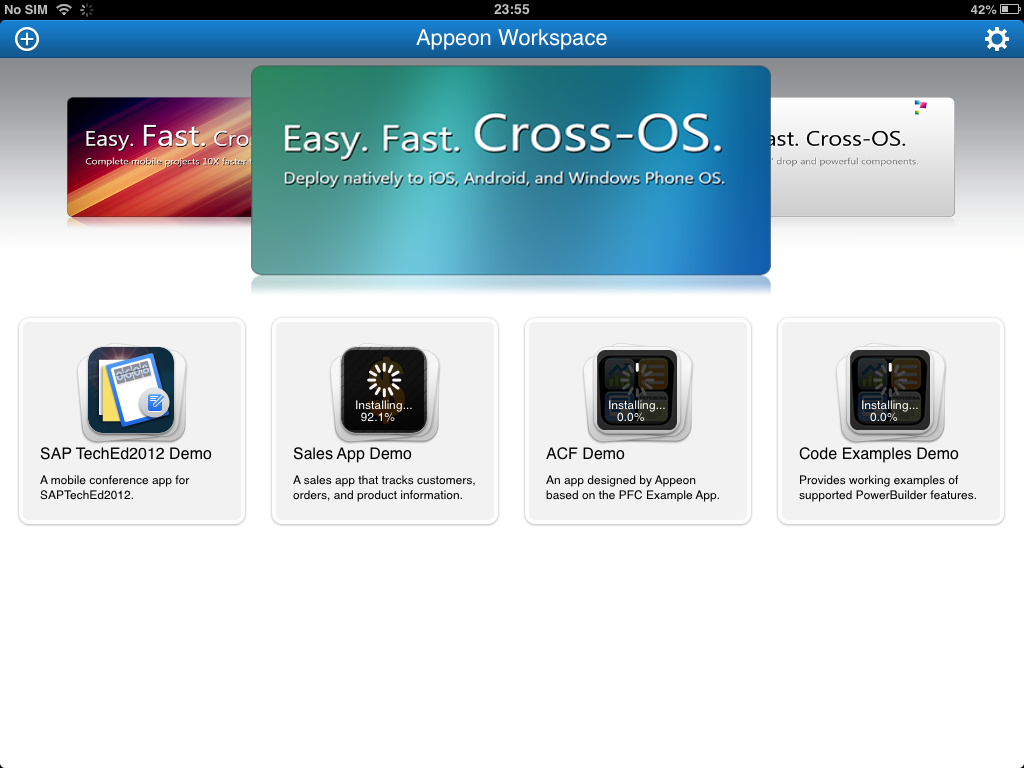
Appeon Workspace provides several ways to add applications.
Step 1: Use one of the following methods to open the Add App screen.
-
Tap the add icon (
 ) on the left of the titlebar; or
-
Tap the Add App icon (
 ) (only available when there is no apps
installed) in the data area; or
) (only available when there is no apps
installed) in the data area; or
-
Tap the settings icon (
 ) on the right of the titlebar, then tap the
Settings option on the popup menu,
and then tap the Add App
option.
) on the right of the titlebar, then tap the
Settings option on the popup menu,
and then tap the Add App
option.
The Add App screen appears, as shown in the following figure.
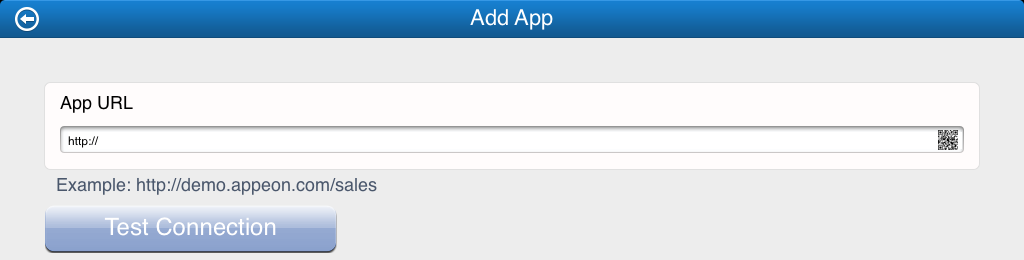
Step 2: In the App URL text box, you
can either manually type the application URL (a typical application URL
looks similar to http://www.abc.com/appname/), or tap the scanner icon
( ) to scan the QR code and automatically get the
application URL.
) to scan the QR code and automatically get the
application URL.
If you are a server administrator, you might be interested to know how to generate the QR code (see the section called “QR code generation for mobile application(s)” in PowerServer Configuration Guide for .NET or PowerServer Configuration Guide for J2EE).
Both HTTP and HTTPs are supported in Appeon Workspace running on mobile devices.
Step 3: Tap the Test Connection button to test the app URL connection. Make sure that the connection is successful.
Step 4: Tap the back icon (![]() ) on the left of the titlebar to save the information
and return to the previous screen.
) on the left of the titlebar to save the information
and return to the previous screen.
Once the application information is saved successfully, the application will appear in the data area on the Appeon Workspace home screen, and will start the download and install process immediately, as shown in the following figure.
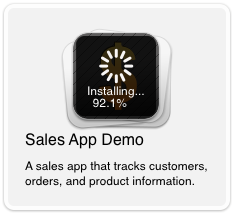
The newly added applications will queue up and will be automatically downloaded and installed once the previous application is finished.
During the download and install process, you can pause and resume the
process by tapping the  icon. For example, suppose you want to download and
install application_2 first instead of application_1, you can pause the
process for application_1 and tap application_2 to start the download and
install process for application_2.
icon. For example, suppose you want to download and
install application_2 first instead of application_1, you can pause the
process for application_1 and tap application_2 to start the download and
install process for application_2.