Install the product by following instructions in the installation guide (Installation Guide for PowerBuilder or Installation Guide for InfoMaker).
Follow these steps to log in and activate PowerBuilder IDE or InfoMaker:
PowerBuilder IDE and InfoMaker are activated in the same way. The following takes PowerBuilder IDE as an example.
-
(Important) Make sure the computer where the product is installed has Internet access because the trial license is an online license.
-
Start PowerBuilder.
-
Click Switch User on the top right corner of the PowerBuilder IDE until the login page appears.
-
Enter the email address and the password for your account.

-
Click Log In. Your account will be validated and the associated license will be activated immediately by the Appeon license server.
If no Internet connection for over 5 days
The local license file will be locked when 1) Internet connection is not detected for over 5 days; and then 2) Internet connection is still not detected when the product is launched. After the license file is locked, if the same account is used to log in to the product again, the message "You are already logged in" appears. If this happens, please go to the Appeon website and log out the problematic account there; and then you will be able to log in and activate the product again using the same account.
One user account cannot log in to the trial version and the paid version at the same time. If the user account has logged in to the trial version, it must be logged out first before it can log in to the paid version. You can log out the user account from the Account management page in the product IDE, or ask your license administrator to log out the account from the Appeon website: User Center | My Trial Licenses page.
Follow these steps to activate PowerServer (2021 or later):
The trial license of PowerServer 2022 R2 can be obtained by applying for a free trial of PowerBuilder 2022 R2 or PowerServer 2022 R2.
Step 1: On the development PC where PowerBuilder IDE is installed, open the PowerServer project object, select the Web APIs tab, and then click Auto Import or Import from File to import the license to the PowerServer project object.
-
If you are using a Trial license of PowerBuilder, click Auto Import to automatically import the trial license according to your PowerBuilder IDE login account from the Appeon websites (through port number 80): https://api.appeon.com and https://api2.appeon.com.
-
If you are using a Trial license of PowerServer, click Import from File to manually import the license.
For detailed instructions, refer to https://docs.appeon.com/pb2022r2/appeon_license_user_guide/PowerServer_License_Activation.html.
Step 2: Build and deploy the PowerServer project.
Step 3: Activate the license in PowerServer Web APIs. The license will be automatically activated when PowerServer Web APIs is run.
To activate the PowerServer license, you will have to make sure the machine where PowerServer Web APIs is running can connect with (through port number 80):
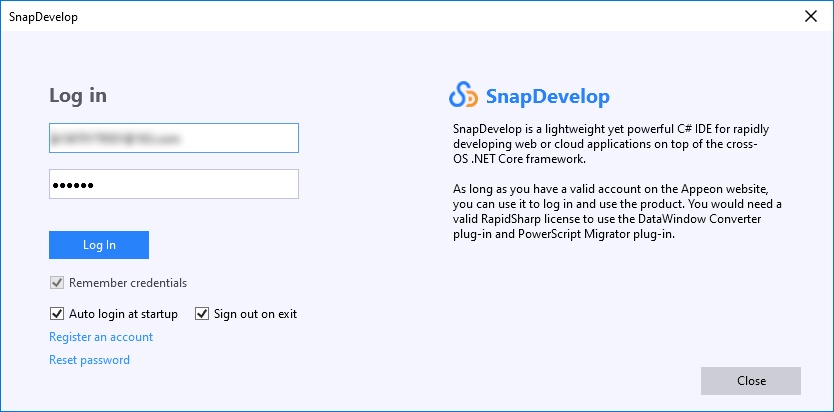
Follow these steps to log in and activate SnapDevelop:
Launch the SnapDevelop IDE, and then enter the user account to log in and activate SnapDevelop (including .NET DataStore and PowerScript Migrator).


